How to Reorder Homepage Sections in Ghost's Kyoto Theme

Want to give your Ghost website a fresh look without diving into theme files?
You can easily rearrange your homepage sections using Ghost's built-in Code Injection feature. Here's your step-by-step guide to customizing your site's layout in minutes.
Why Rearrange Your Homepage?
Different sections grab different readers. Maybe you want your blog posts front and center, or perhaps your work experience should lead the way. Whatever your strategy, the right section order can help guide visitors exactly where you want them to go.
Step-by-Step Guides
1. Access Your Ghost Admin Panel
- Log into your Ghost admin dashboard
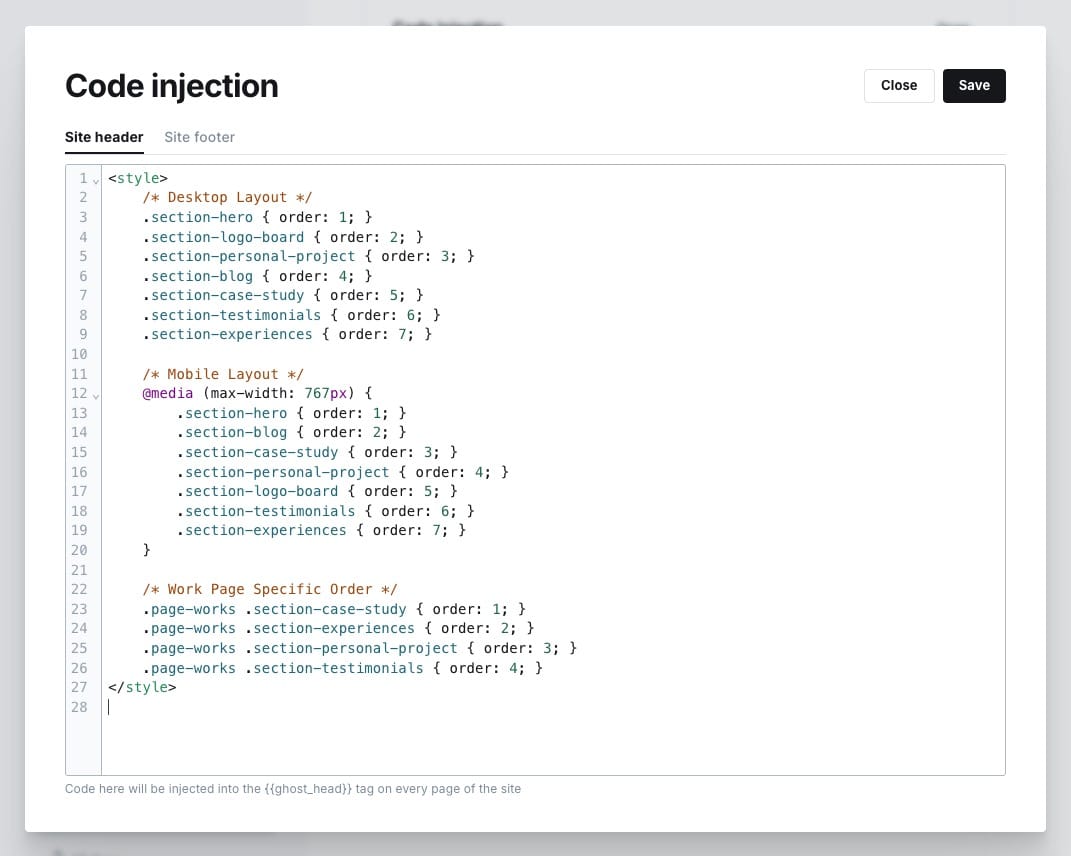
- Navigate to Settings > Code injection
- Look for the "Site Header" section - this is where we'll add our custom CSS
2. Understand Your Section Options
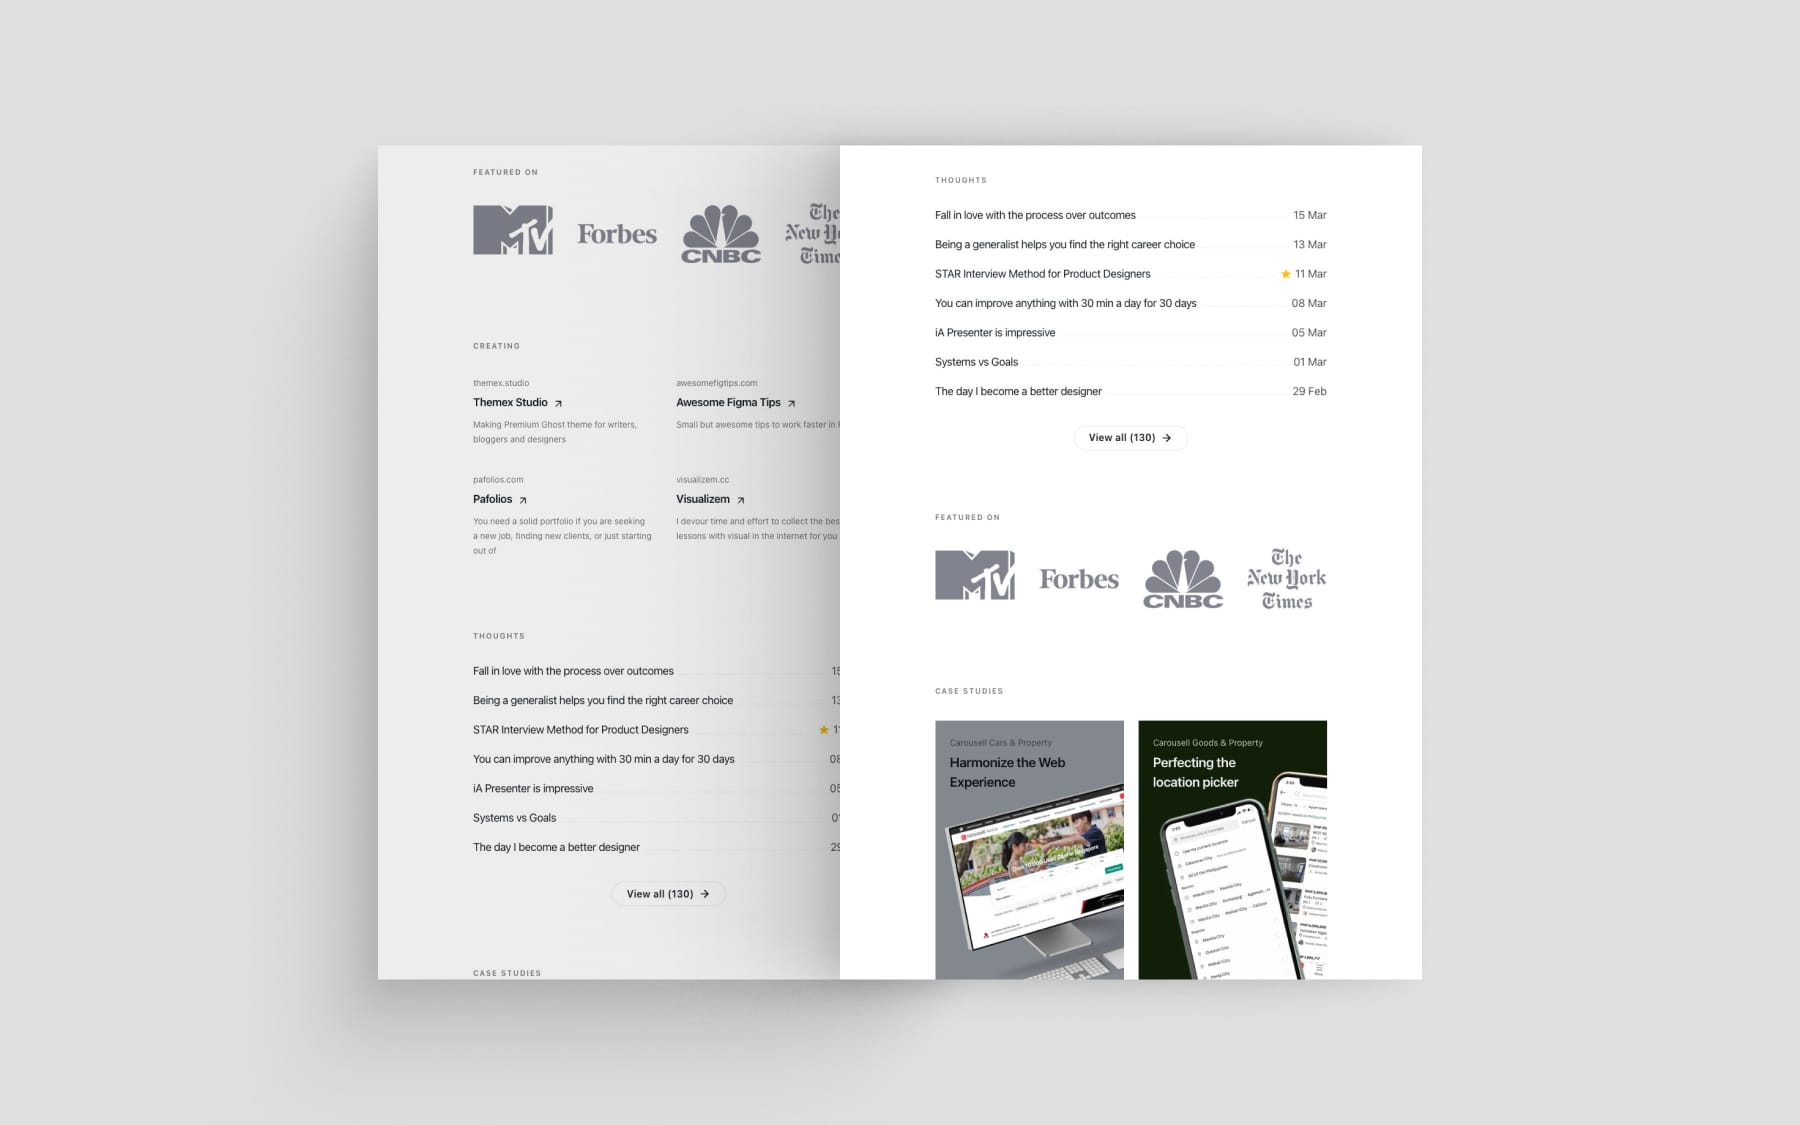
Your Kyoto theme includes these sections (in default order):
- Hero section (
.section-hero) - Logo board/Featured on (
.section-logo-board) - Personal projects/Creating (
.section-personal-project) - Blog posts/Thoughts (
.section-blog) - Case studies (
.section-case-study) - Testimonials (
.section-testimonials) - Work experiences (
.section-experiences)
3. Add Your Custom Ordering Code
Copy this basic template into the Site Header section:
<style>
    .section-hero { order: 1; }
    .section-logo-board { order: 2; }
    .section-personal-project { order: 3; }
    .section-blog { order: 4; }
    .section-case-study { order: 5; }
    .section-testimonials { order: 6; }
    .section-experiences { order: 7; }
</style>
Just change the numbers to reorder your sections - lower numbers appear first!
Pro Tips
1/ Mobile-First Thinking
Create different orders for mobile users with media queries:
@media (max-width: 767px) {
    .section-blog { order: 1; }
    .section-hero { order: 2; }
    /* other sections... */
}
2/ Work Page Customization
Want a different order on your Work page? Add .page-works before the section classes:
.page-works .section-case-study { order: 1; }
.page-works .section-experiences { order: 2; }
Example: Complete Reorder Configuration
Here's a full example that you can copy and modify:
<style>
    /* Desktop Layout */
    .section-hero { order: 1; }
    .section-logo-board { order: 2; }
    .section-personal-project { order: 3; }
    .section-blog { order: 4; }
    .section-case-study { order: 5; }
    .section-testimonials { order: 6; }
    .section-experiences { order: 7; }

    /* Mobile Layout */
    @media (max-width: 767px) {
        .section-hero { order: 1; }
        .section-blog { order: 2; }
        .section-case-study { order: 3; }
        .section-personal-project { order: 4; }
        .section-logo-board { order: 5; }
        .section-testimonials { order: 6; }
        .section-experiences { order: 7; }
    }

    /* Work Page Specific Order */
    .page-works .section-case-study { order: 1; }
    .page-works .section-experiences { order: 2; }
    .page-works .section-personal-project { order: 3; }
    .page-works .section-testimonials { order: 4; }
</style>

Remember to click "Save" after making your changes in the Code Injection area. Your sections should immediately reflect the new order after the page reloads.
You don't need to include all sections - only add the ones you want to reorder. Any sections not specified will maintain their default positioning.
Become a subscriber receive the latest updates in your inbox.


