How to update your Ghost theme without losing customizations

You've customized your Ghost theme to make it perfect for your site. Now there's a new version available with bug fixes and features you want—but you're worried about losing all your hard work.
This is one of the most common challenges Ghost theme users face. The good news? You can have both your customizations and the latest updates.
What you'll learn:
- Why theme updates overwrite your changes
- How to identify every customization you've made
- A step-by-step method to merge your changes into the new version
- How to avoid this problem in the future
Why updating themes breaks customizations
When you edit theme files directly and then upload a new version, Ghost replaces those files entirely. Your customizations disappear because they were never separated from the original theme code.
The solution is to identify exactly what you changed, then carefully reapply those changes to the new version.
The compare folders method
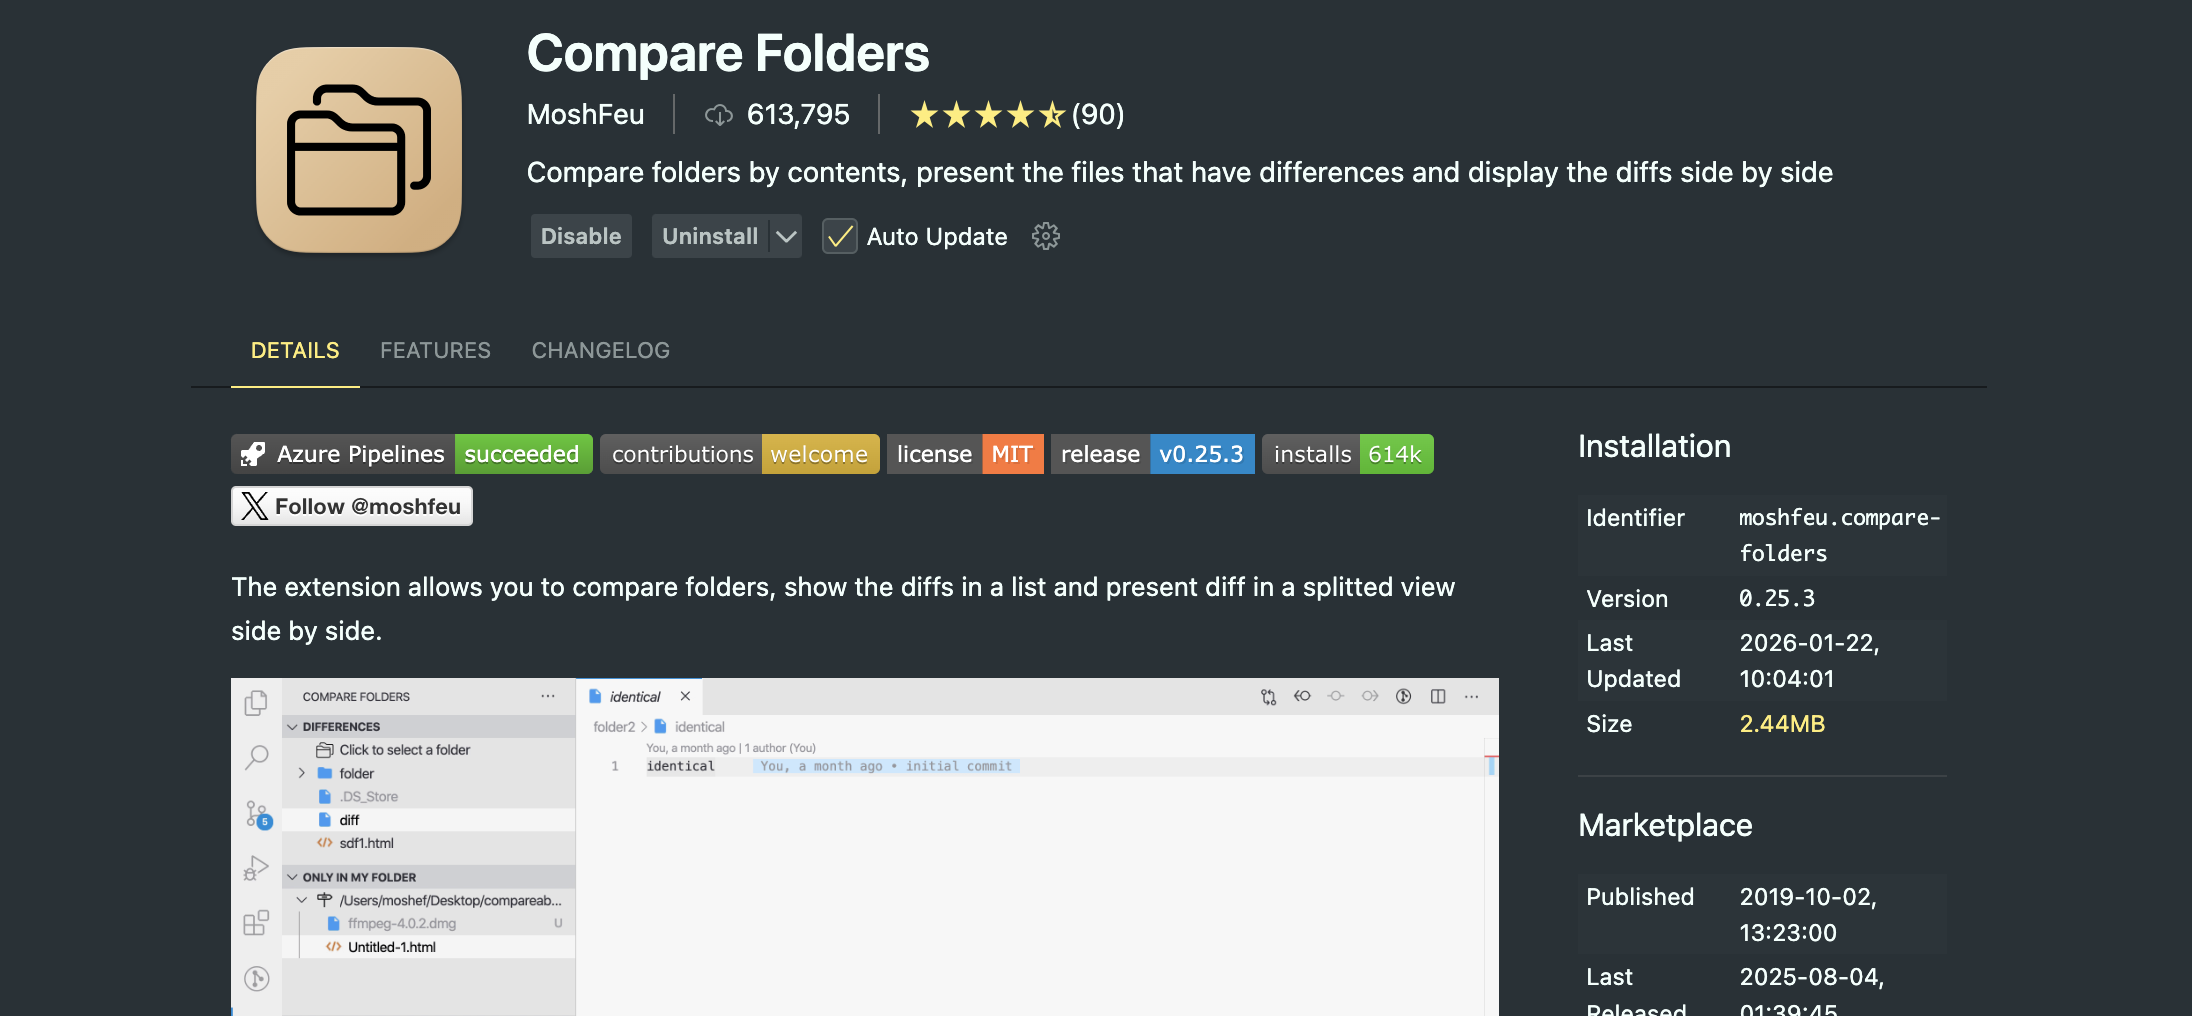
The easiest way to see your customizations is to compare your modified theme against the original using VS Code's Compare Folders extension. This free tool shows you exactly what changed, line by line.
What you'll need
- VS Code — A free code editor (download here)
- Compare Folders extension — A free VS Code extension
- The original theme — The exact version you started with before making changes
- Your customized theme — The theme files you've been editing
Step 1: Install the Compare Folders extension
Open VS Code, click the Extensions icon in the sidebar (it looks like four squares), and search for "Compare Folders." Install Compare Folders by MoshFeu.
Step 2: Download the original theme version
Download the exact version of the theme you initially installed. This is your baseline for comparison.
Not sure which version you have? Open the package.json file in your customized theme folder and look for the "version" line. Then download that same version from where you originally purchased or downloaded the theme.
Step 3: Set up your folders
- Unzip the original theme file
- Rename the folder to something clear like
theme-original - Make sure your customized theme is in a separate folder
You should now have two folders on your computer:
theme-original— The untouched original themetheme-customized— Your current theme with all your changes
Step 4: Compare the folders
- In VS Code, click the Compare Folders icon in the left sidebar
- Click "Select folders to compare"
- Select your
theme-originalfolder first - Then select your
theme-customizedfolder
The extension will analyze both folders and show you the differences.
Step 5: Review and document your changes
The extension highlights exactly which files are different and shows the specific lines you changed.
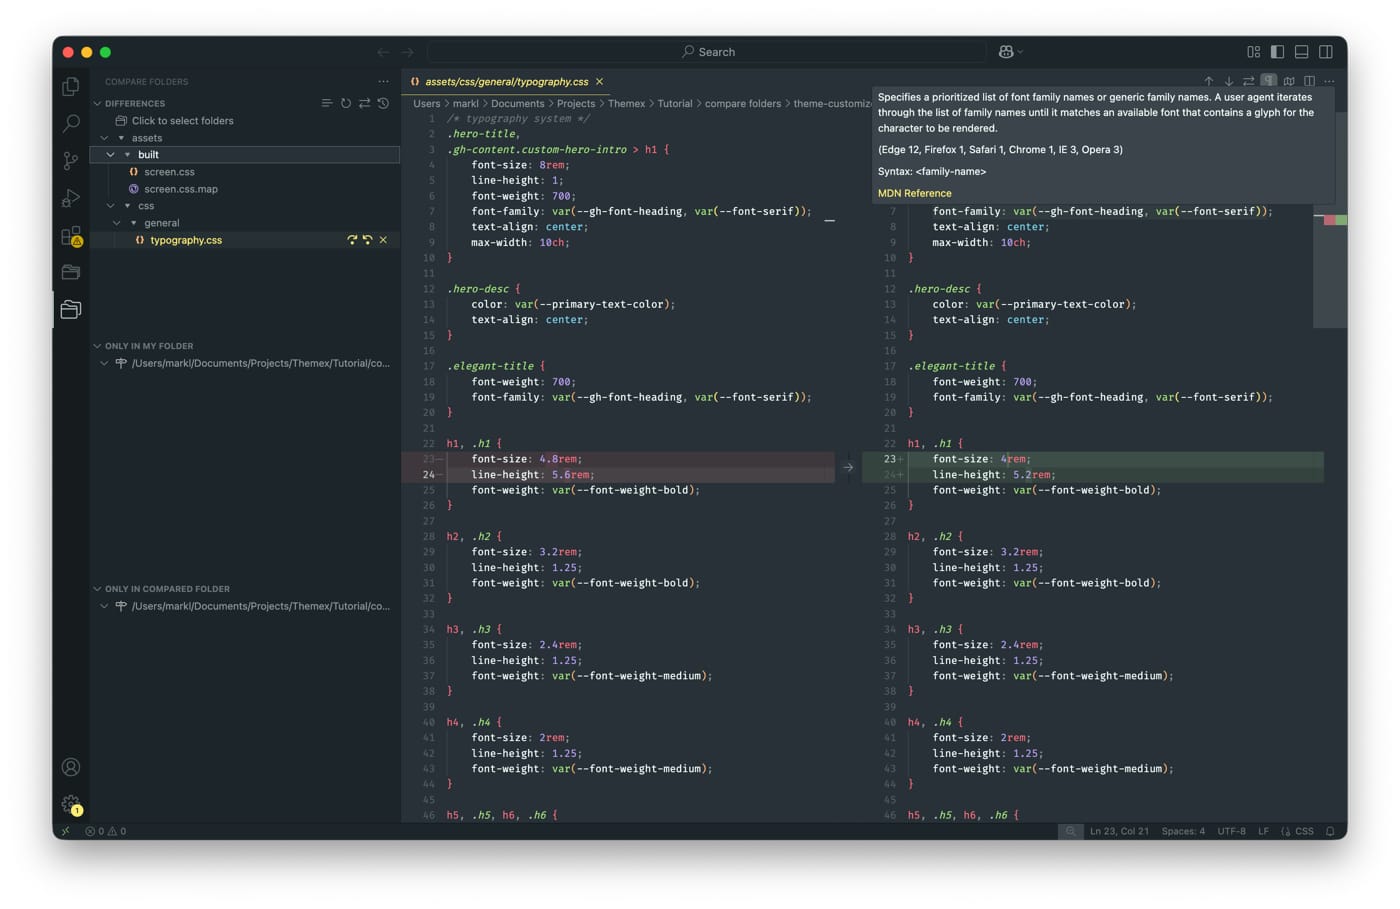
Common places where customizations live:
- CSS files — Colors, fonts, spacing, layouts
- Template files (.hbs) — Page structure and HTML
- JavaScript files — Interactive features and functionality
Take note of each change you find. You'll need to reapply these to the new theme version.
Step 6: Apply your changes to the new theme
- Download the new theme version
- Unzip it to a new folder
- Open the new theme files in VS Code
- Carefully copy your customizations from the comparison into the new theme files
- If your theme uses a build process, compile the theme before zipping
Step 7: Upload to Ghost with the correct filename
This step is critical. Name your zip file exactly the same as your original theme.
Ghost links your Design & branding settings to the theme's filename. If your original theme was theme.zip and you upload theme-v2.zip, Ghost treats it as a completely different theme—and all your Design & branding settings will reset to defaults.
Step 8: Test everything
Check every page where you made customizations:
- Homepage layout
- Post pages
- Navigation menus
- Any custom features you added
Make sure everything looks and works correctly before considering the update complete.
Avoid this problem in the future
Next time you want to customize your theme, consider using Ghost's code injection feature instead of editing theme files directly.
Code injection lets you add custom CSS and JavaScript without touching theme files. Your customizations stay separate from the theme, so updates become painless—just upload the new version and your changes remain intact.
To access code injection, go to Settings → Code injection in your Ghost admin panel.
Become a subscriber receive the latest updates in your inbox.