Ida Docs

Welcome to the Ida theme documentation. This guide will help you set up, customize, and make the most of your new Ghost theme.
For general questions about Ghost, visit the Ghost Help Center.
Introduction
Ida is a clean, editorial Ghost theme designed for minimal portfolios, profiles, and blogs. It offers flexible content management through Ghost's page and tag system, allowing you to create a dynamic homepage with multiple configurable sections.
What you can do with Ida
- Create a stunning editorial homepage with multiple layout options
- Display featured posts, tag-based sections, and custom content
- Choose from 7 different post layouts for your articles
- Set up YouTube video and podcast sections
- Display testimonials, author showcases, and logo marquees
- Configure light/dark mode with 8 preset color schemes
Getting started
Quick start checklist
Here's what you need to do to get your site up and running:
- Install and activate the Ida theme
- Set up your site branding (logo, accent color)
- Configure appearance settings (colors, light/dark mode)
- Create your homepage sections
- Customize your navigation
Install theme
Upload zip file
To begin, unzip the downloaded package by double-clicking it on a Mac or by right-clicking and selecting "Extract All" on Windows.
Inside the new Ida folder, you will find the ida.zip theme file.
Step-by-step to upload the theme to your website
- Log in to your Ghost website admin (example.com/ghost).
- Click the settings icon ( ⚙️ ) at the bottom of the left-hand side.
- Go to Design & branding > Customize > Change theme.
- Click Upload theme and select the
ida.ziptheme file. - Once uploaded, click Activate now to activate the theme.
[TK image: theme upload screen]
[!note] This theme does not require a routes.yaml file. All homepage sections are managed through Ghost pages and tags.
General settings
Colors and appearance
Ida offers extensive color customization through Ghost's design settings.
Accent color
The accent color is used throughout your site for buttons, links, and highlights.
Step-by-step to set accent color
- Go to Settings > Design & branding > Brand.
- Click on Accent color.
- Choose your preferred color using the color picker or enter a hex code.
- Click Save.
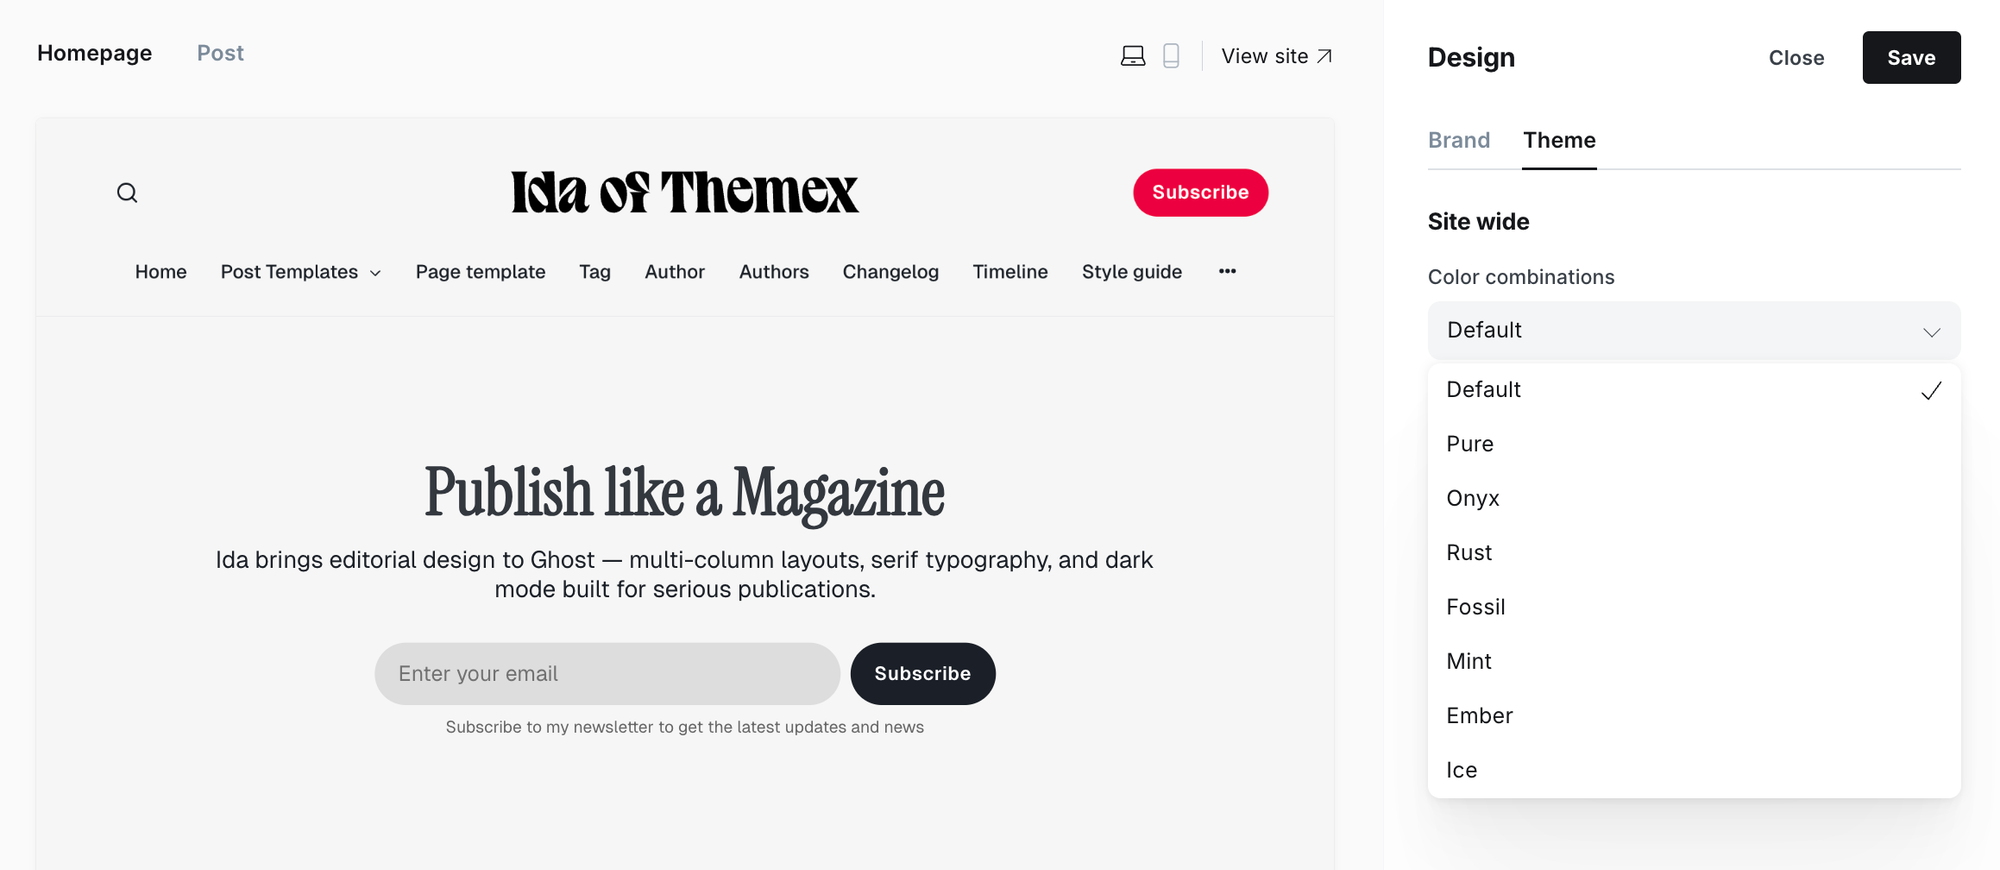
Color combinations
Ida includes 8 preset color combinations that adjust your site's overall color scheme.
| Combination | Description |
|---|---|
| Default | Balanced, neutral tones |
| Pure | Clean black and white |
| Onyx | Dark, sophisticated palette |
| Rust | Warm, earthy tones |
| Fossil | Muted, natural colors |
| Mint | Fresh, cool greens |
| Ember | Warm orange accents |
| Ice | Cool blue tones |
Step-by-step to change color combination
- Go to Settings > Design & branding > Customize.
- Find Color combinations in the theme settings.
- Select your preferred combination from the dropdown.
- Click Save.
Light and dark mode
Control how your site handles light and dark appearances.
| Option | Description |
|---|---|
| Light | Always use light mode |
| Dark | Always use dark mode |
| System | Match visitor's device preference |
| User | Let visitors choose their preference |
Step-by-step to set appearance mode
- Go to Settings > Design & branding > Customize.
- Find Appearance in the theme settings.
- Select your preferred option.
- Click Save.
[!note] When set to "User", visitors can toggle between modes using the theme switcher in your site's navigation.
Alternate logo
Upload a secondary logo for use on dark backgrounds, such as hero sections with background images or the footer.
Step-by-step to add alternate logo
- Go to Settings > Design & branding > Customize.
- Find Alternate logo in the theme settings.
- Click Upload and select your light-colored logo image.
- Click Save.
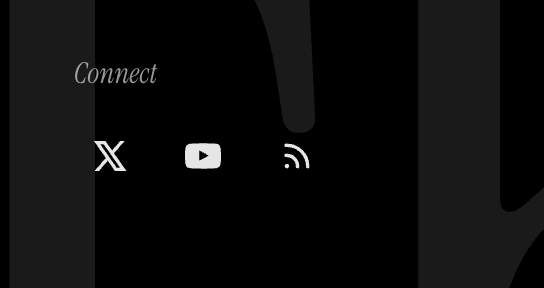
Social links
Add your social media profiles to display icons in your site's footer.
Step-by-step to add social links
- Go to Settings > Design & branding > Customize.
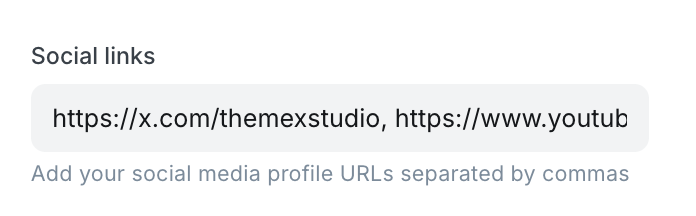
- Find Social links in the theme settings.
- Enter your profile URLs separated by commas.
- Click Save.
Example:
https://x.com/yourhandle, https://instagram.com/yourhandle, https://youtube.com/@yourchannel
The theme automatically detects the platform and displays the appropriate icon.
Header navigation
The primary navigation appears in your site's header.
Step-by-step to add an item to header navigation
- Go to Settings > Navigation > Primary Navigation.
- Type the page's name in the label field as you'd like it to appear on your menu.
- Click on the item's URL. The blog URL will already be auto-populated.
- When satisfied with your page configurations, click the Save button.
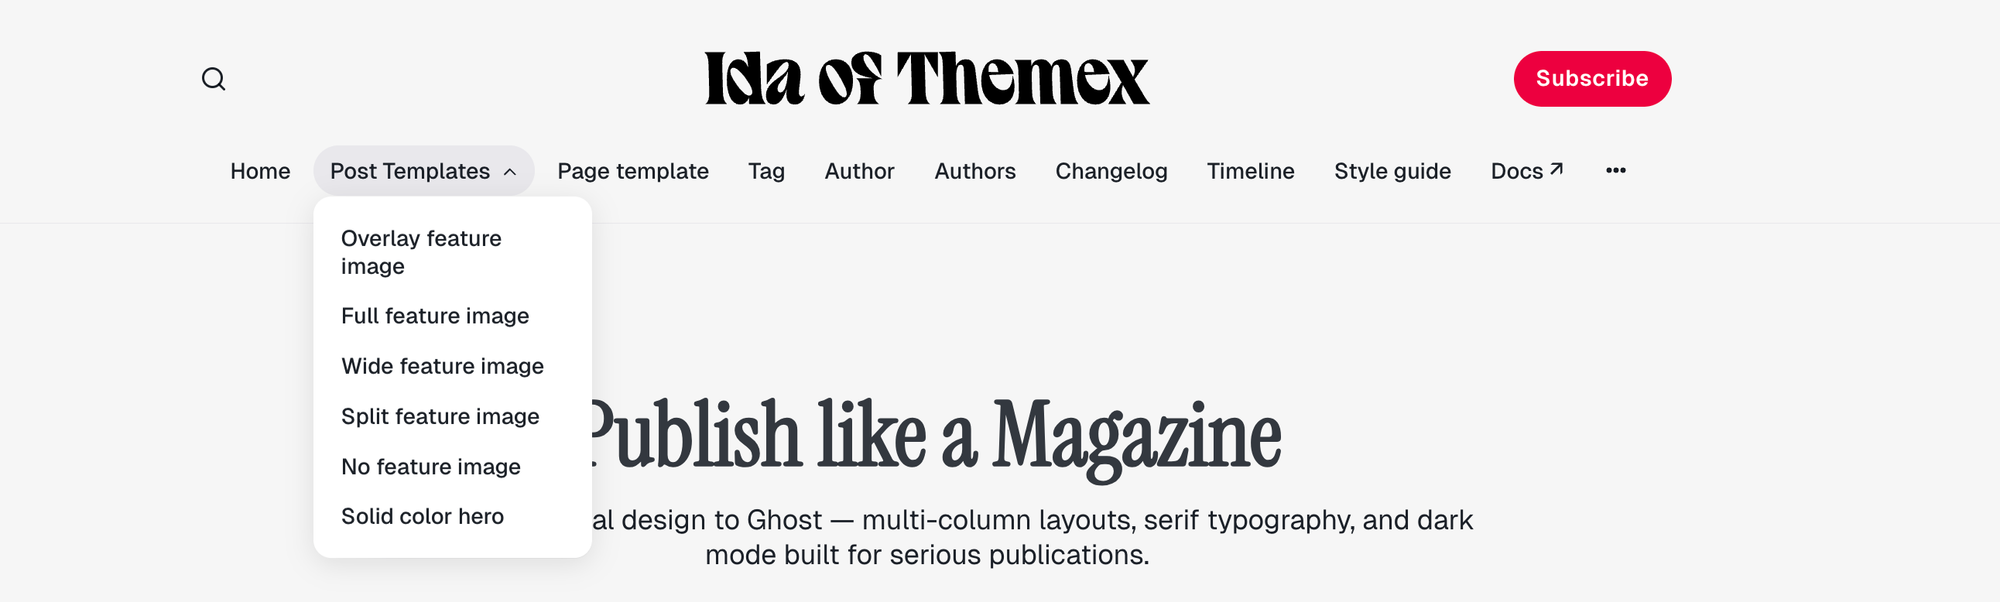
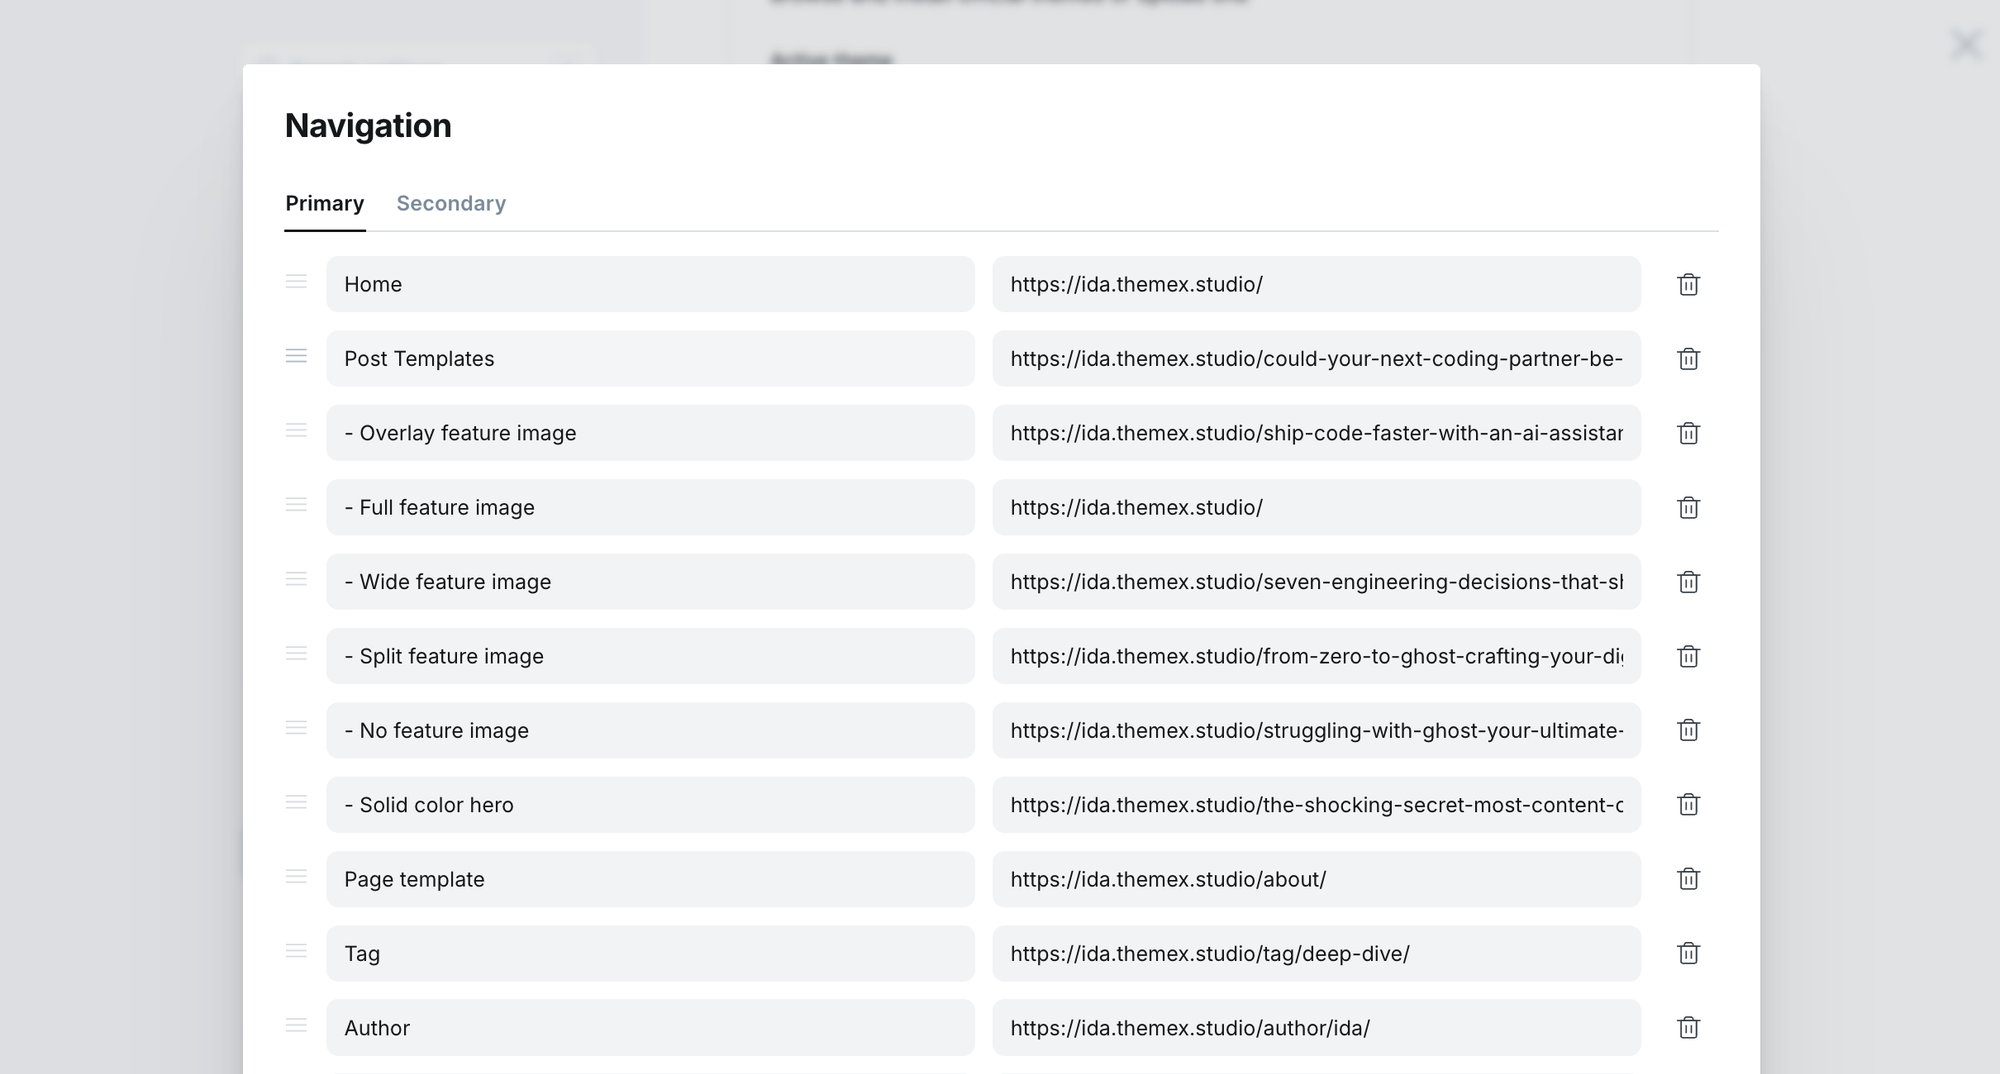
You can create dropdown sub-menus in your Ghost site navigation to organize your content more effectively and improve site navigation.
Add dropdown menu
- In your Ghost Admin panel, go to Settings → Navigation.
- Add your main menu items normally.
- To create submenu items, add them with a dash (-) prefix before the child item.
- Arrange items in the order you want them to appear.
Example settings:
Home          /
About         /about
- Team        /team
- Contact     /contact
Blog          /blog
Header profile displays Publication logo from Settings → Design & branding → Brand → Publication logo. If no logo is uploaded, the site title will display instead.
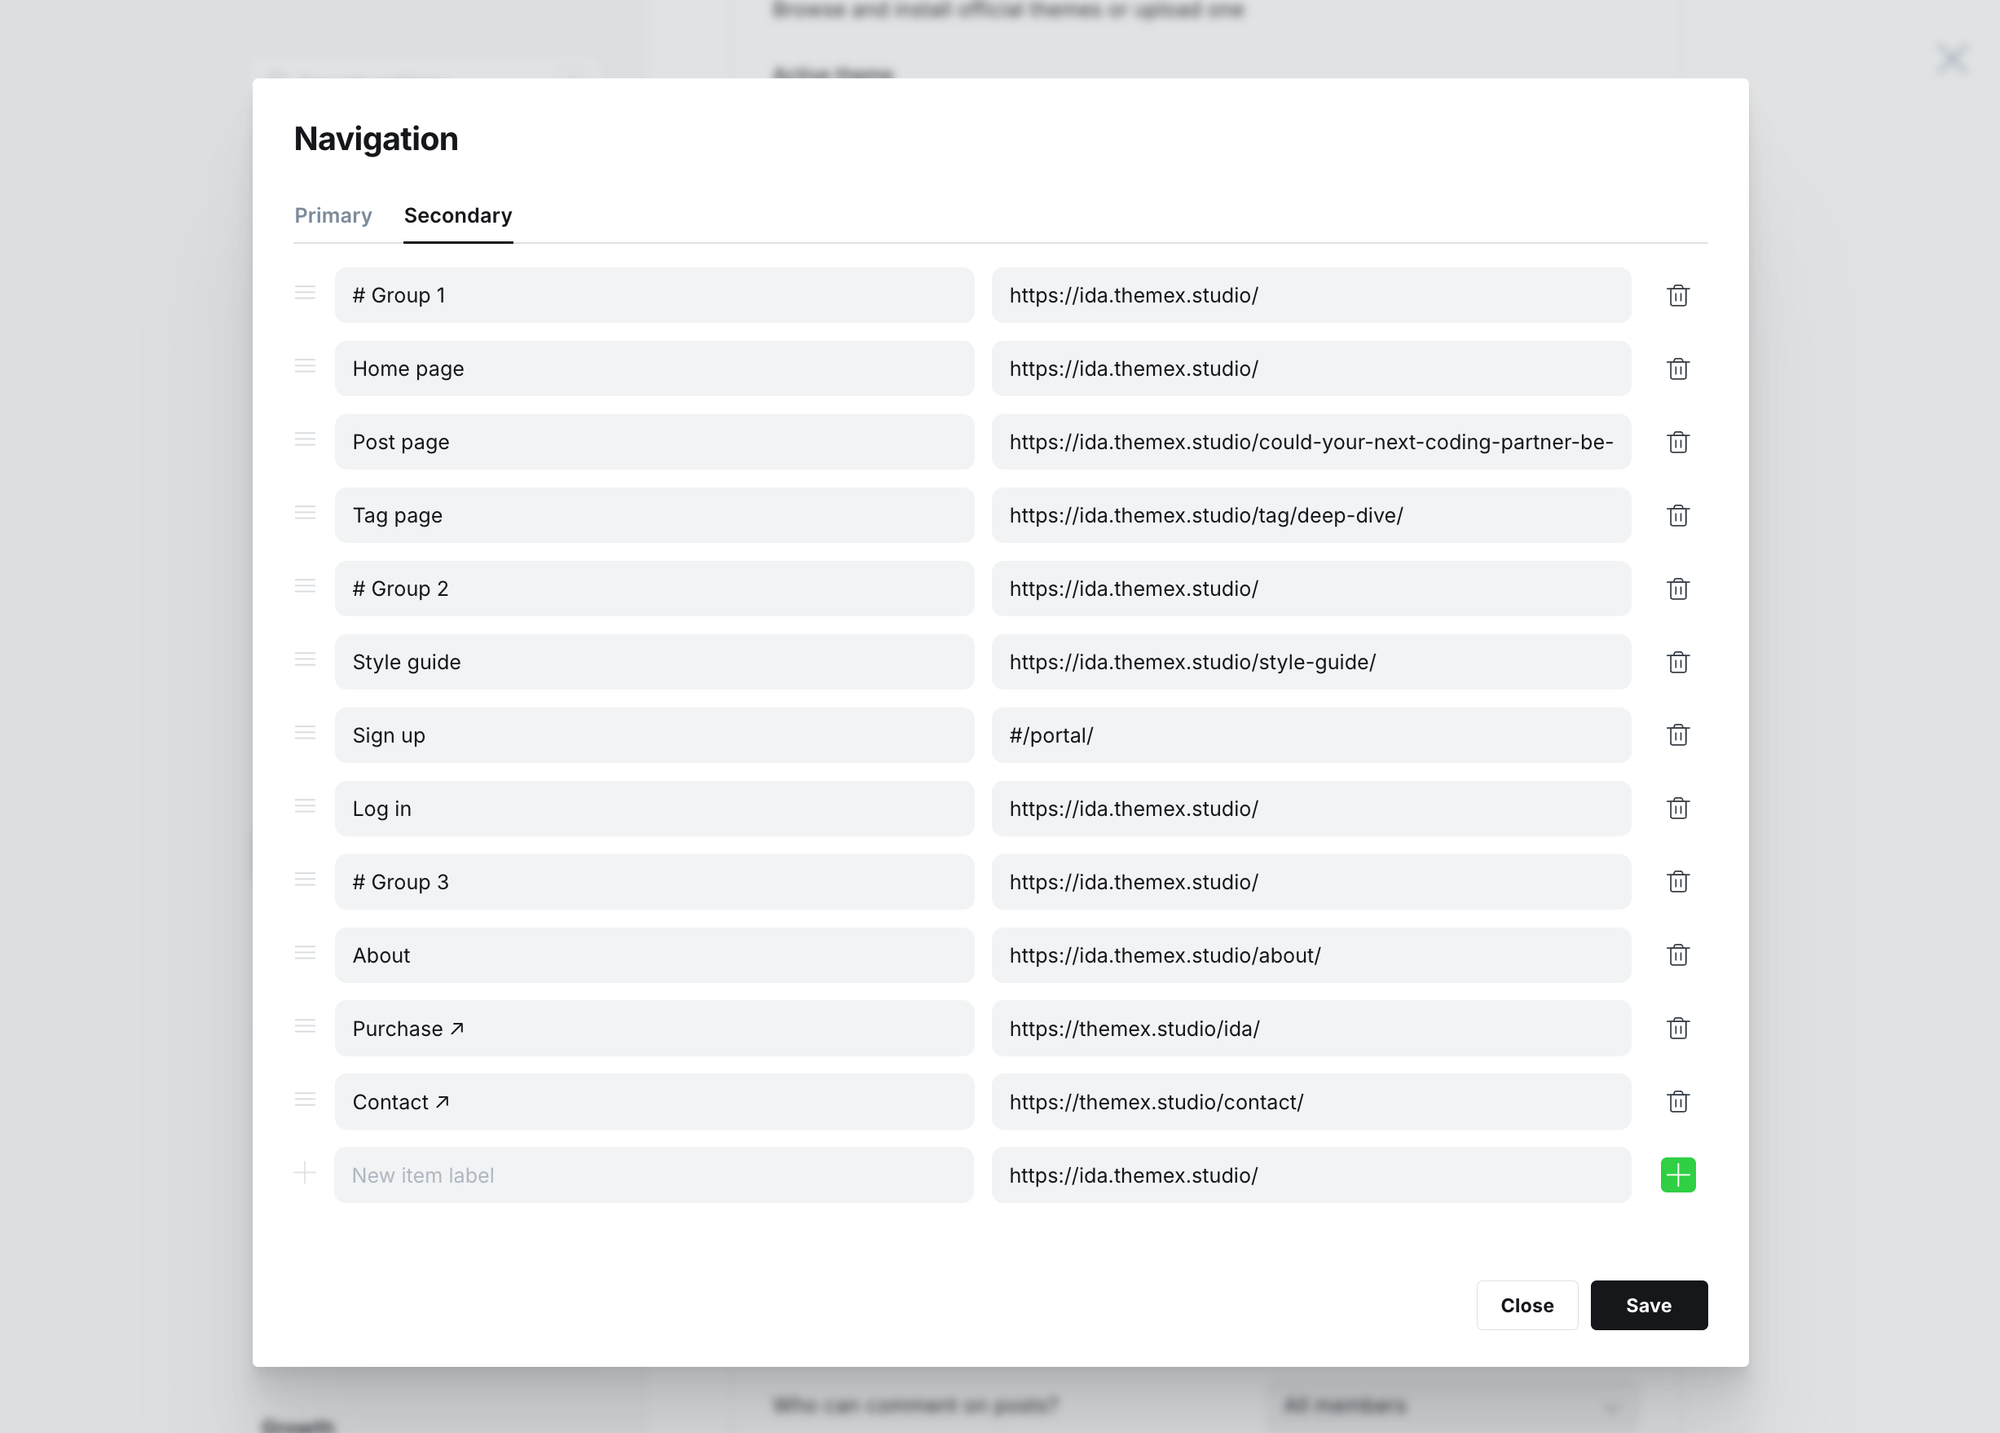
Footer navigation
Like the header, you can add the footer navigation links from the Ghost Admin Settings > Navigation > Secondary.
To group footer items into different groups, add # before the name.
Footer navigation groups
Example configuration:
#Company
About Us      /about
Careers       /careers
#Legal
Privacy       /privacy
Terms         /terms
Homepage
The Ida homepage is a dynamic, editorial layout with multiple configurable sections. Sections are created using Ghost pages with special internal tags, giving you complete control over what appears on your homepage.
Hero section
The hero section displays your featured posts in an eye-catching layout at the top of your homepage.
Layout options
Ida offers two hero layouts:
Layout 1 (default)
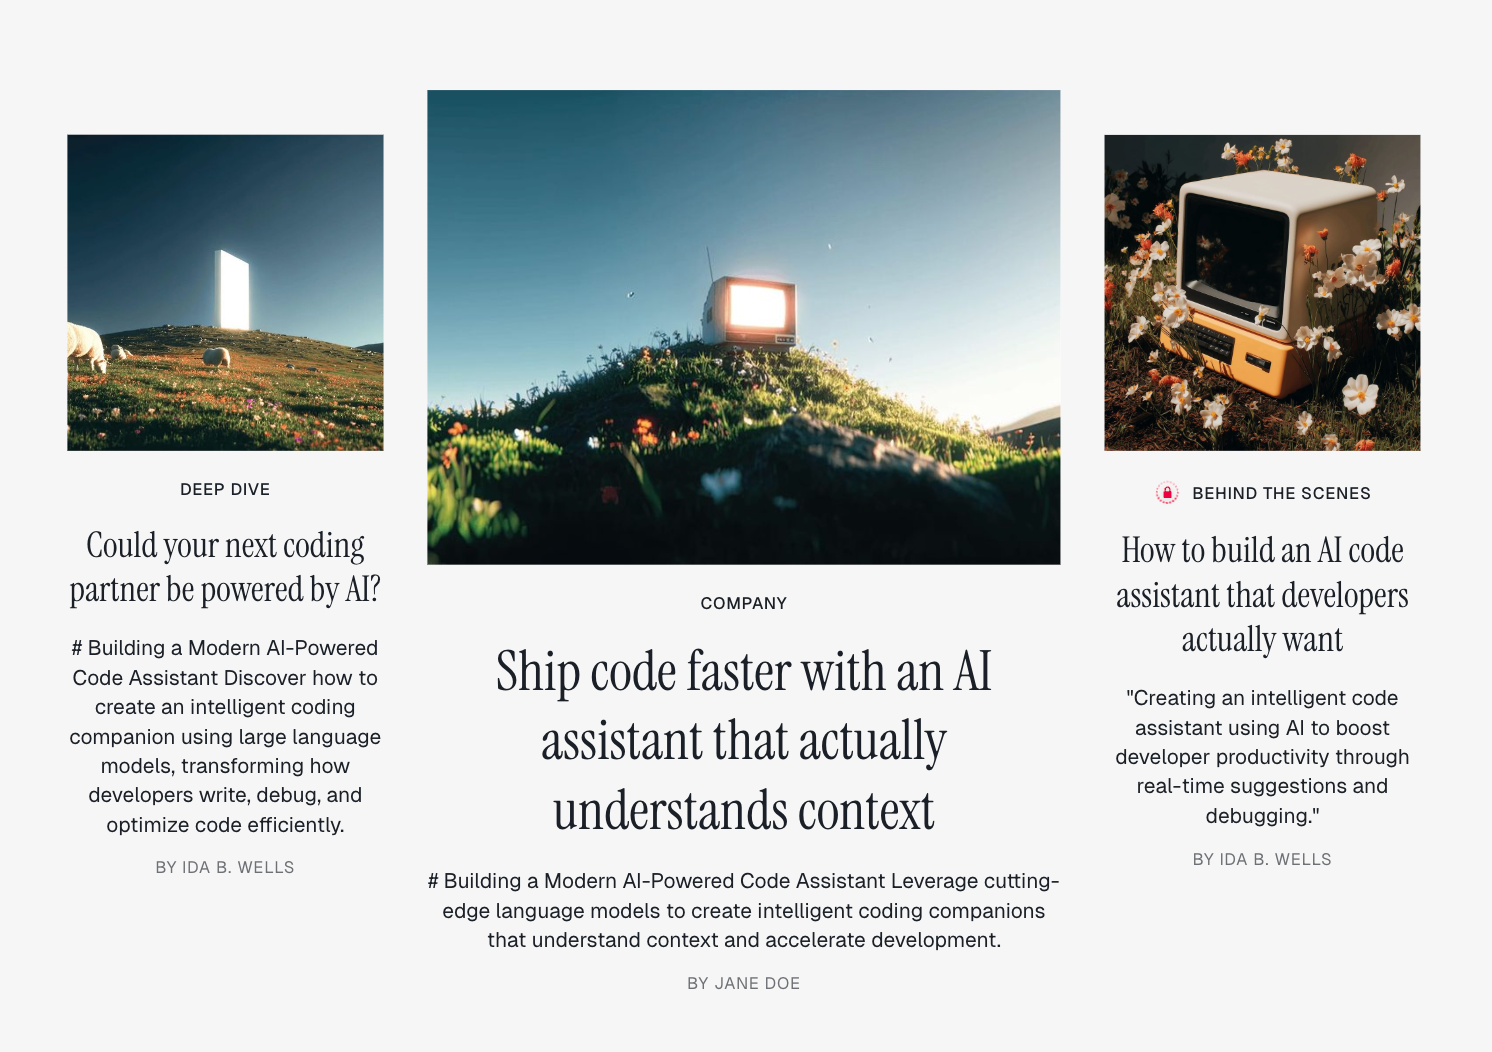
- Row 1: One large center post with two side posts
- Row 2: Four text-only posts
Layout 2
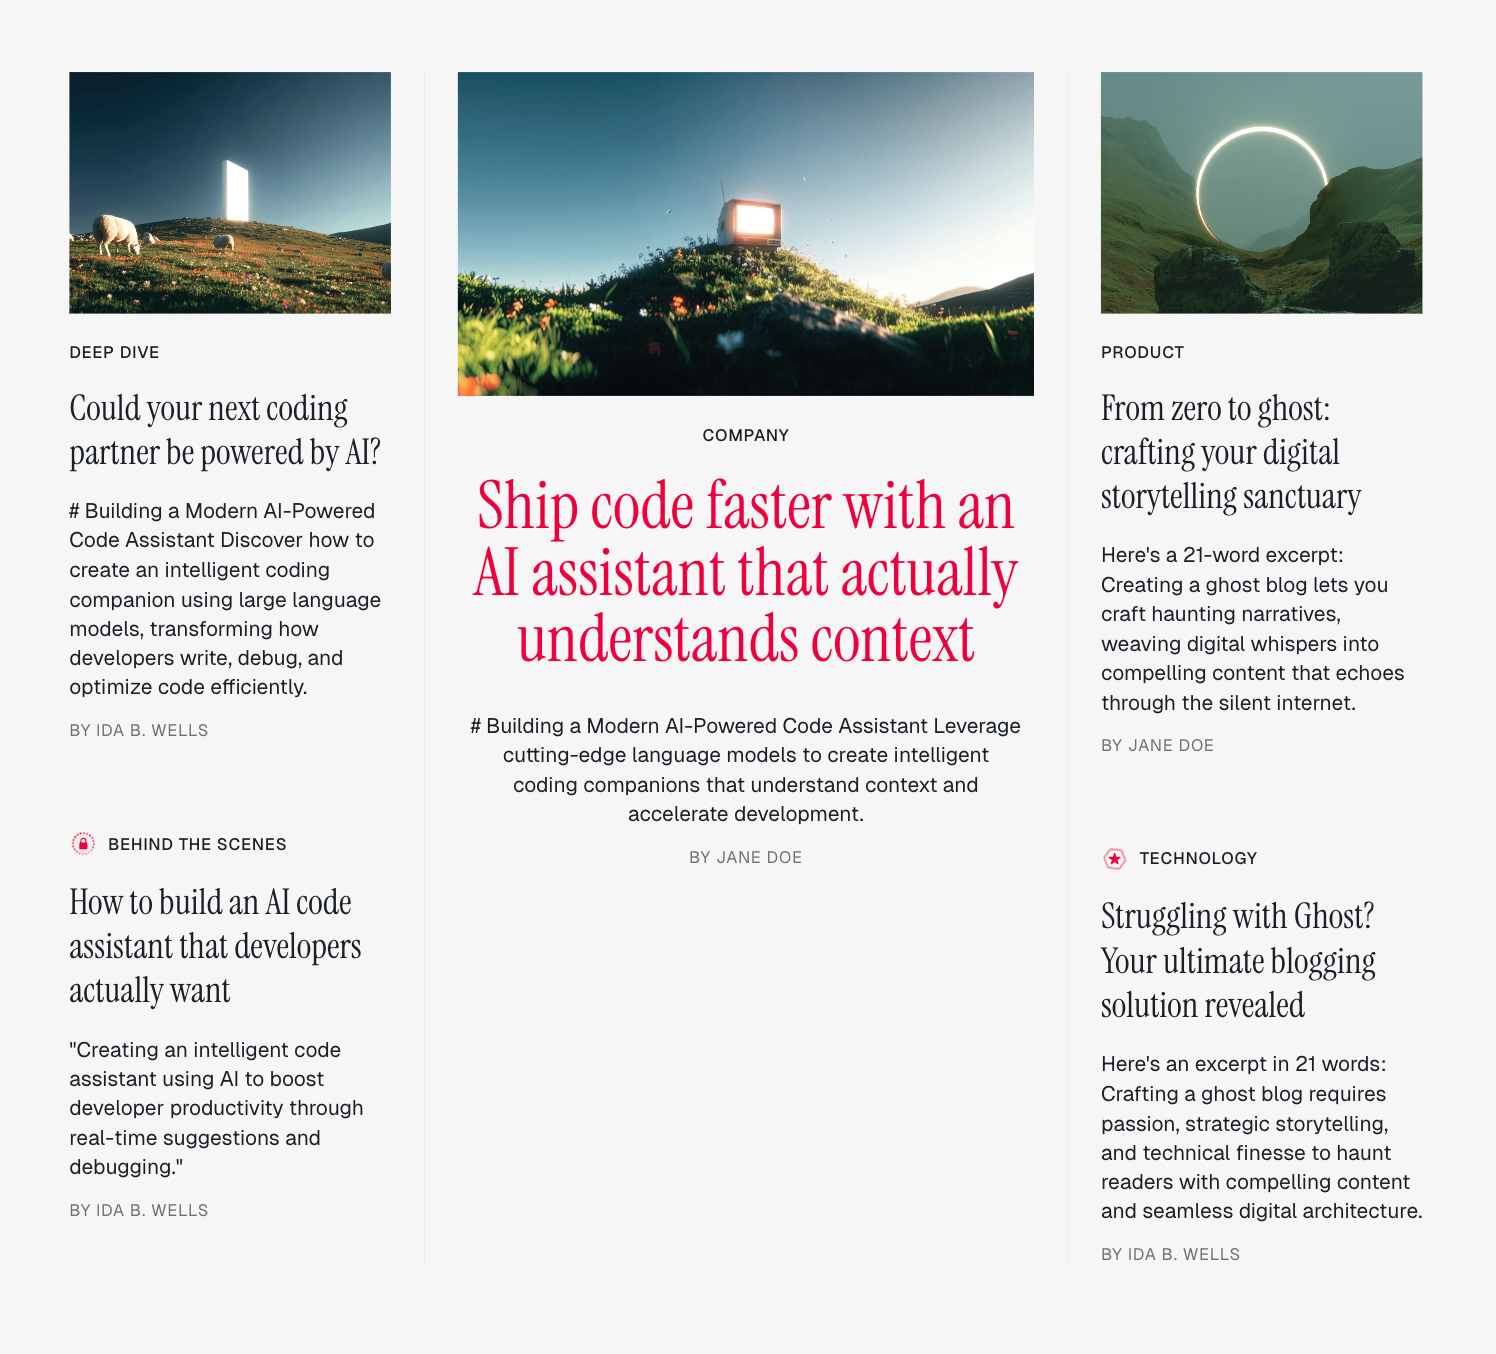
- Left column: Two posts (one with image, one text-only)
- Center: Primary featured post with large accent title
- Right column: Two posts (one with image, one text-only)
Step-by-step to change hero layout
- Go to Settings > Design & branding > Customize.
- Find Homepage hero layout in the theme settings.
- Select Layout 1 or Layout 2.
- Click Save.
Featured posts
Posts appear in the hero section when marked as "Featured" in Ghost.
Step-by-step to feature a post
- Open the post you want to feature.
- Click the settings icon ( ⚙️ ) in the top right.
- Toggle Feature this post to on.
- Update the post.
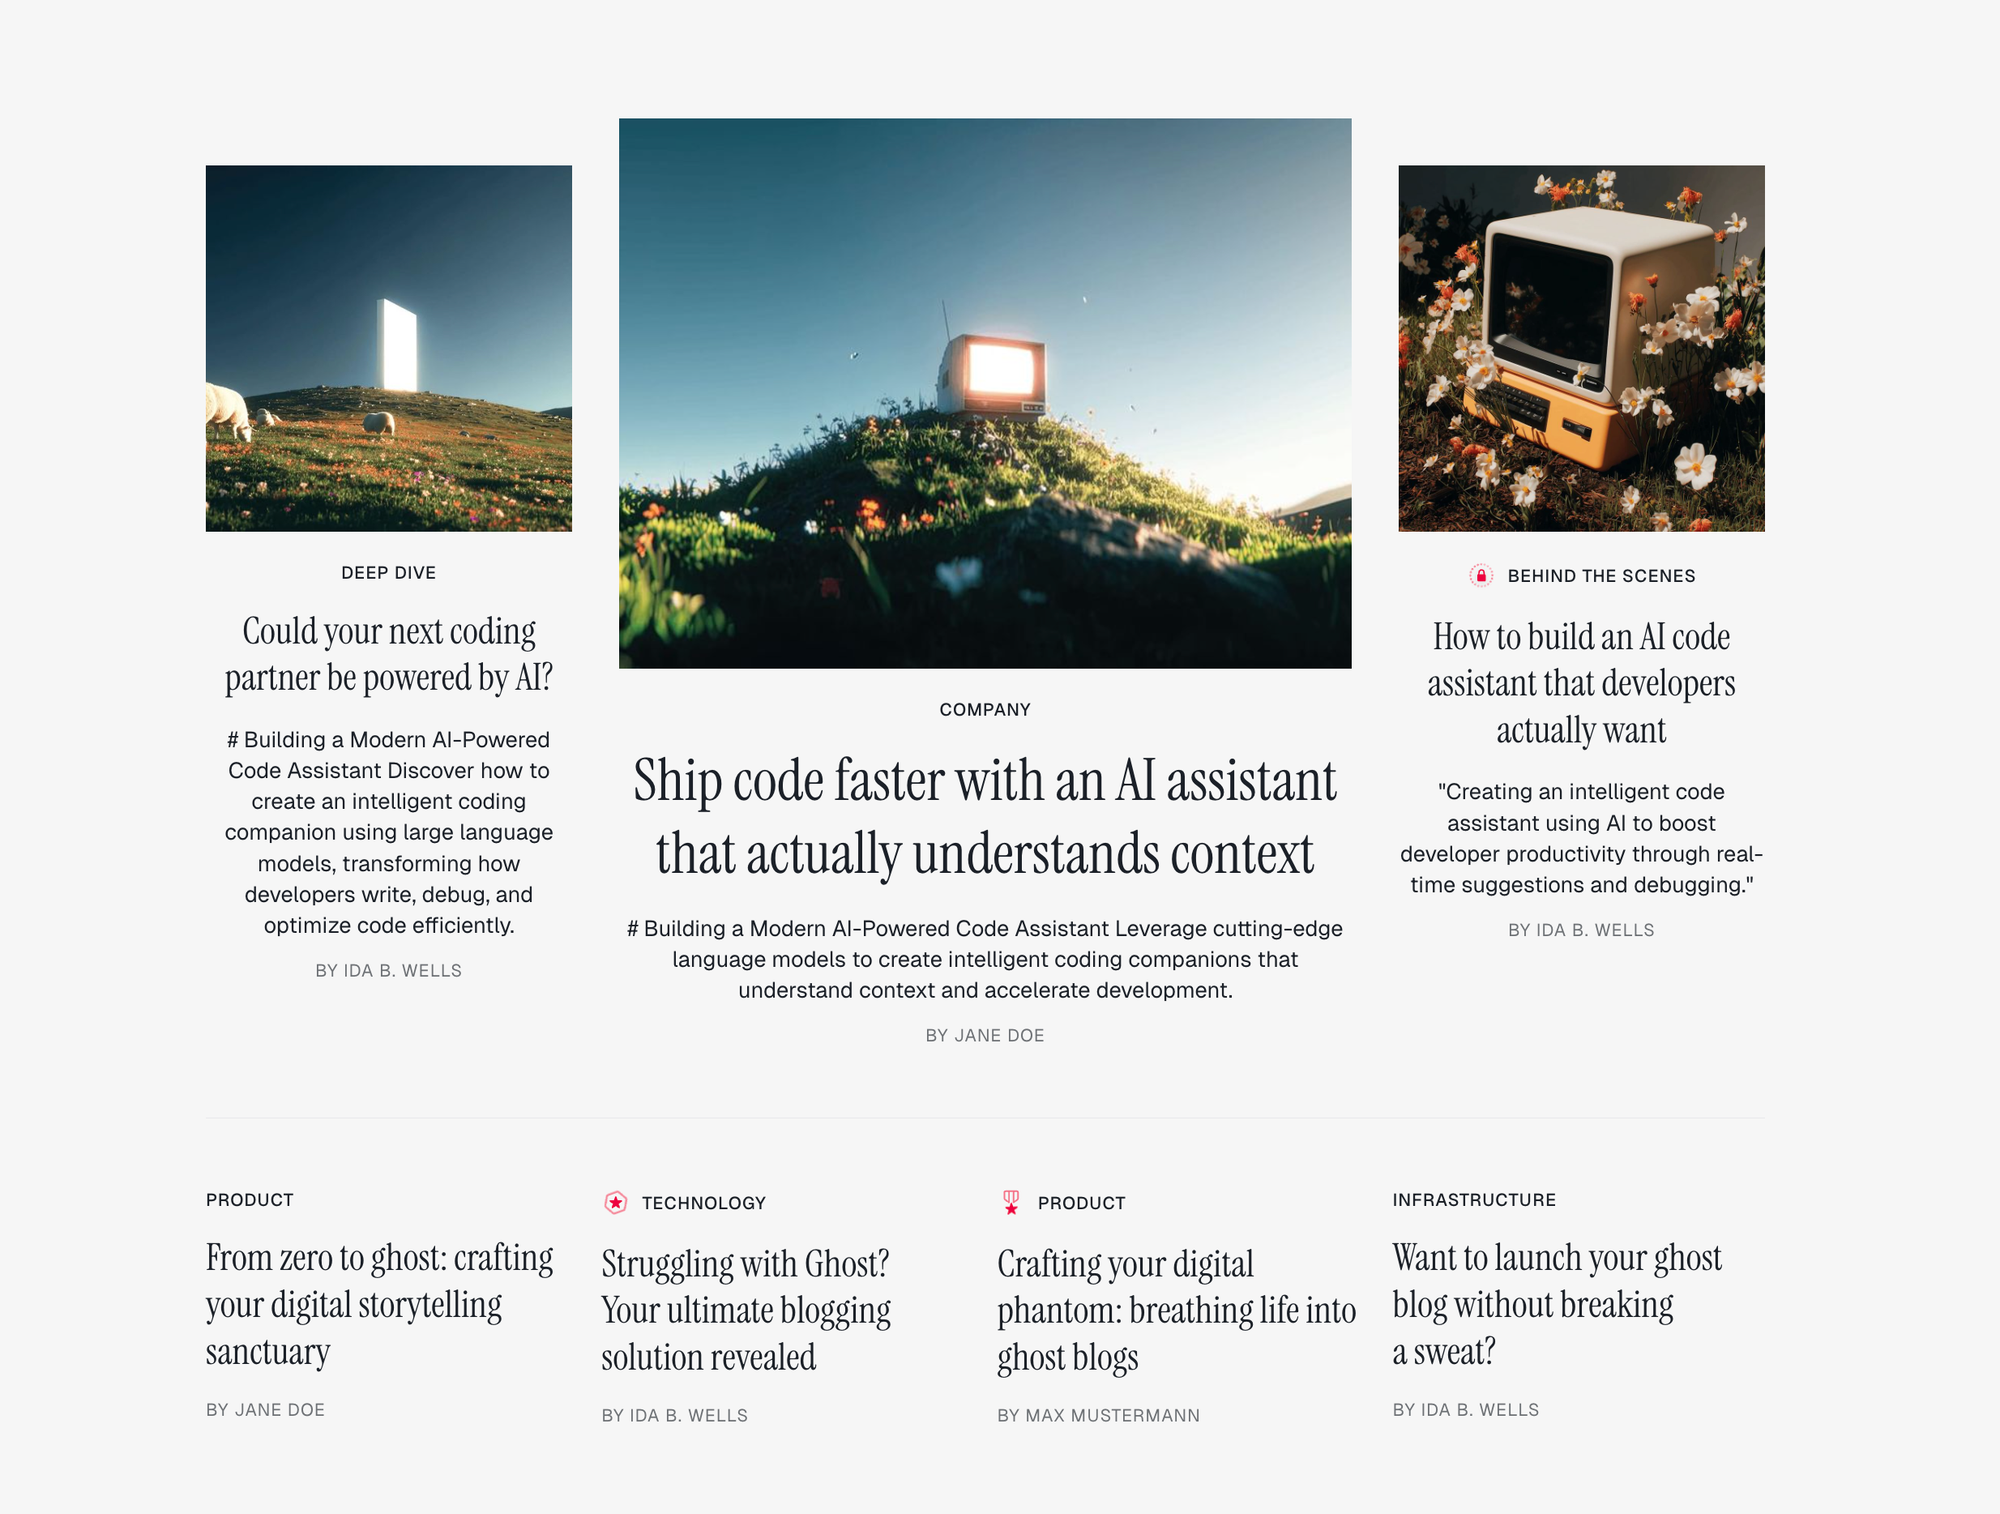
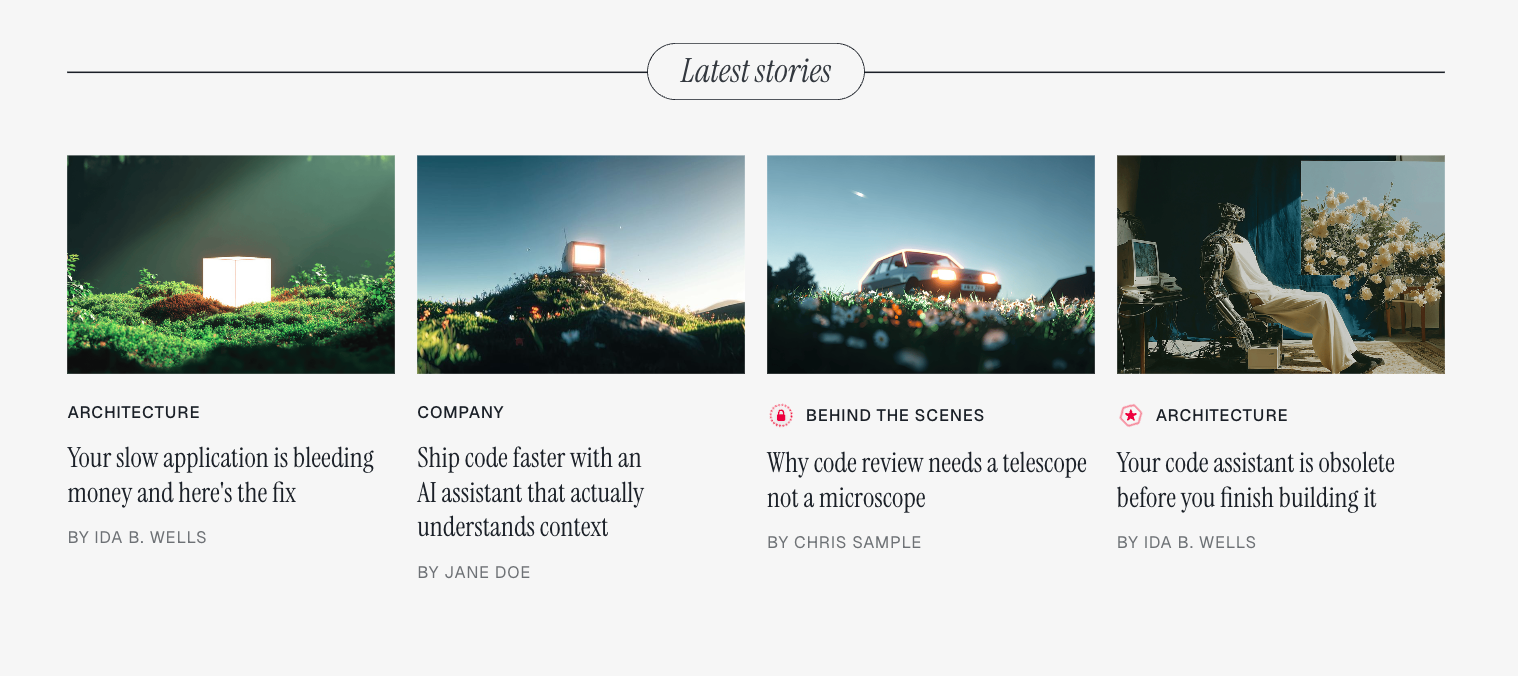
Latest stories section
This section automatically displays your 4 most recent posts in a grid layout below the hero. It shows post images, authors, and tags.
[!note] This section appears automatically and doesn't require configuration.
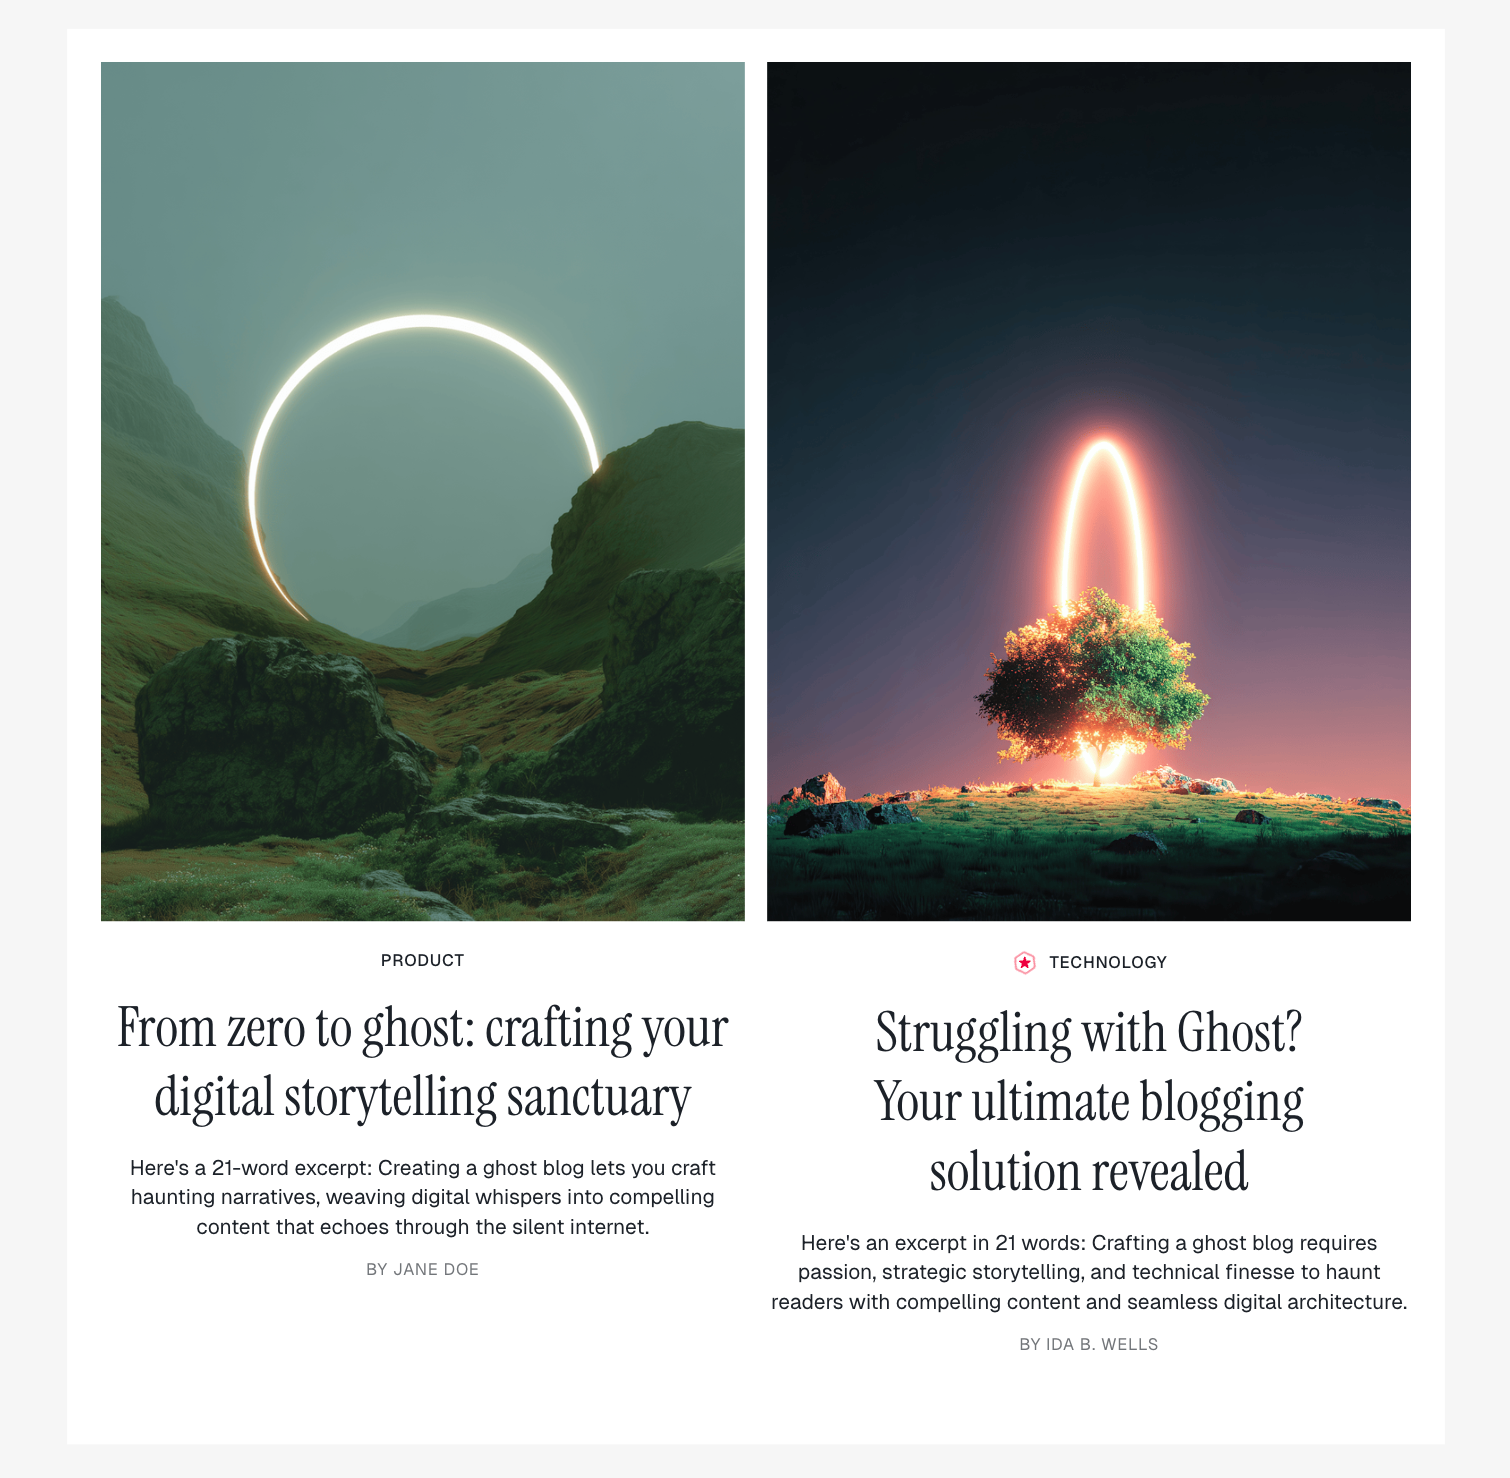
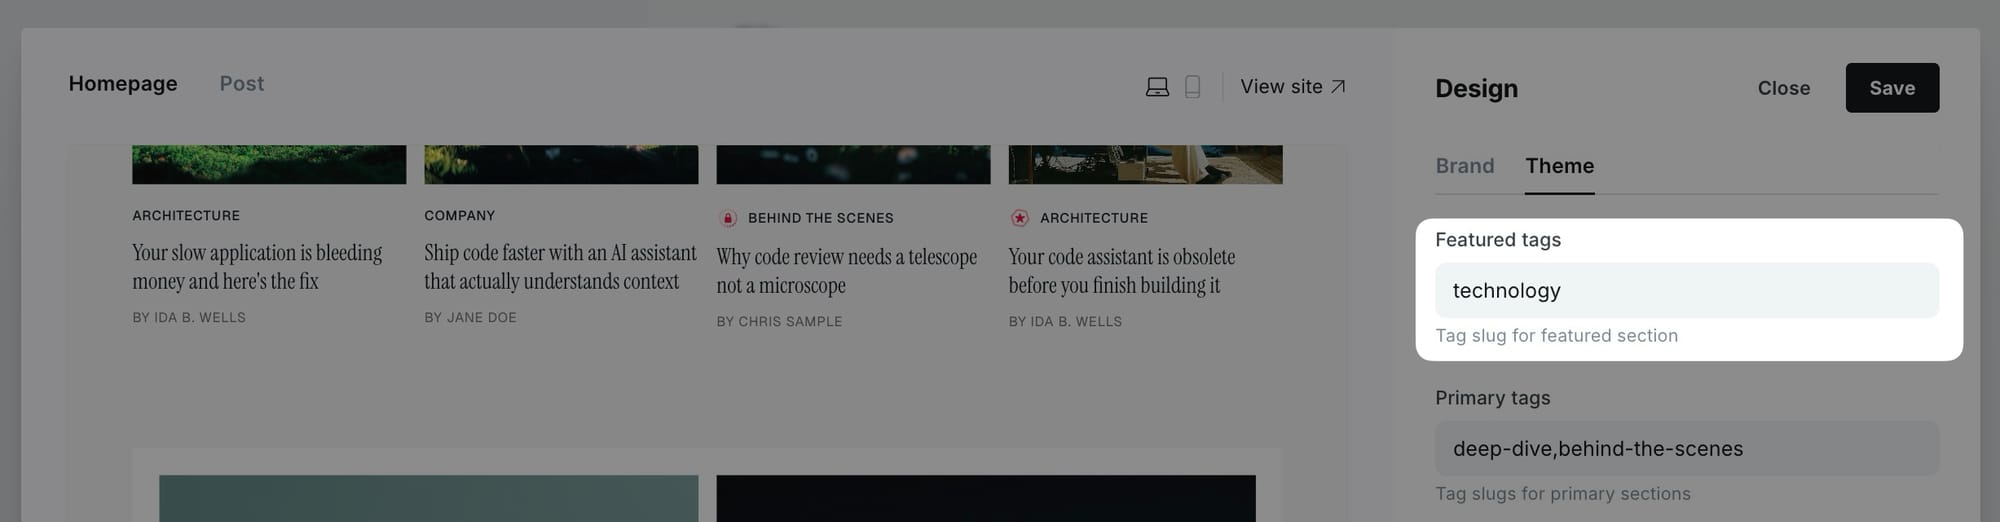
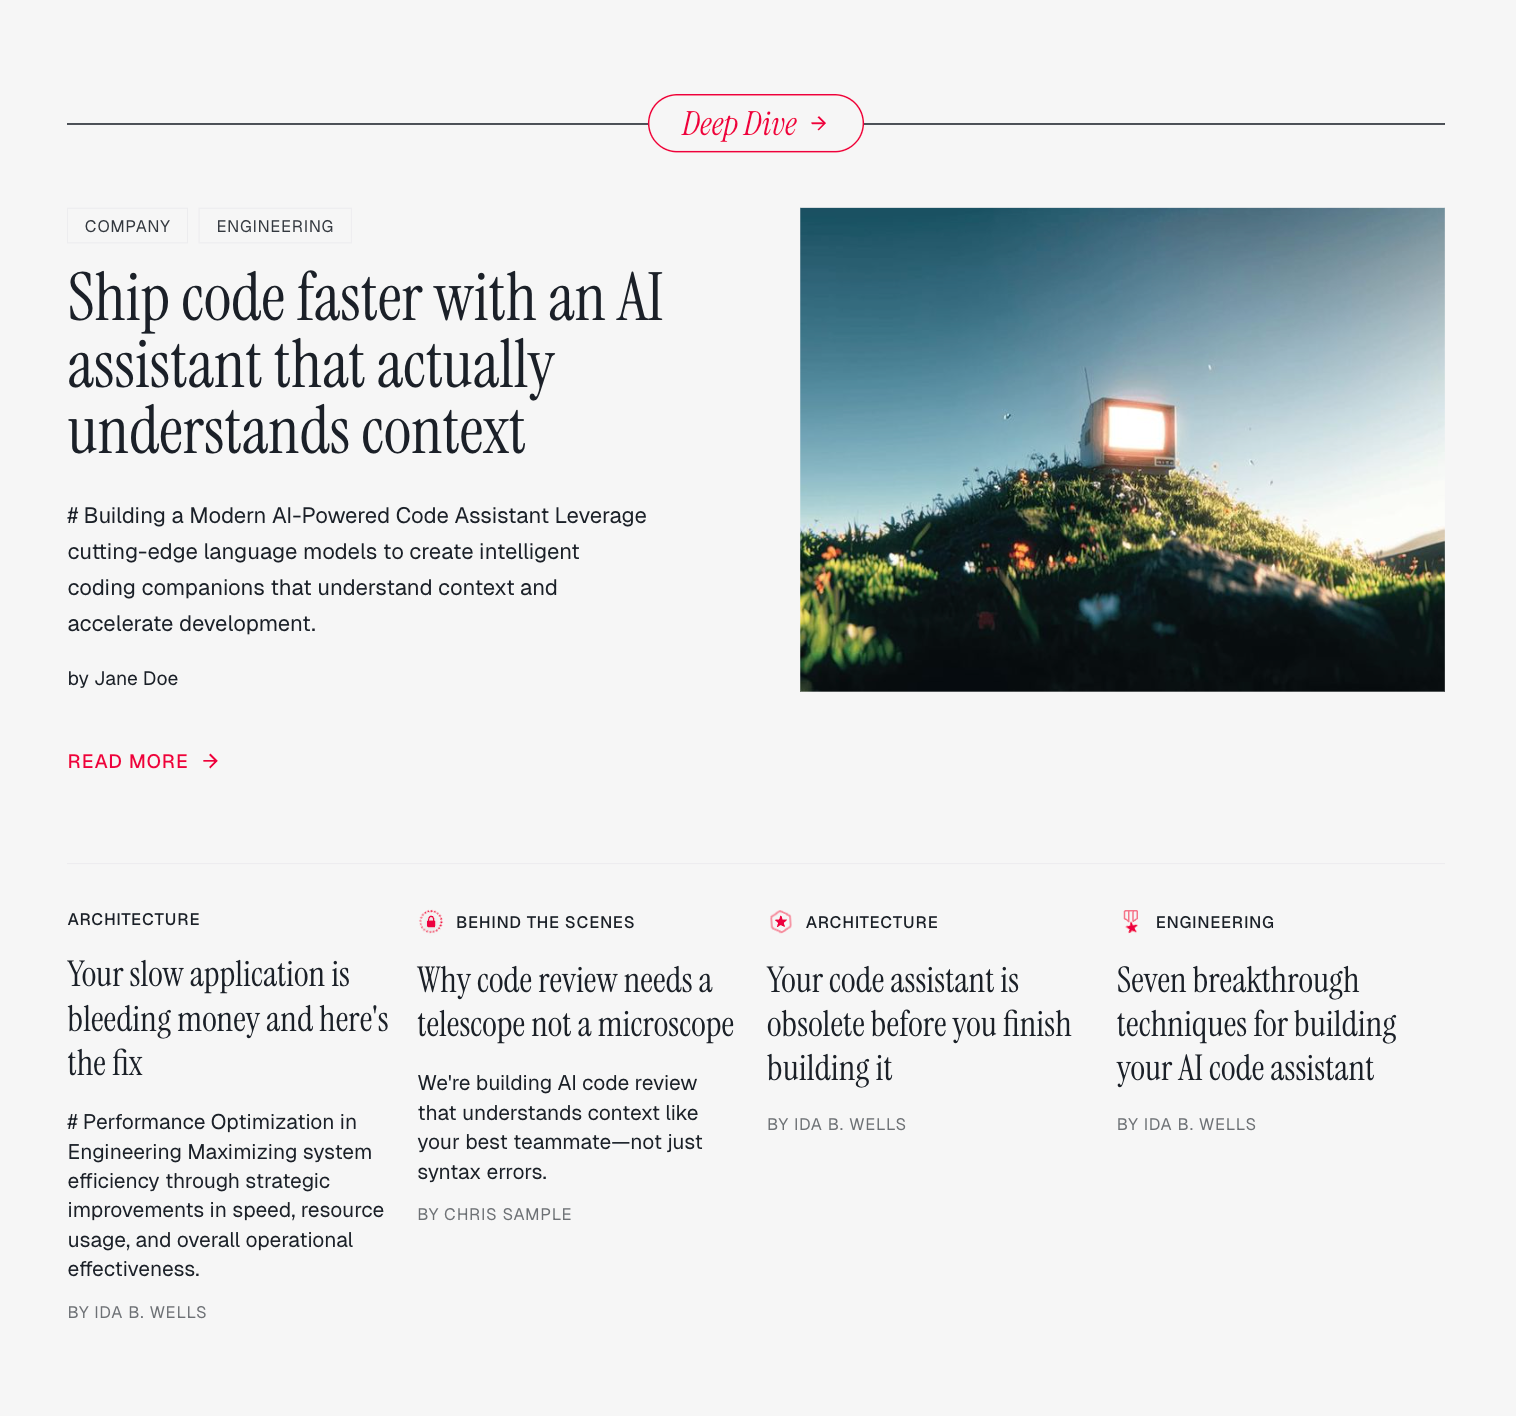
Dual feature section
Display two featured posts from a specific tag in a prominent layout.
Step-by-step to add dual feature section
- Go to Settings > Design & branding > Customize.
- Find Featured tags in the homepage settings.
- Enter the tag slug for the posts you want to feature.
- Click Save.
Example: Enter photography to display posts tagged with "Photography".
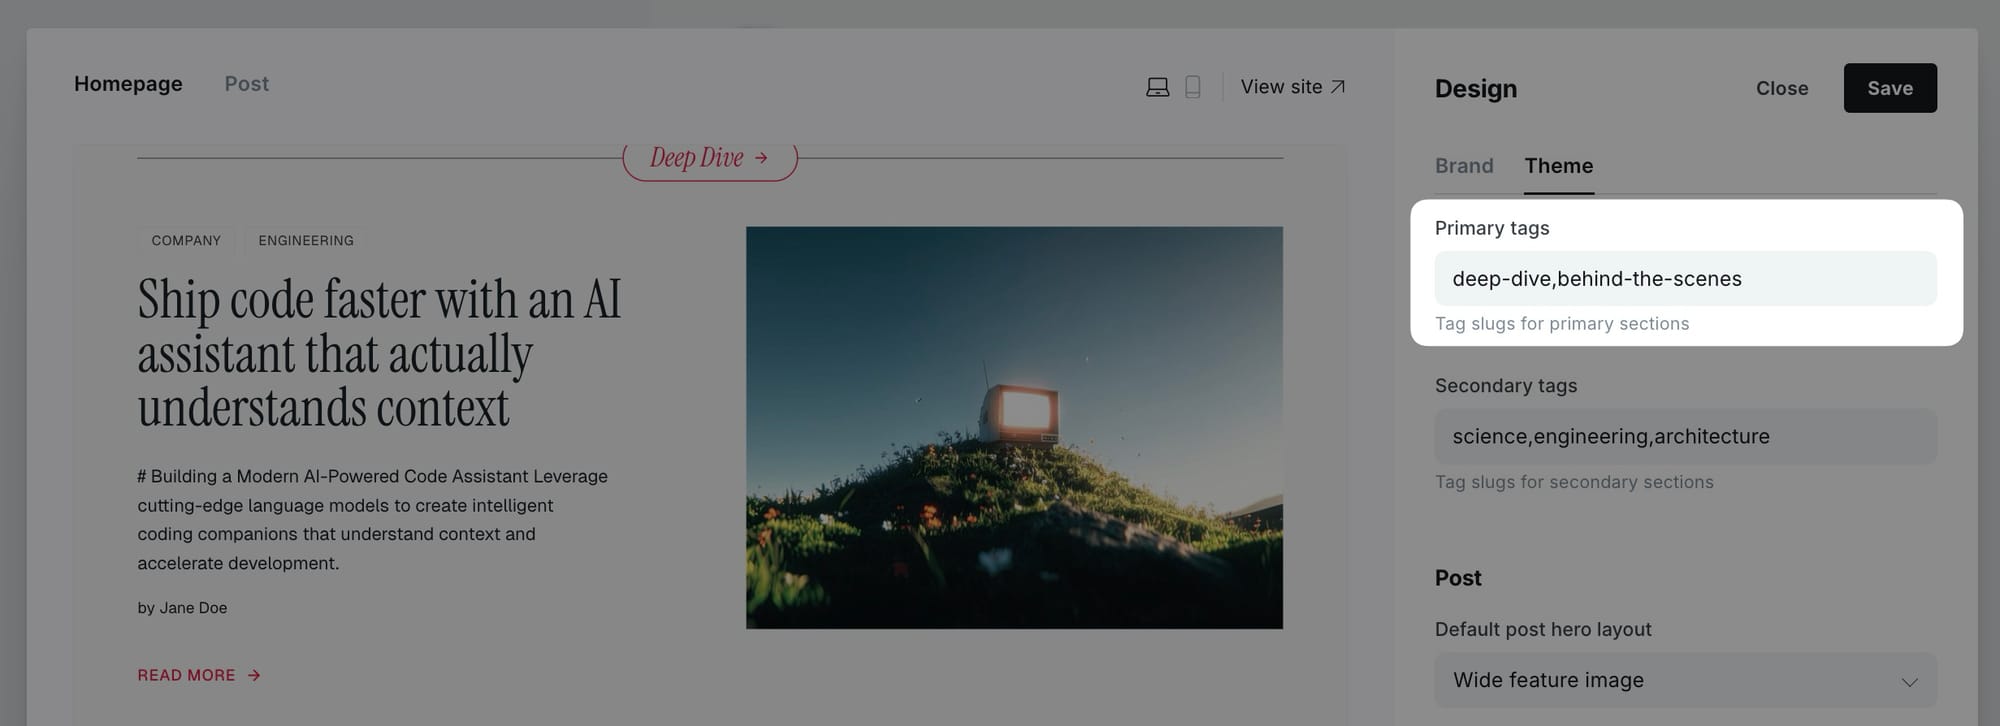
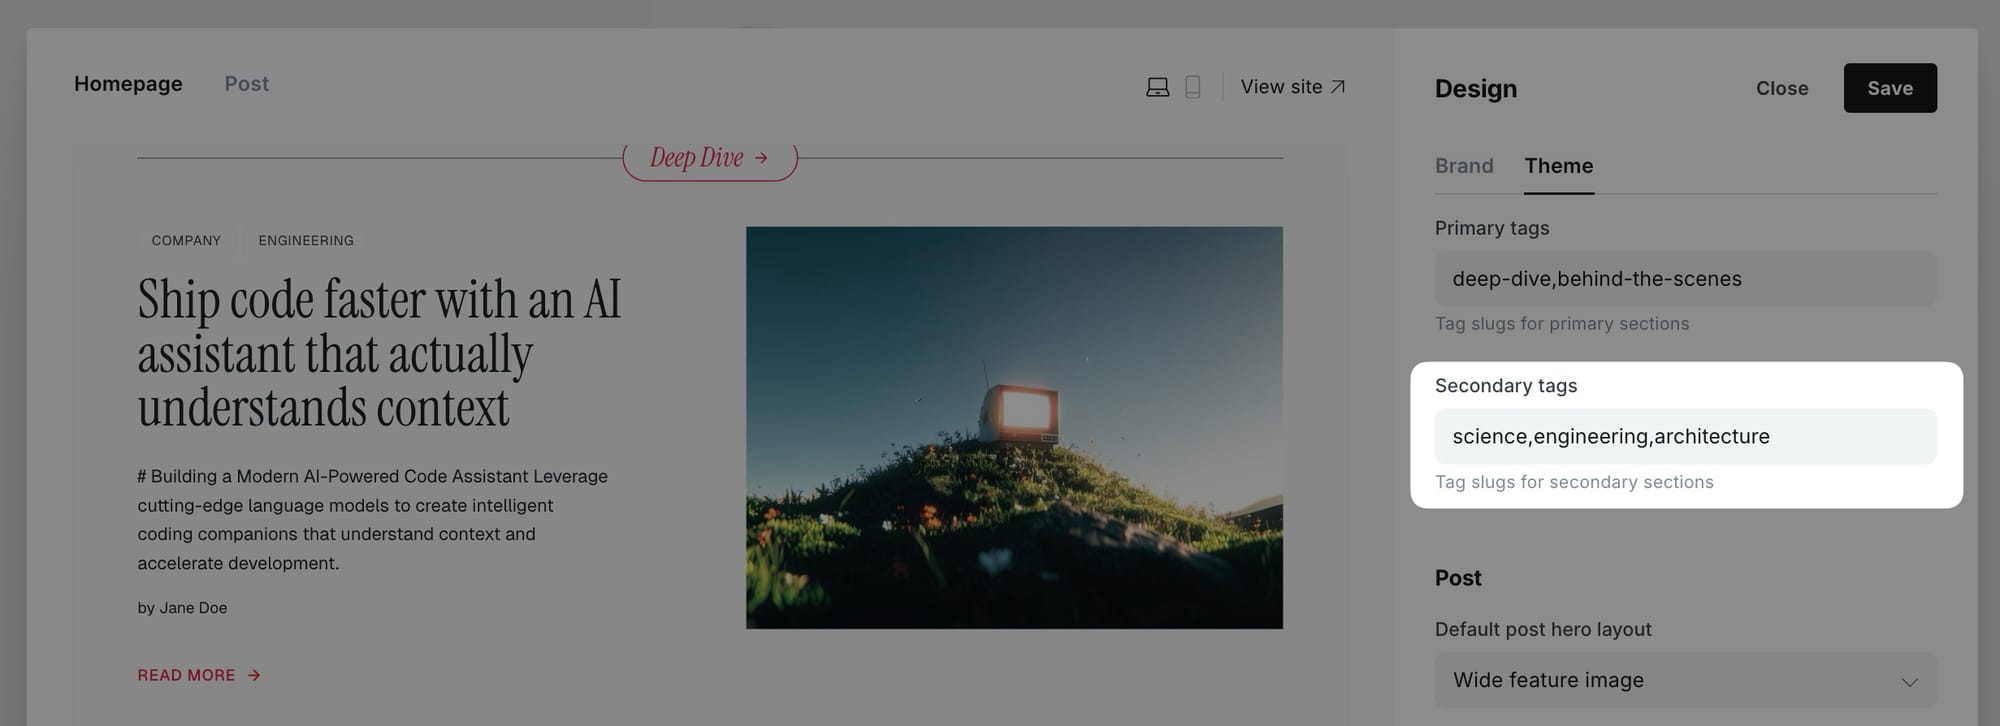
Primary tag sections
Create prominent sections for your main content categories. Each section displays:
- A hero row with the first featured post (text left, large image right)
- A secondary row with 4 additional text-only posts
Step-by-step to add primary tag sections
- Go to Settings > Design & branding > Customize.
- Find Primary tags in the homepage settings.
- Enter tag slugs separated by commas.
- Click Save.
Example: news, technology, culture creates three primary sections.
Secondary tag sections
Create additional content sections with a mixed layout:
- Row 1: Three posts with images (varying aspect ratios)
- Row 2: Four text-only posts
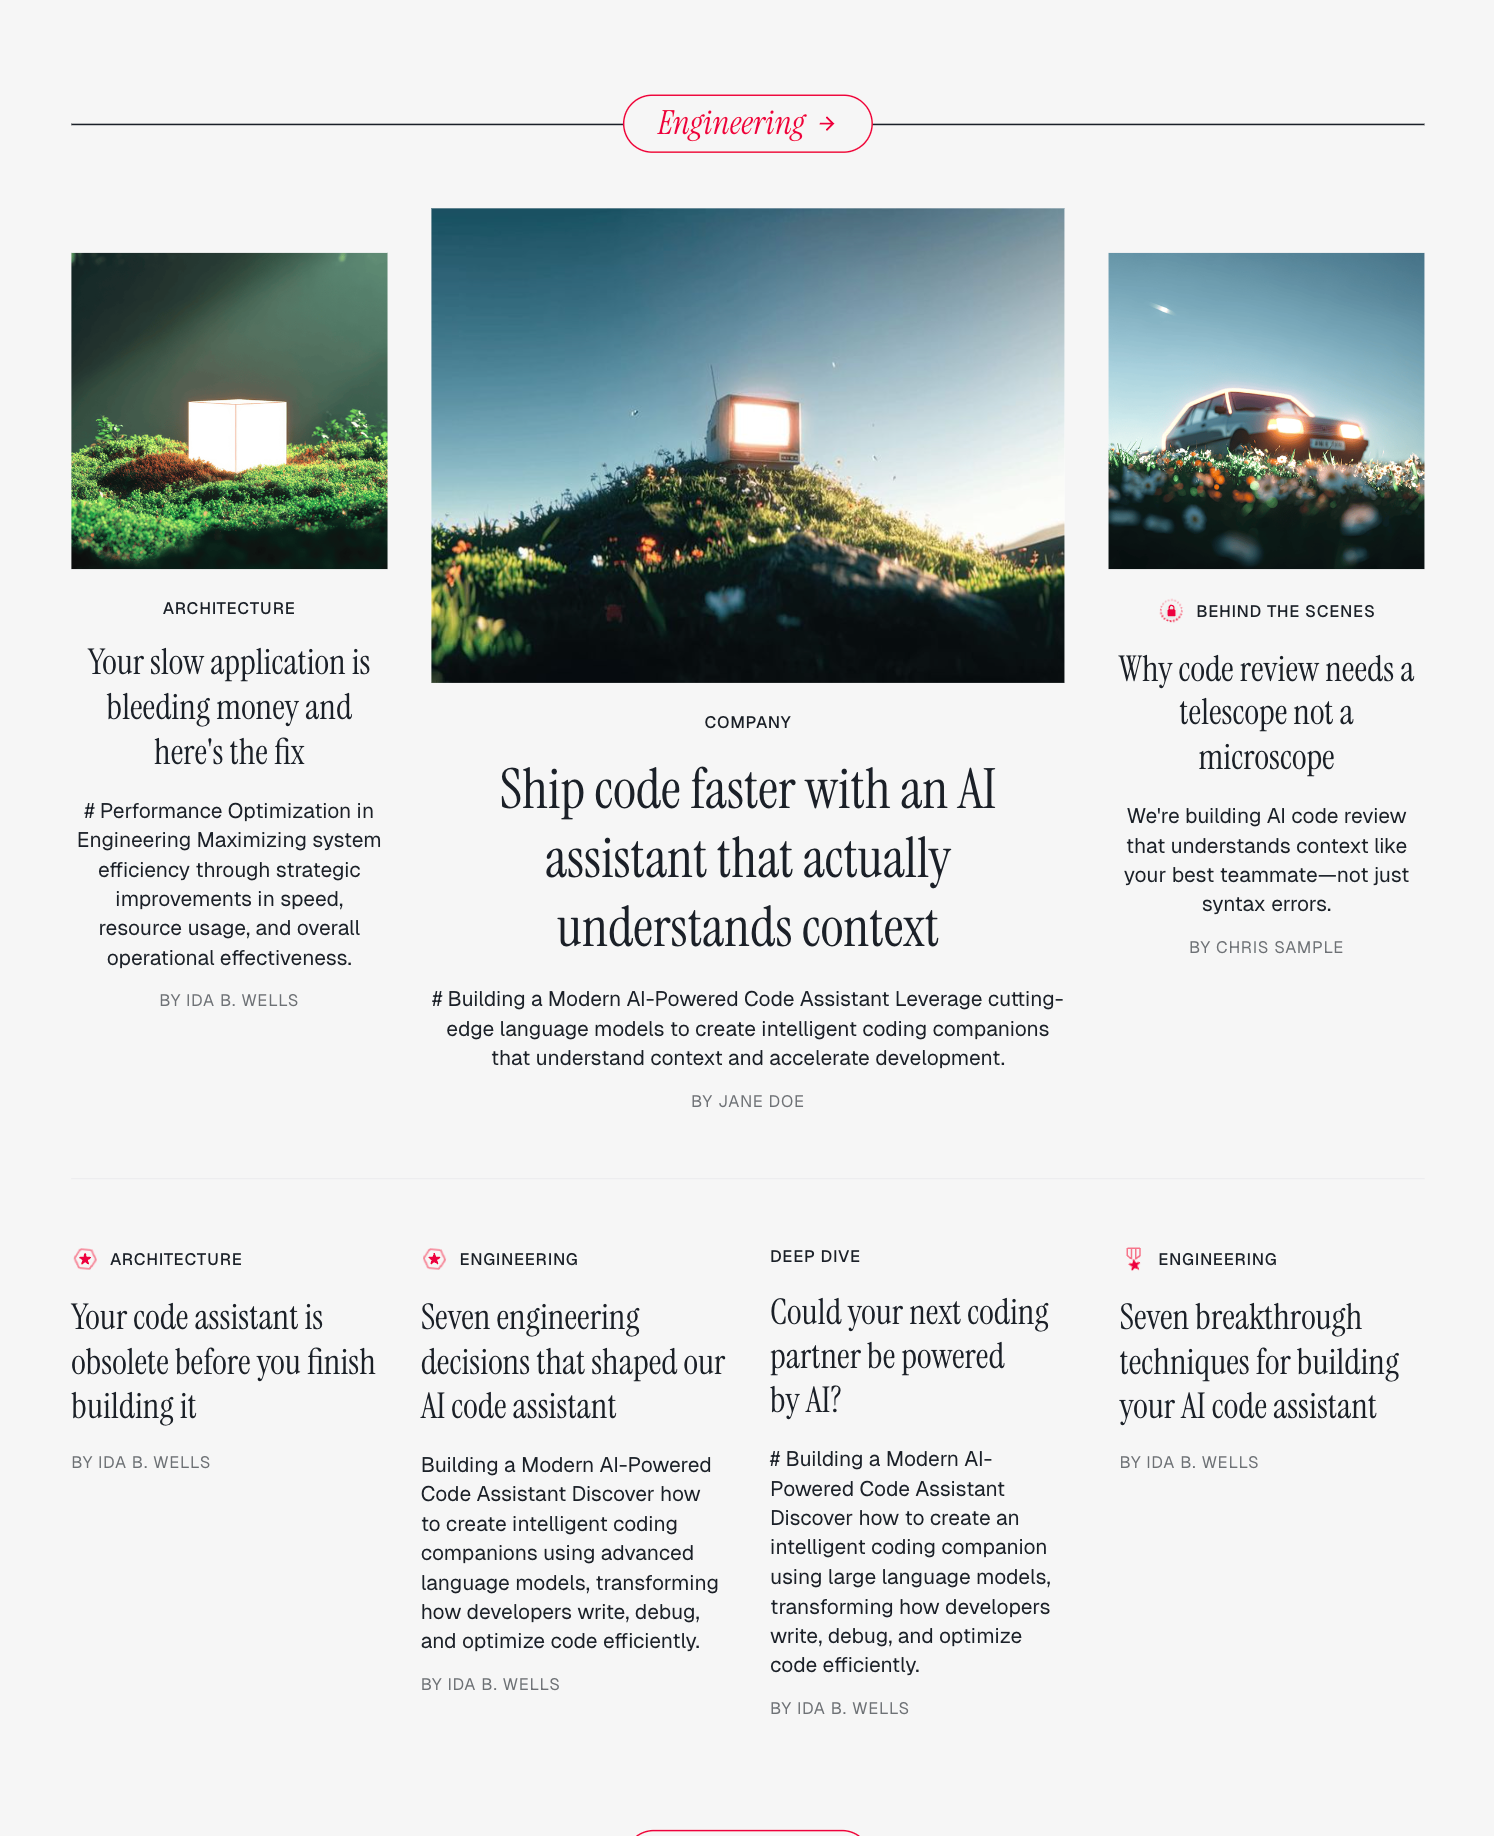
Step-by-step to add secondary tag sections
- Go to Settings > Design & branding > Customize.
- Find Secondary tags in the homepage settings.
- Enter tag slugs separated by commas.
- Click Save.
Custom homepage sections
Create unique sections on your homepage using Ghost pages with special internal tags. Sections are displayed in the order of their publish dates (oldest first).
How custom sections work
- Create a Ghost page (not a post)
- Add the appropriate
#section-*tag - Optionally add a positioning tag
- Publish the page
The page title becomes the section heading, and the content varies based on the section type.
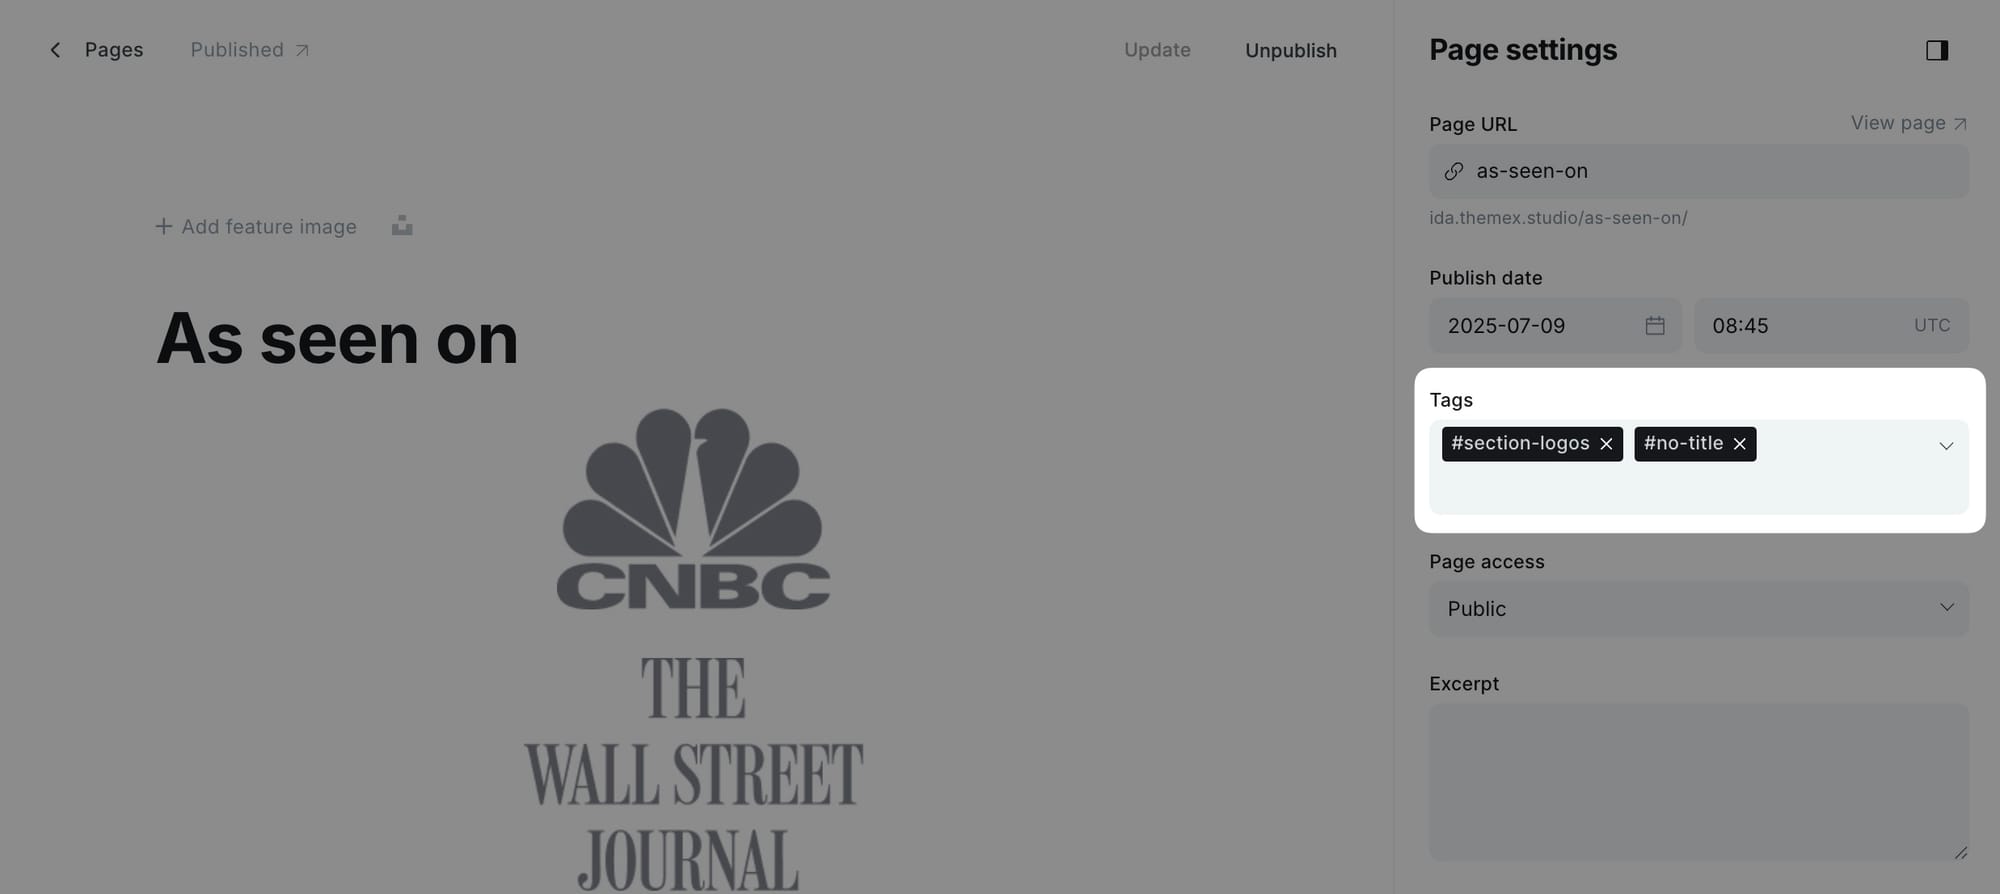
Logo carousel section
Display a horizontal scrolling marquee of logos—perfect for showcasing clients, partners, or brands.

Step-by-step to add logo carousel section
- In Ghost admin, go to Pages and create a new page.
- Give it a title (this becomes the section heading).
- In the page content, add a Gallery card with your logo images.
- Add
#section-logosto the Tags field. - Publish the page.
[!note] For best results, use logo images with transparent backgrounds and consistent heights.
Static text section
Display custom text or HTML content in a highlighted section.
Step-by-step to add static text section
- Create a new page.
- Add your title.
- Add your content using Ghost's editor (text, images, HTML cards, etc.).
- Add
#section-static-textto the Tags field. - Publish the page.
Testimonials section
Display a grid of quotes or testimonials.
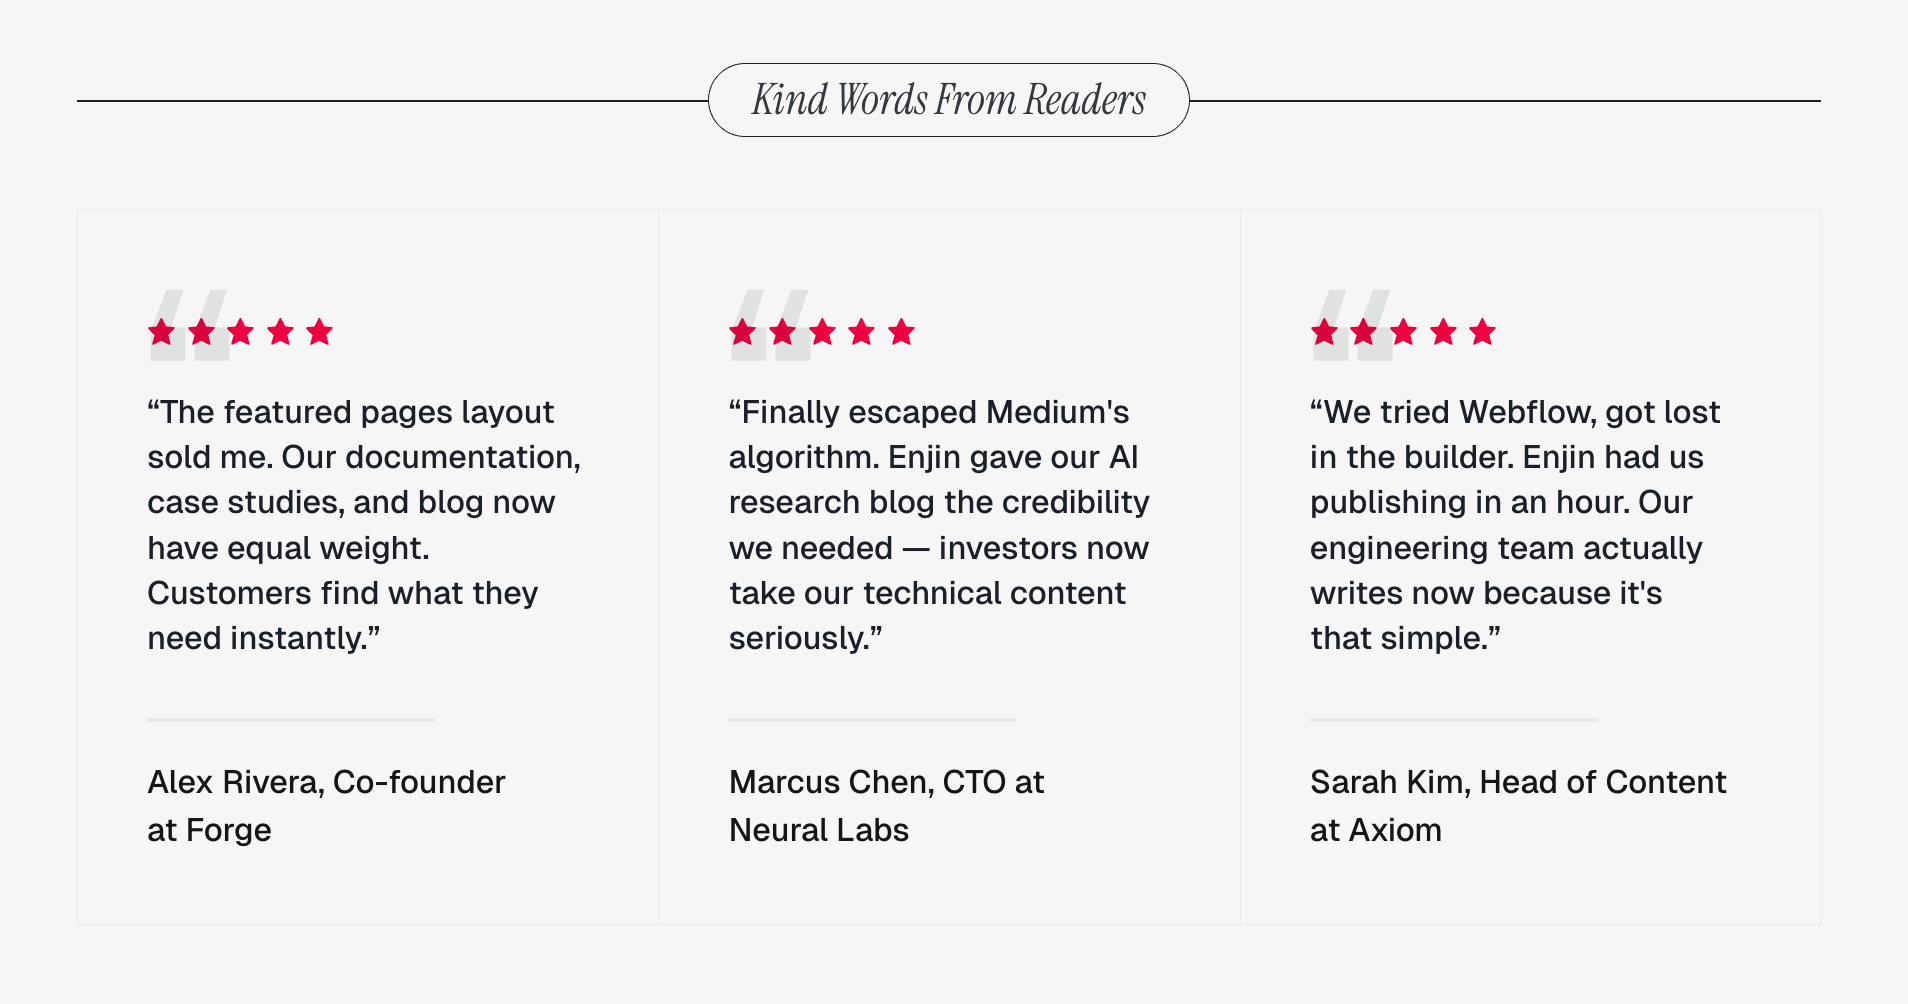
Step-by-step to add testimonials section
- Create a new page.
- Add a title for the section.
- Add individual testimonial entries using the page content.
- Add
#section-testimonialsto the Tags field. - Publish the page.
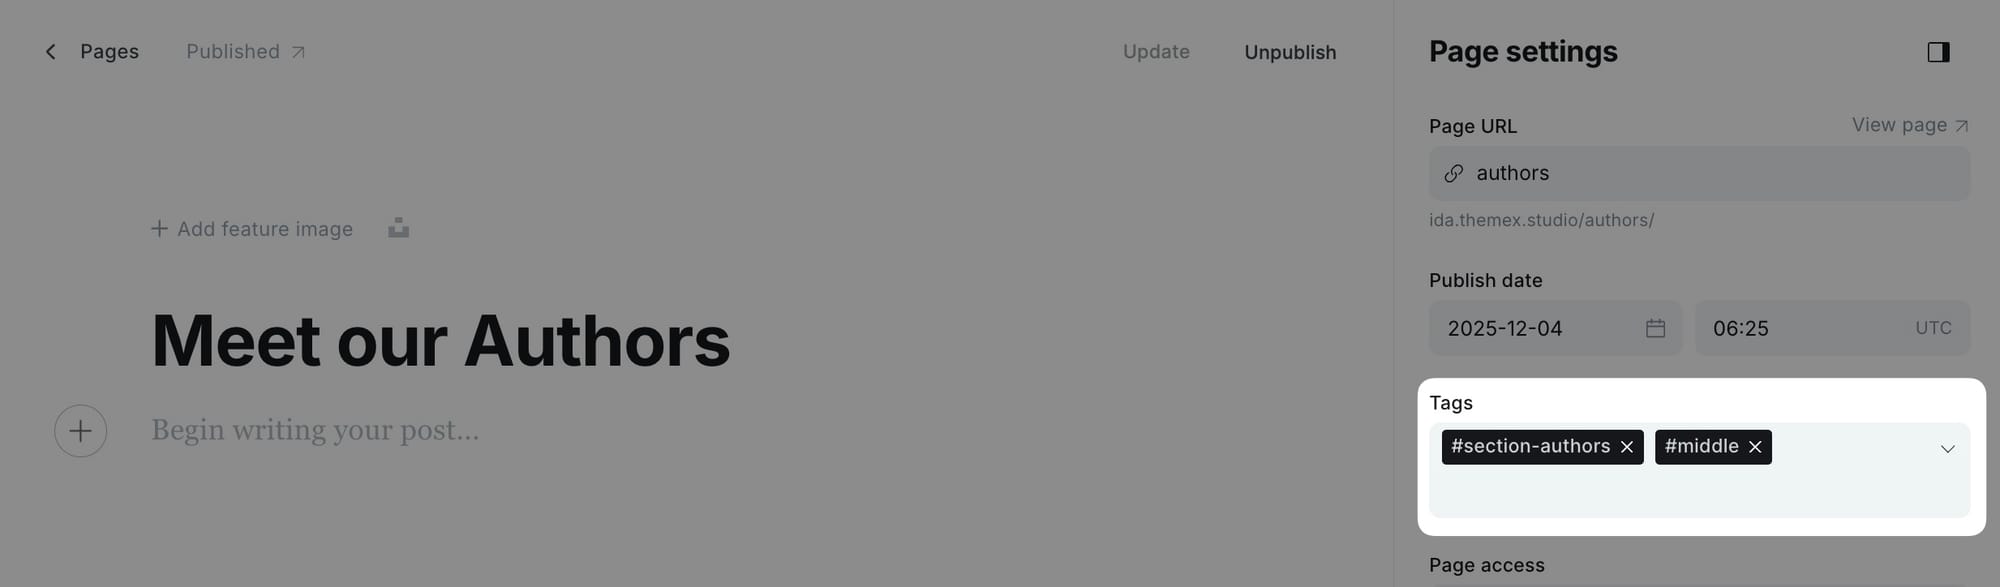
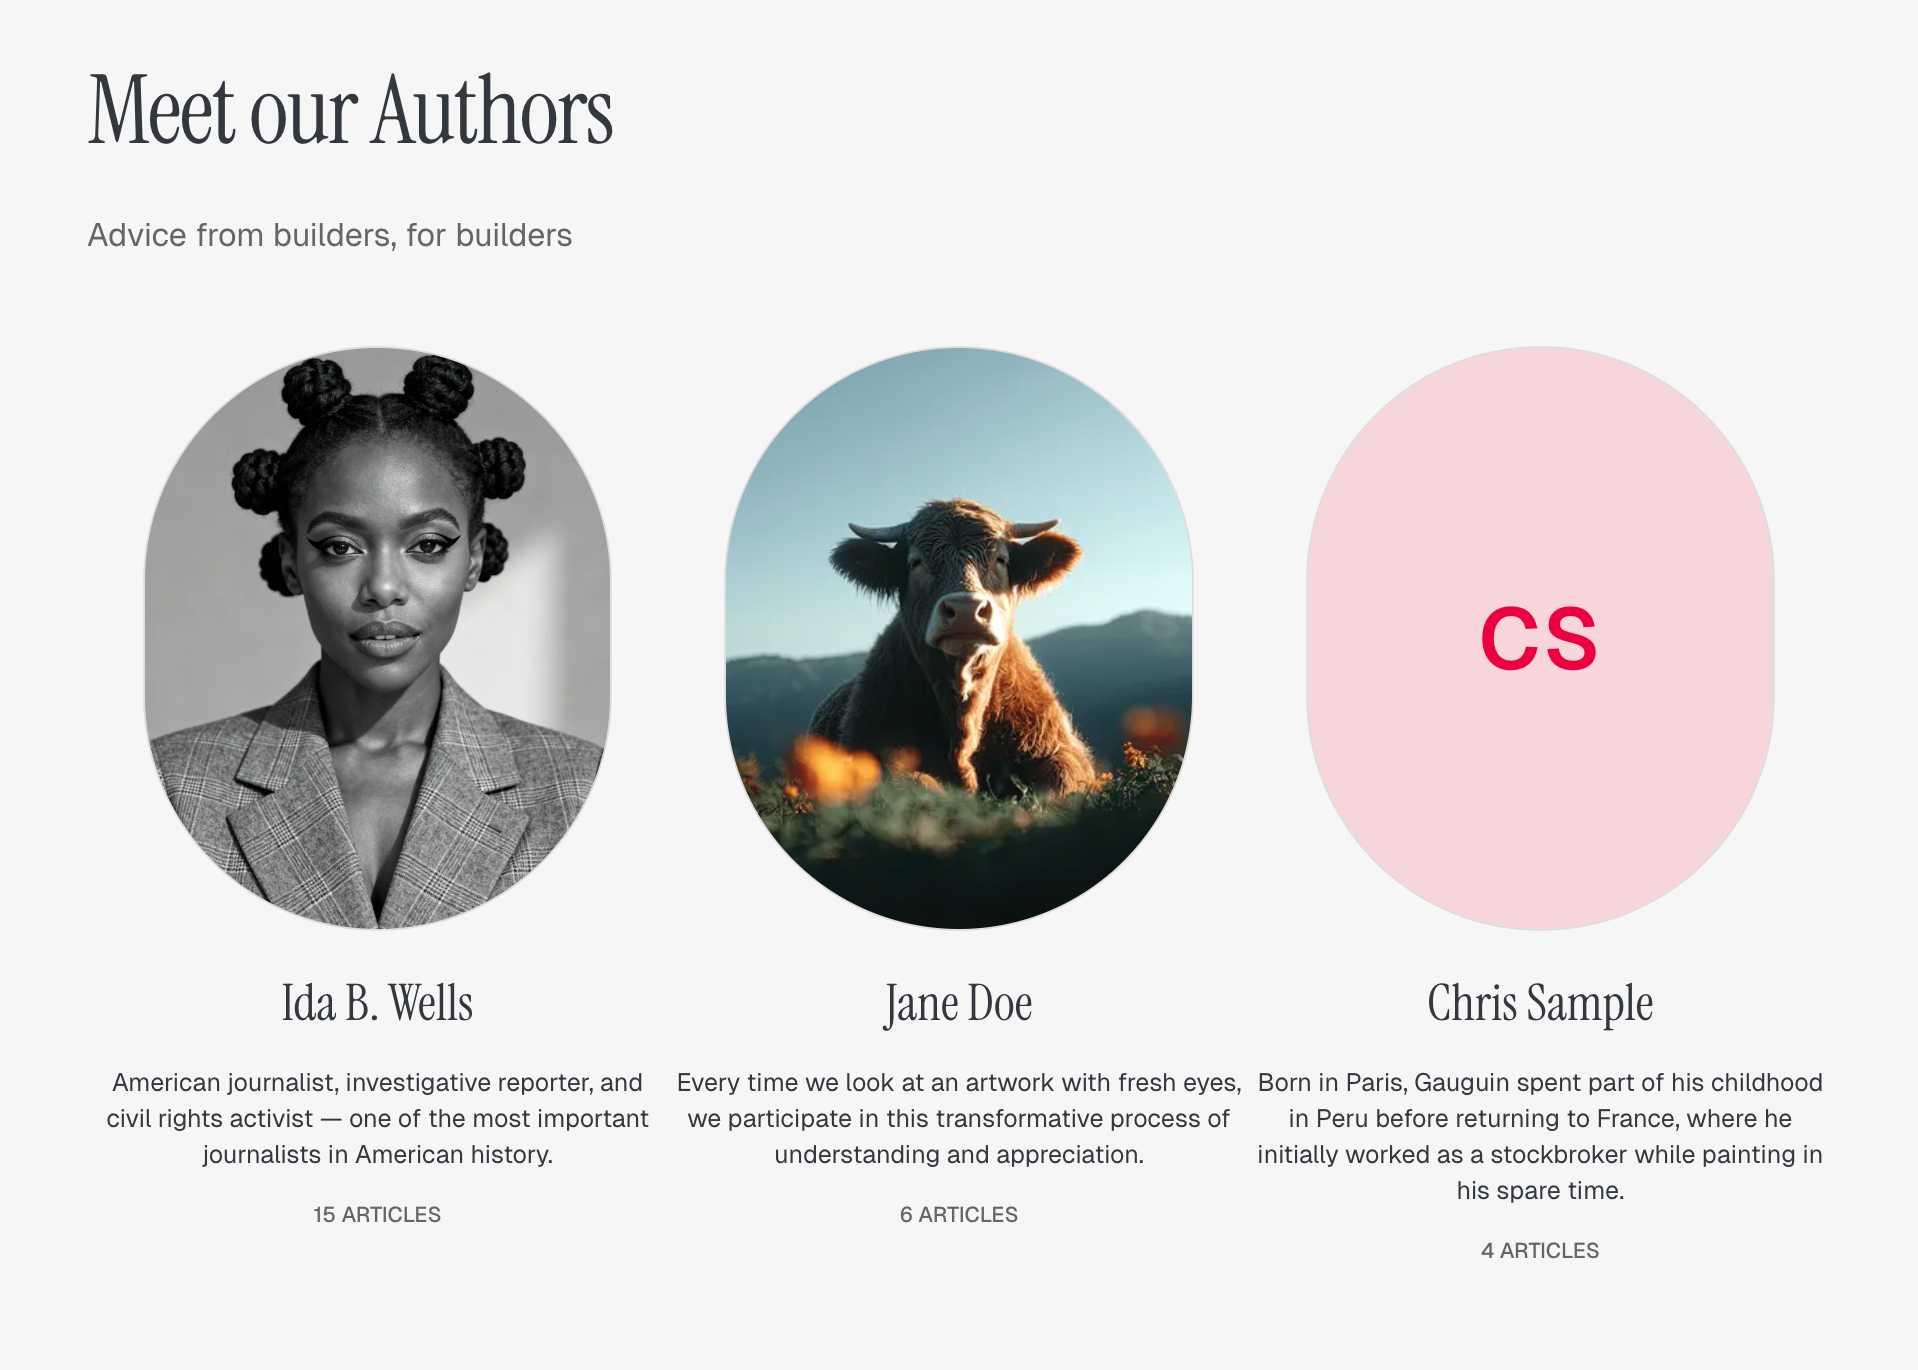
Authors section
Showcase your site's authors with their profile images, bios, and post counts.
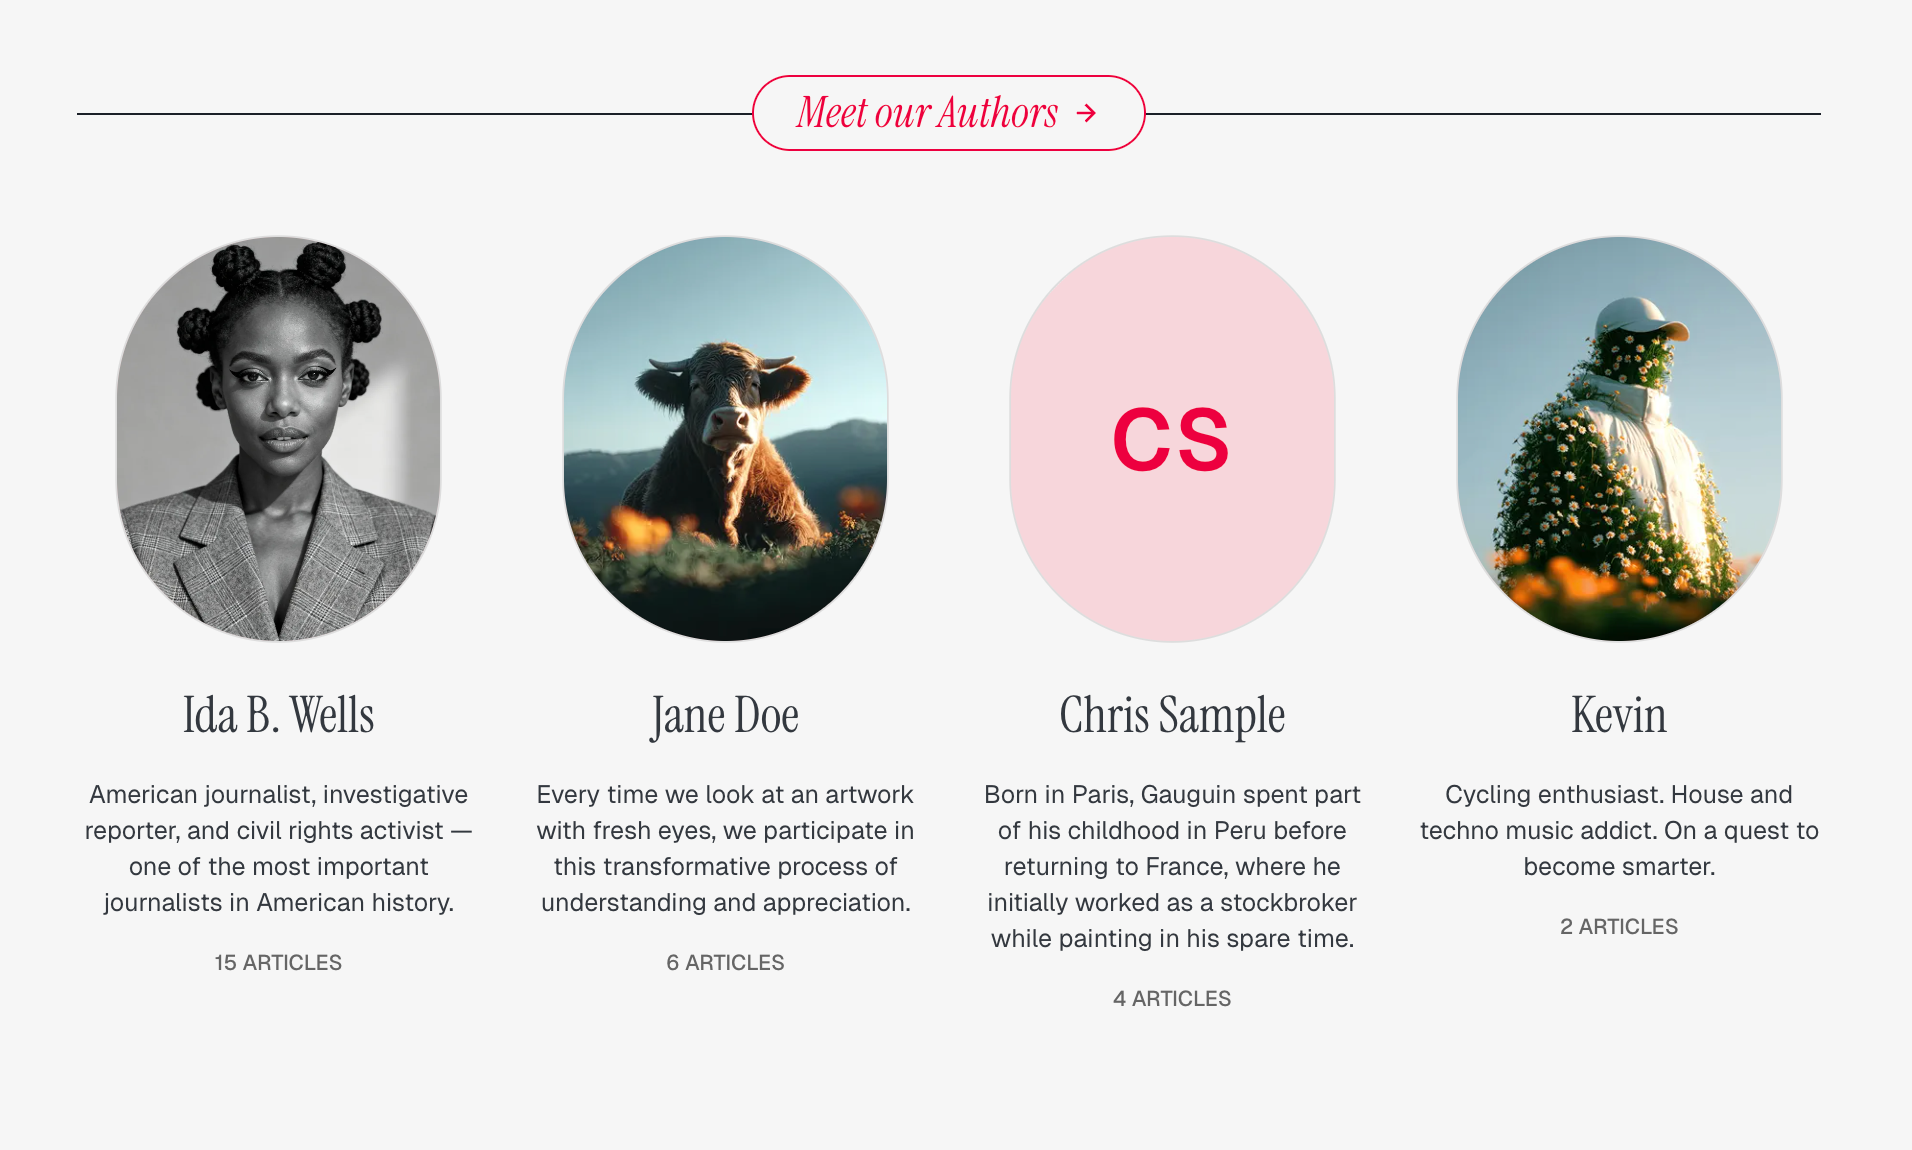
Step-by-step to add authors section
- Create a new page.
- Add a title (e.g., "Meet the team" or "Our writers").
- Add
#section-authorsto the Tags field. - Publish the page.
[!note] The section automatically pulls author information from Ghost. Make sure your authors have profile images and bios configured.
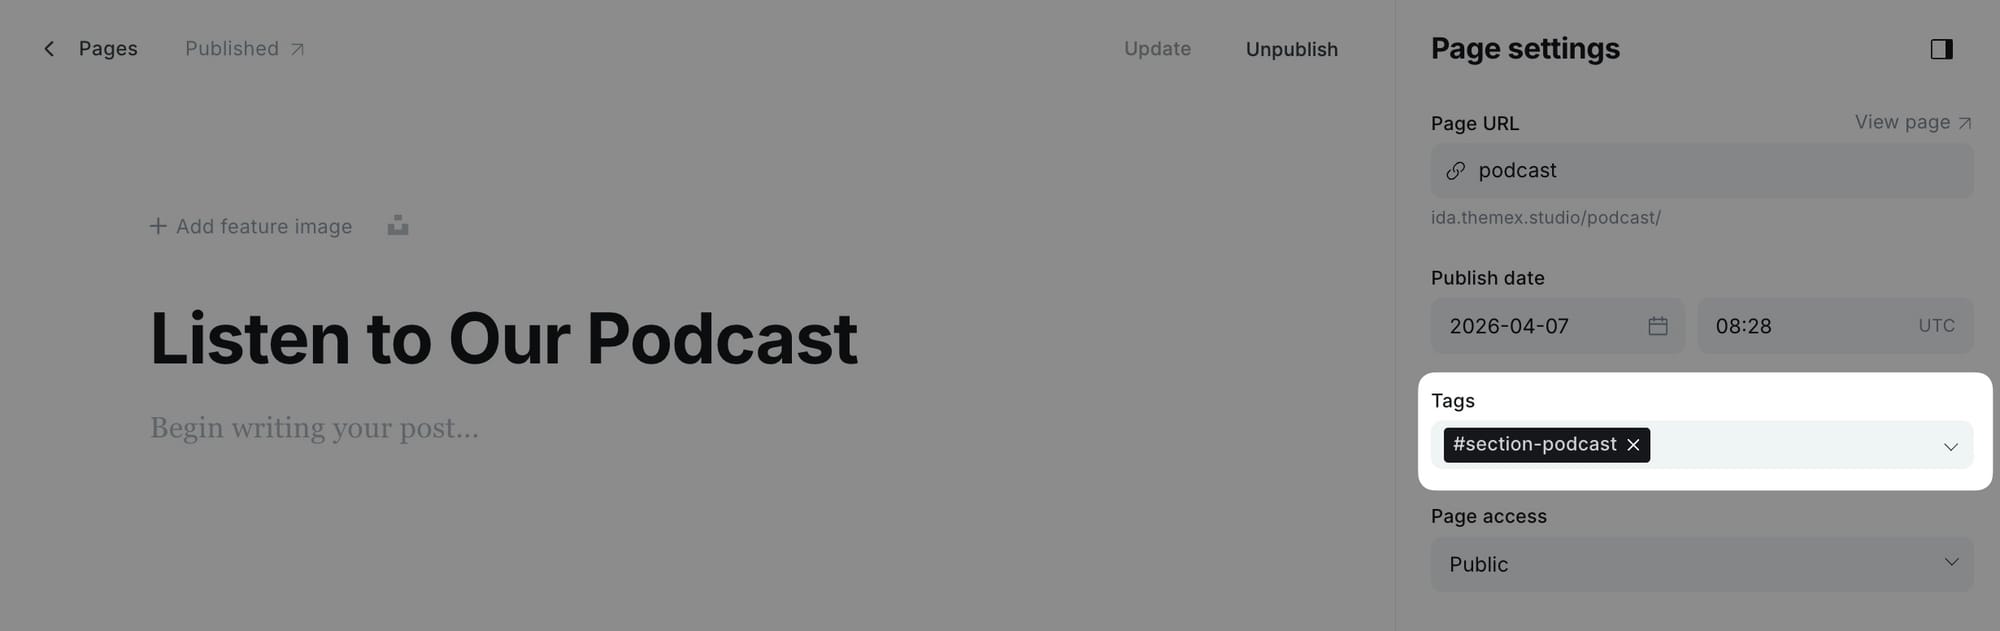
Podcast section
Display your latest podcast episodes in a horizontal scrolling layout.
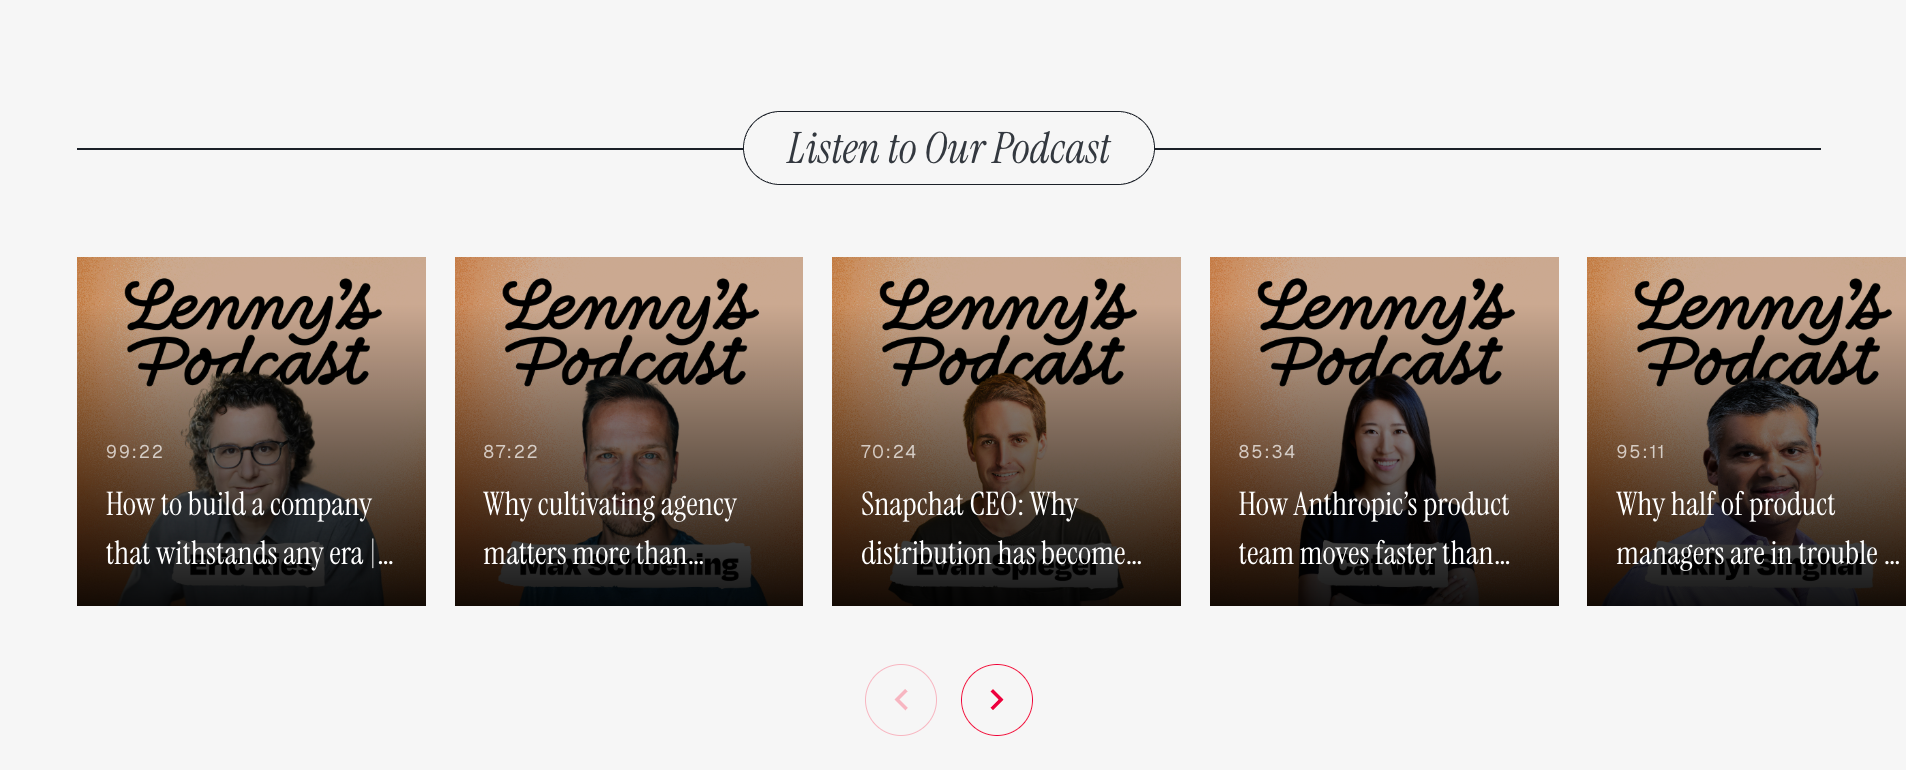
Step-by-step to add podcast section
- Create a new page.
- Add a title for the section.
- Add
#section-podcastto the Tags field. - Publish the page.
- Set up the media proxy (see Media proxy setup section).
[!note] This section requires the media proxy to be configured with your podcast RSS feed URL.
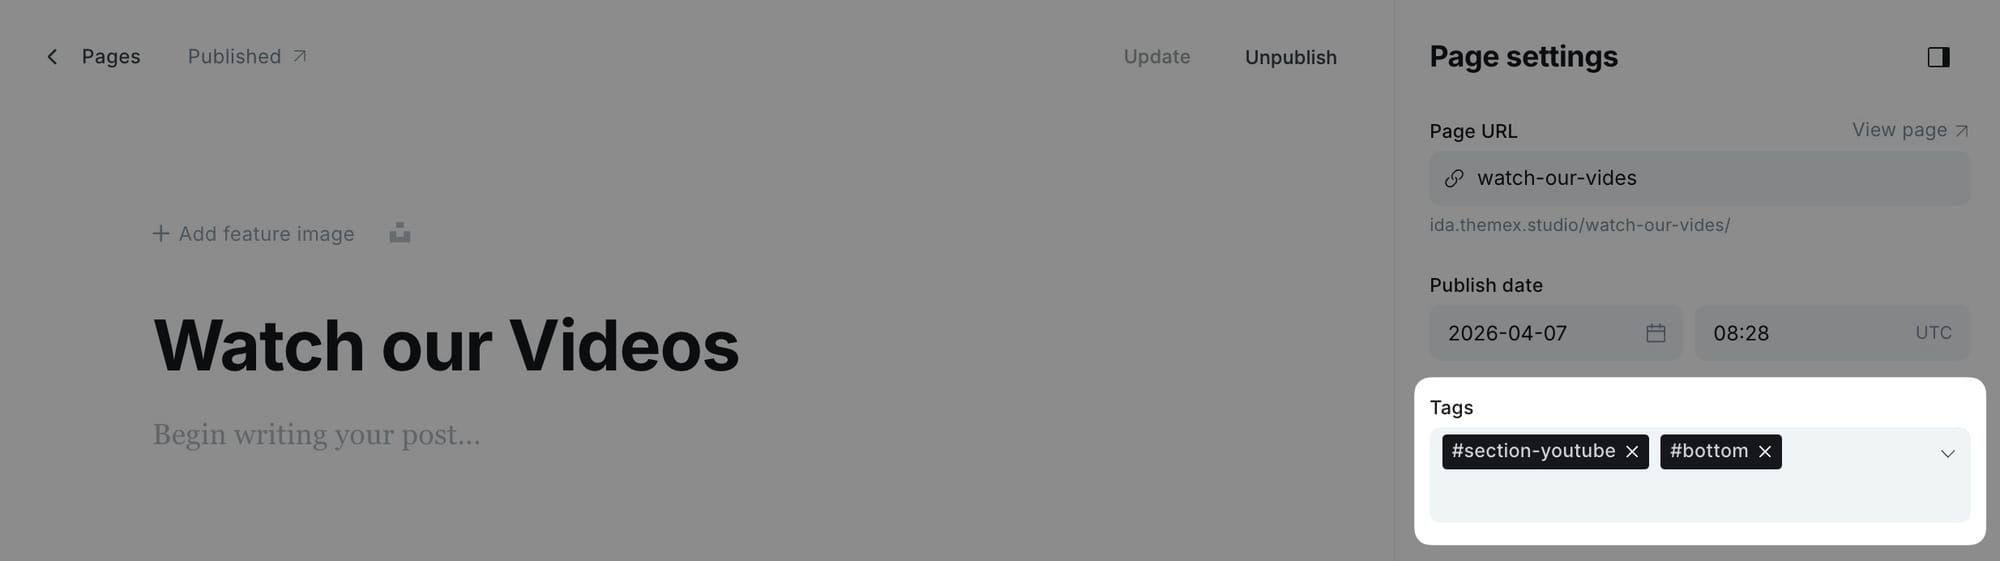
YouTube section
Display your latest YouTube videos in a scrollable grid.
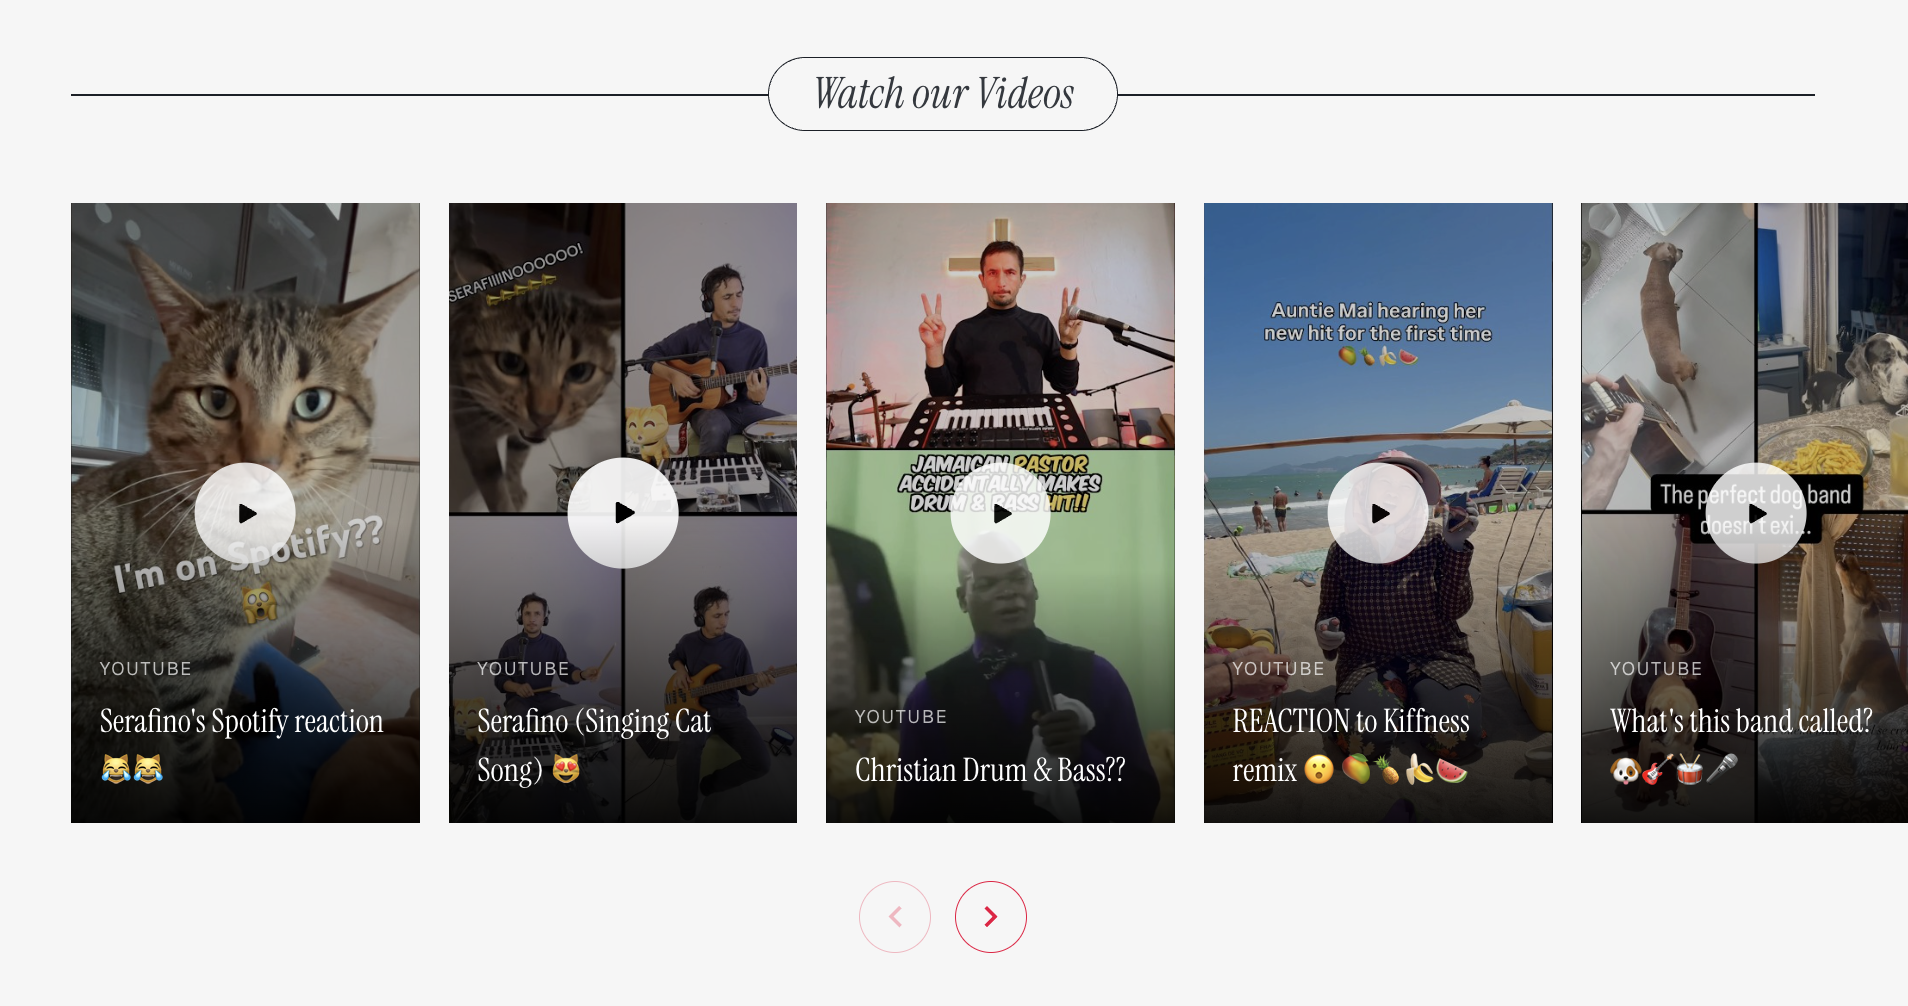
Step-by-step to add YouTube section
- Create a new page.
- Add a title for the section.
- Add
#section-youtubeto the Tags field. - Publish the page.
- Set up the media proxy (see Media proxy setup section).
[!note] This section requires the media proxy to be configured with your YouTube channel ID.
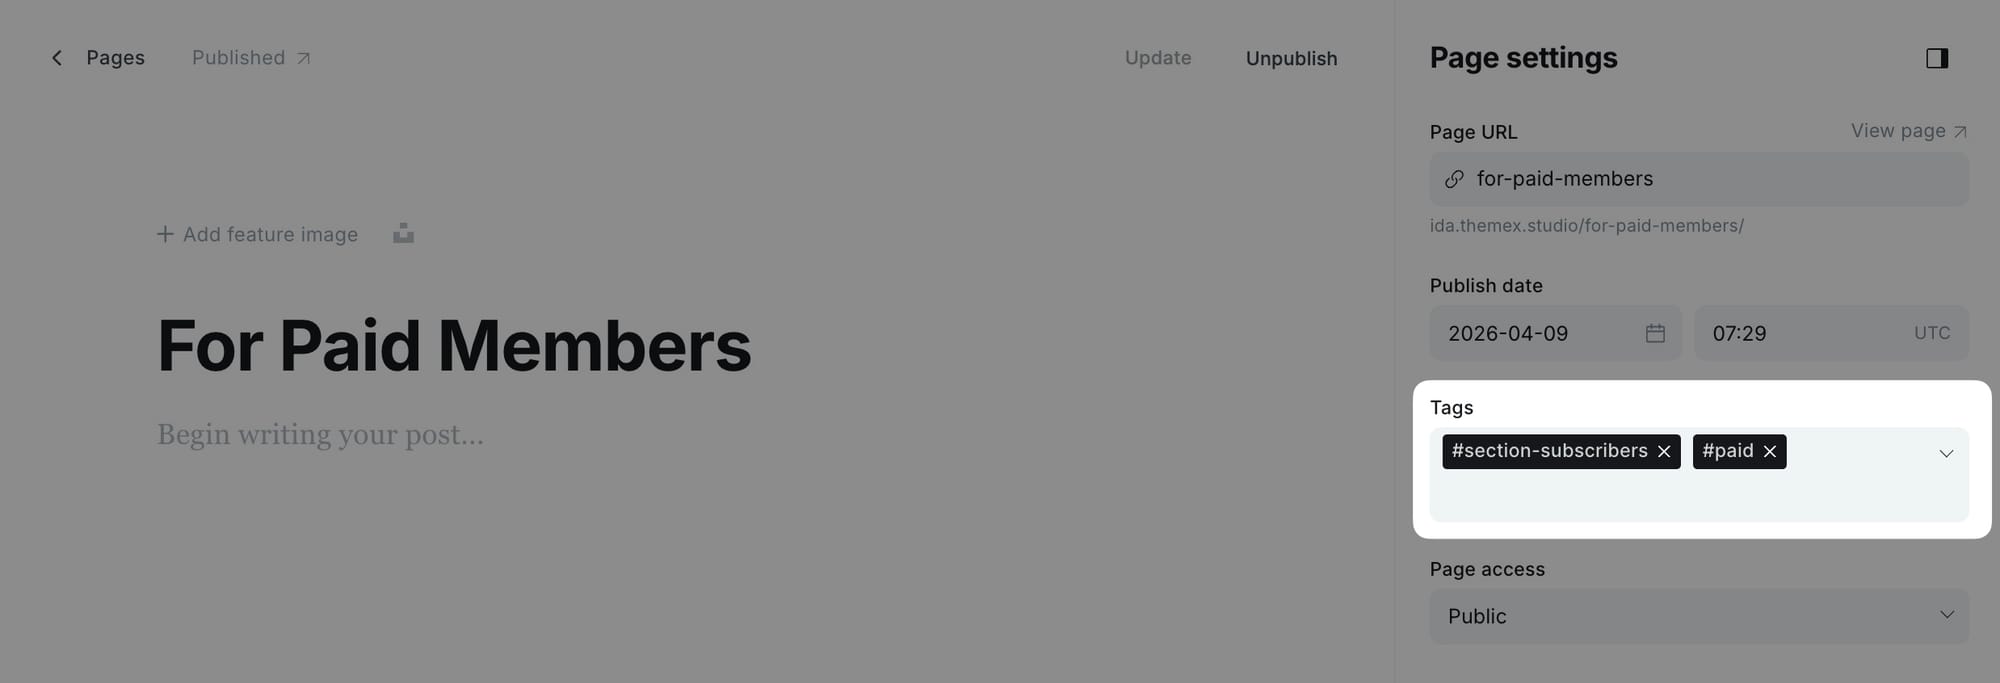
Members-only posts section
Display posts that are only visible to your members. You can filter by membership level using additional tags.
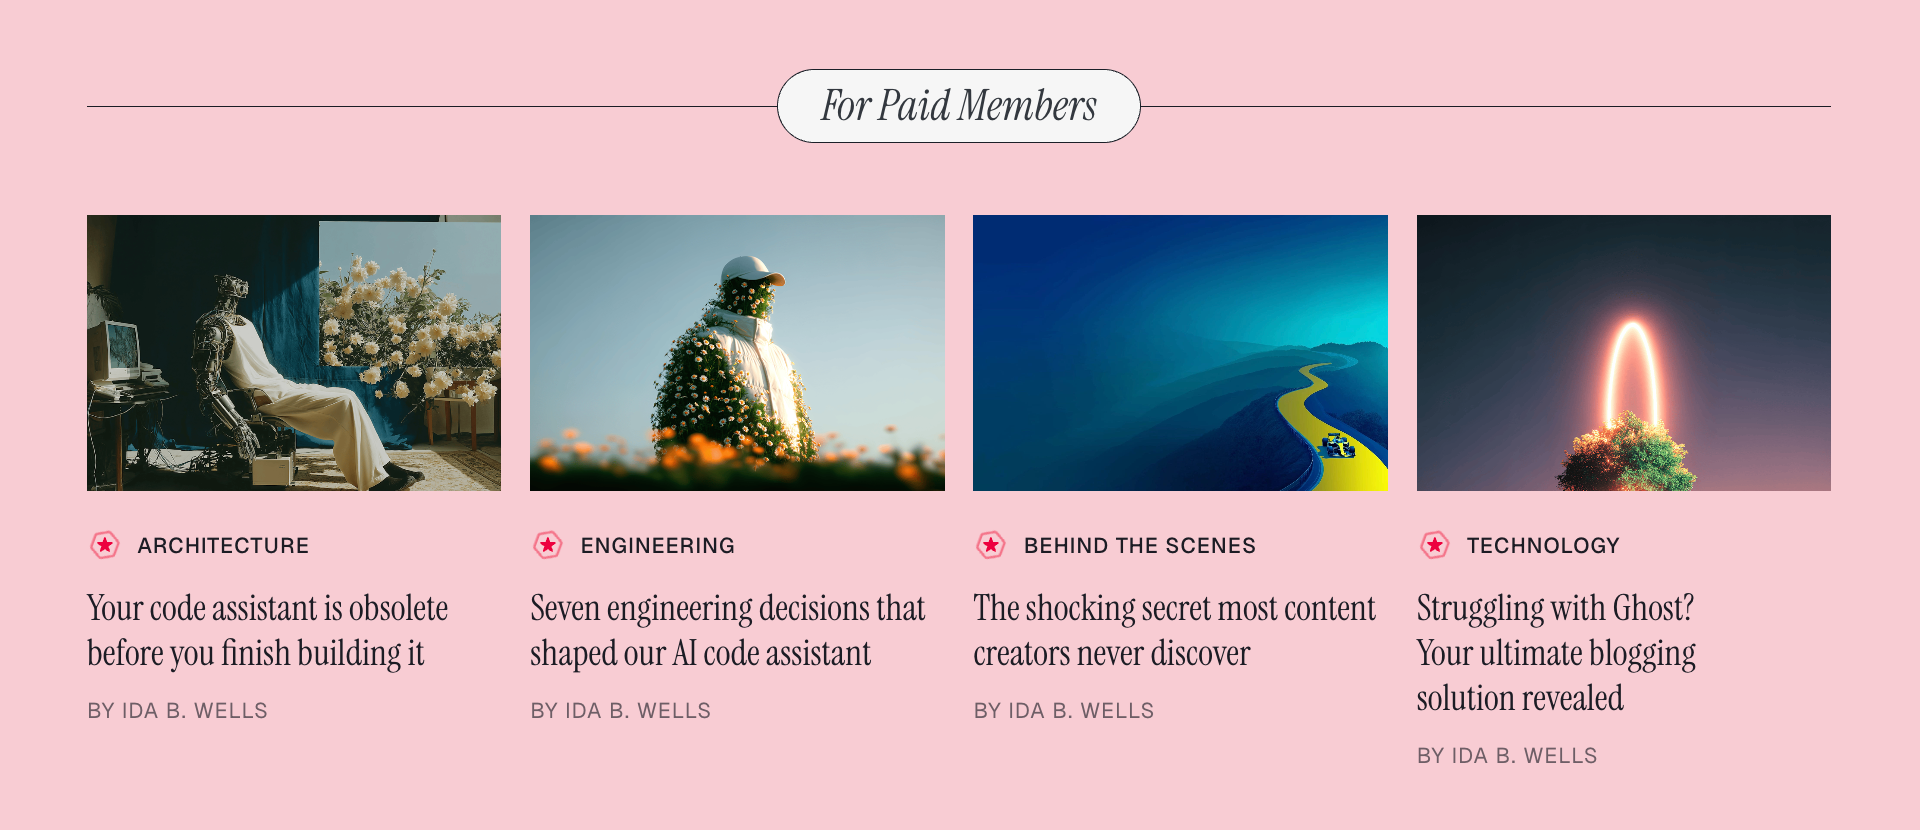
Step-by-step to add subscribers section
- Create a new page.
- Add a title for the section.
- Add
#section-subscribersto the Tags field. - Optionally add a filter tag (see table below).
- Publish the page.
Filter by membership level
Control which member posts appear in the section:
| Tag | Shows posts visible to |
|---|---|
| (no filter tag) | Signed-in Members only post |
#paid |
Paid members only |
#tiers |
Specific membership tiers only |
Example: A page with tags #section-subscribers and #paid displays only posts restricted to paid members.
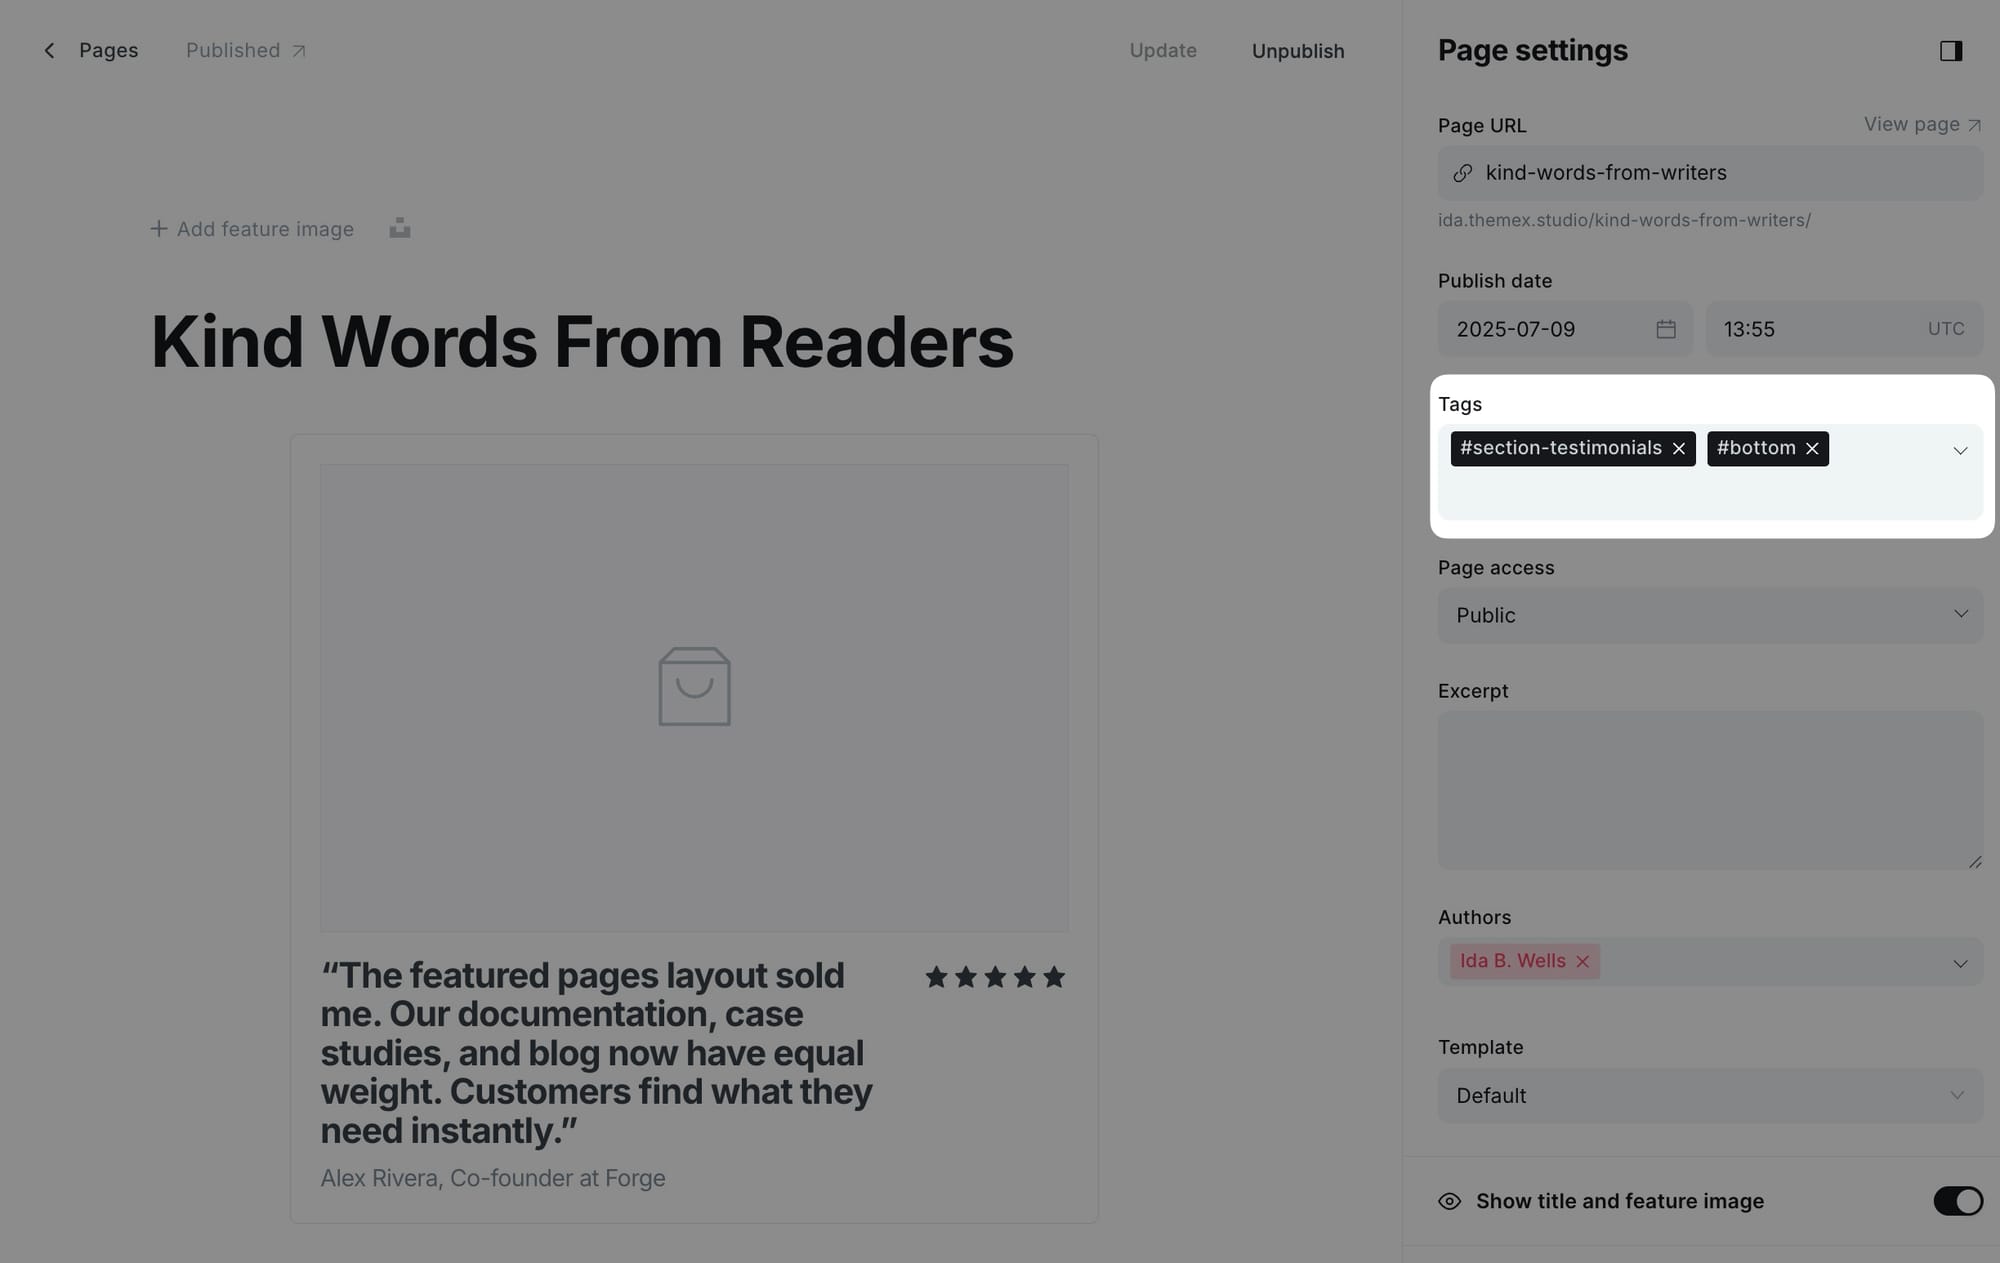
Section positioning
By default, custom sections appear at the top of the homepage, after the hero. Use positioning tags to control where sections appear.
| Tag | Position |
|---|---|
| (no tag) | Top of page, after hero |
#middle |
Between primary and secondary tag sections |
#bottom |
Bottom of page |
#homepage-exclude |
Section page exists but doesn't show on homepage |
Step-by-step to position a section
- Open the page for your section.
- Add the positioning tag alongside your section tag.
- Update the page.
Example: A page with tags #section-testimonials and #bottom displays testimonials at the bottom of the homepage.
Post templates
Ida offers seven distinct post layouts to showcase your content. You can set a default layout for all posts or choose a specific layout for individual posts.
Default post layout
Set the default layout used for all new posts.
Step-by-step to set default post layout
- Go to Settings > Design & branding > Customize.
- Find Default post hero layout in the post settings.
- Select your preferred layout.
- Click Save.
Available layouts
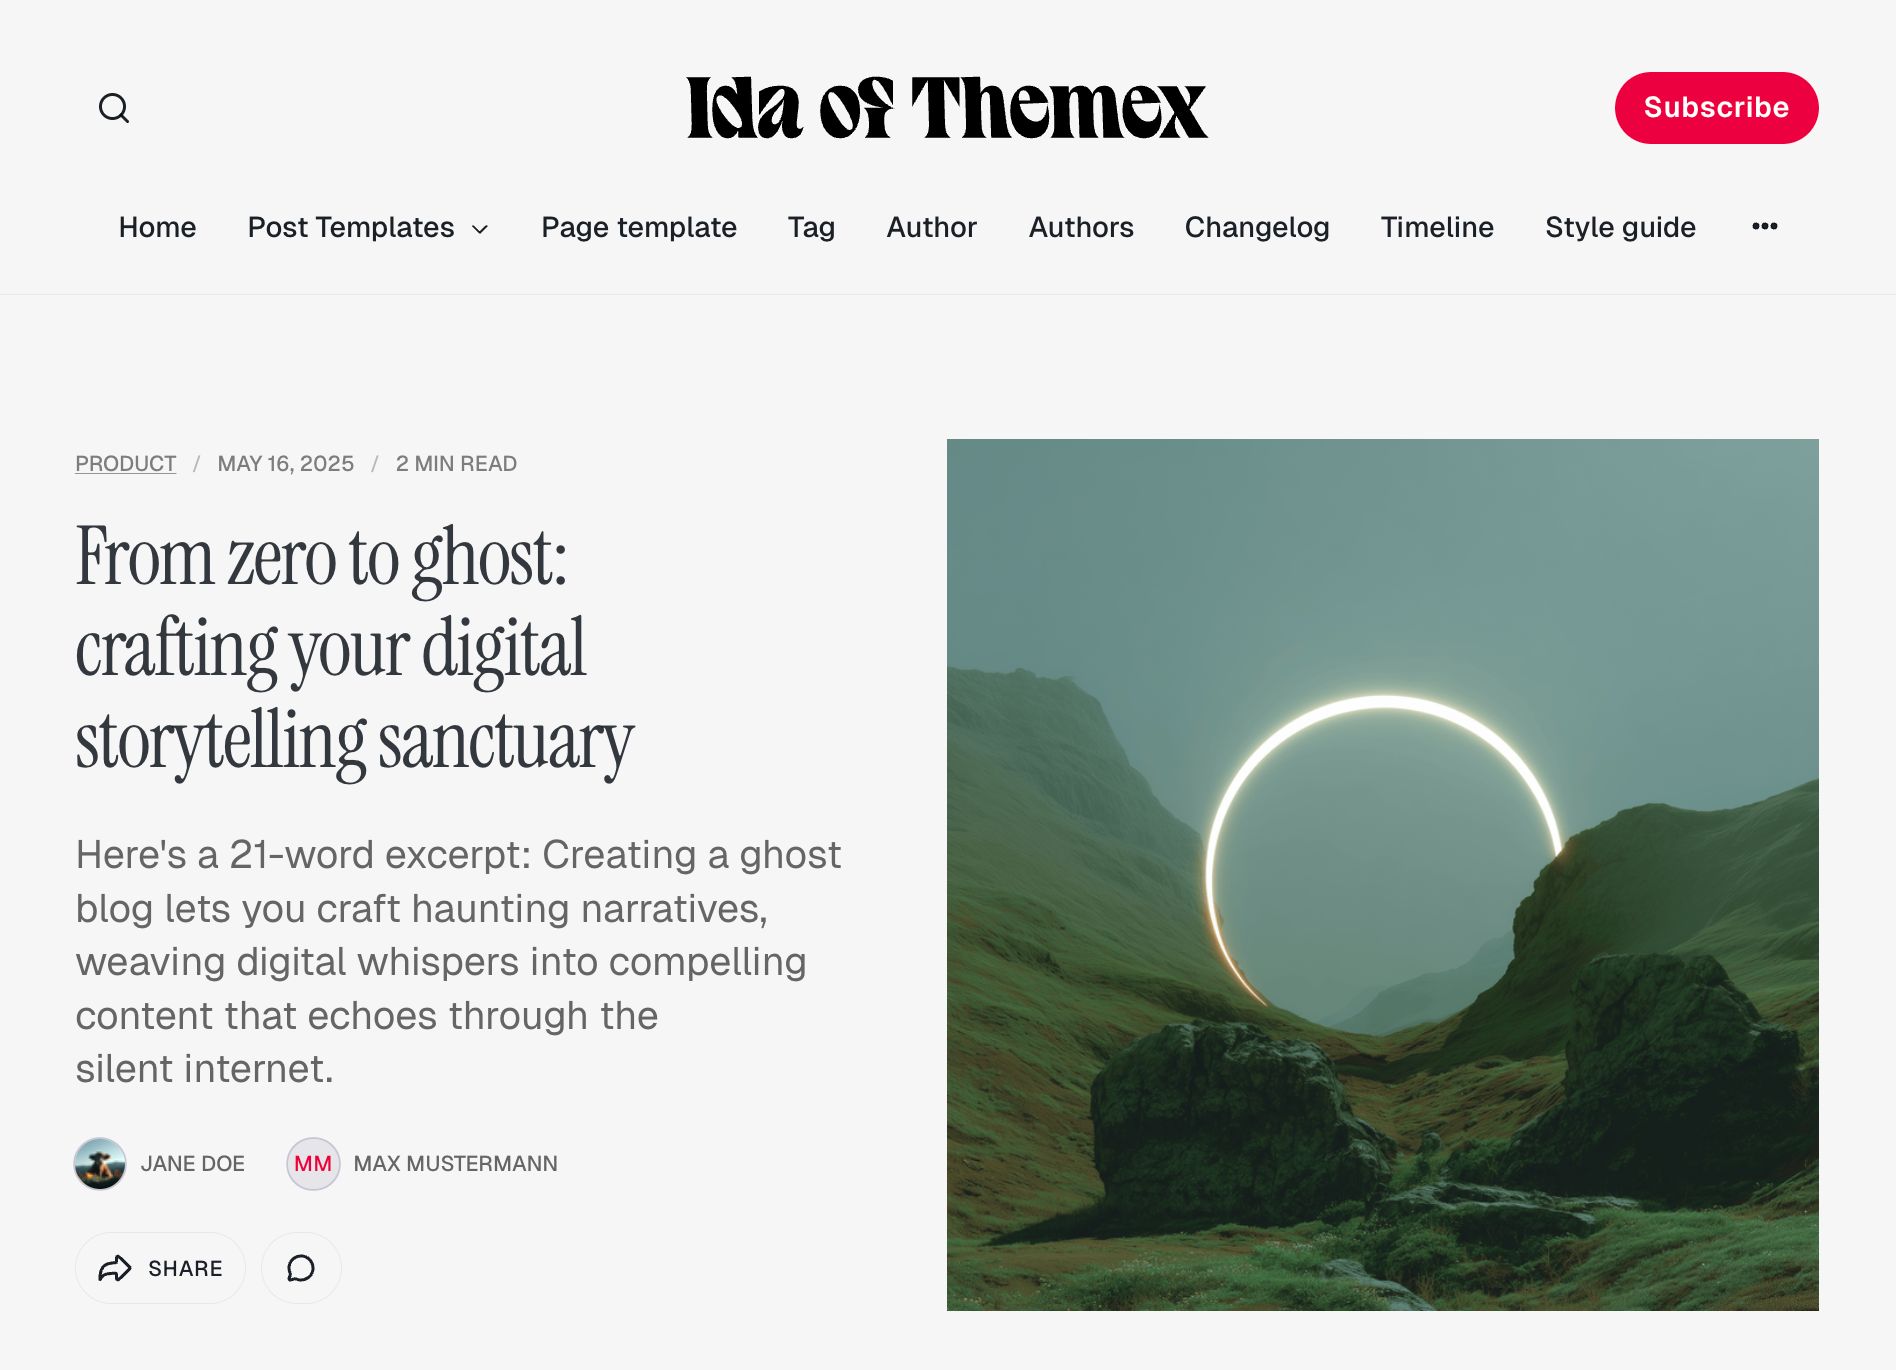
No feature image
A clean, text-focused layout without any feature image. Ideal for essays, editorials, or posts where imagery isn't the focus.
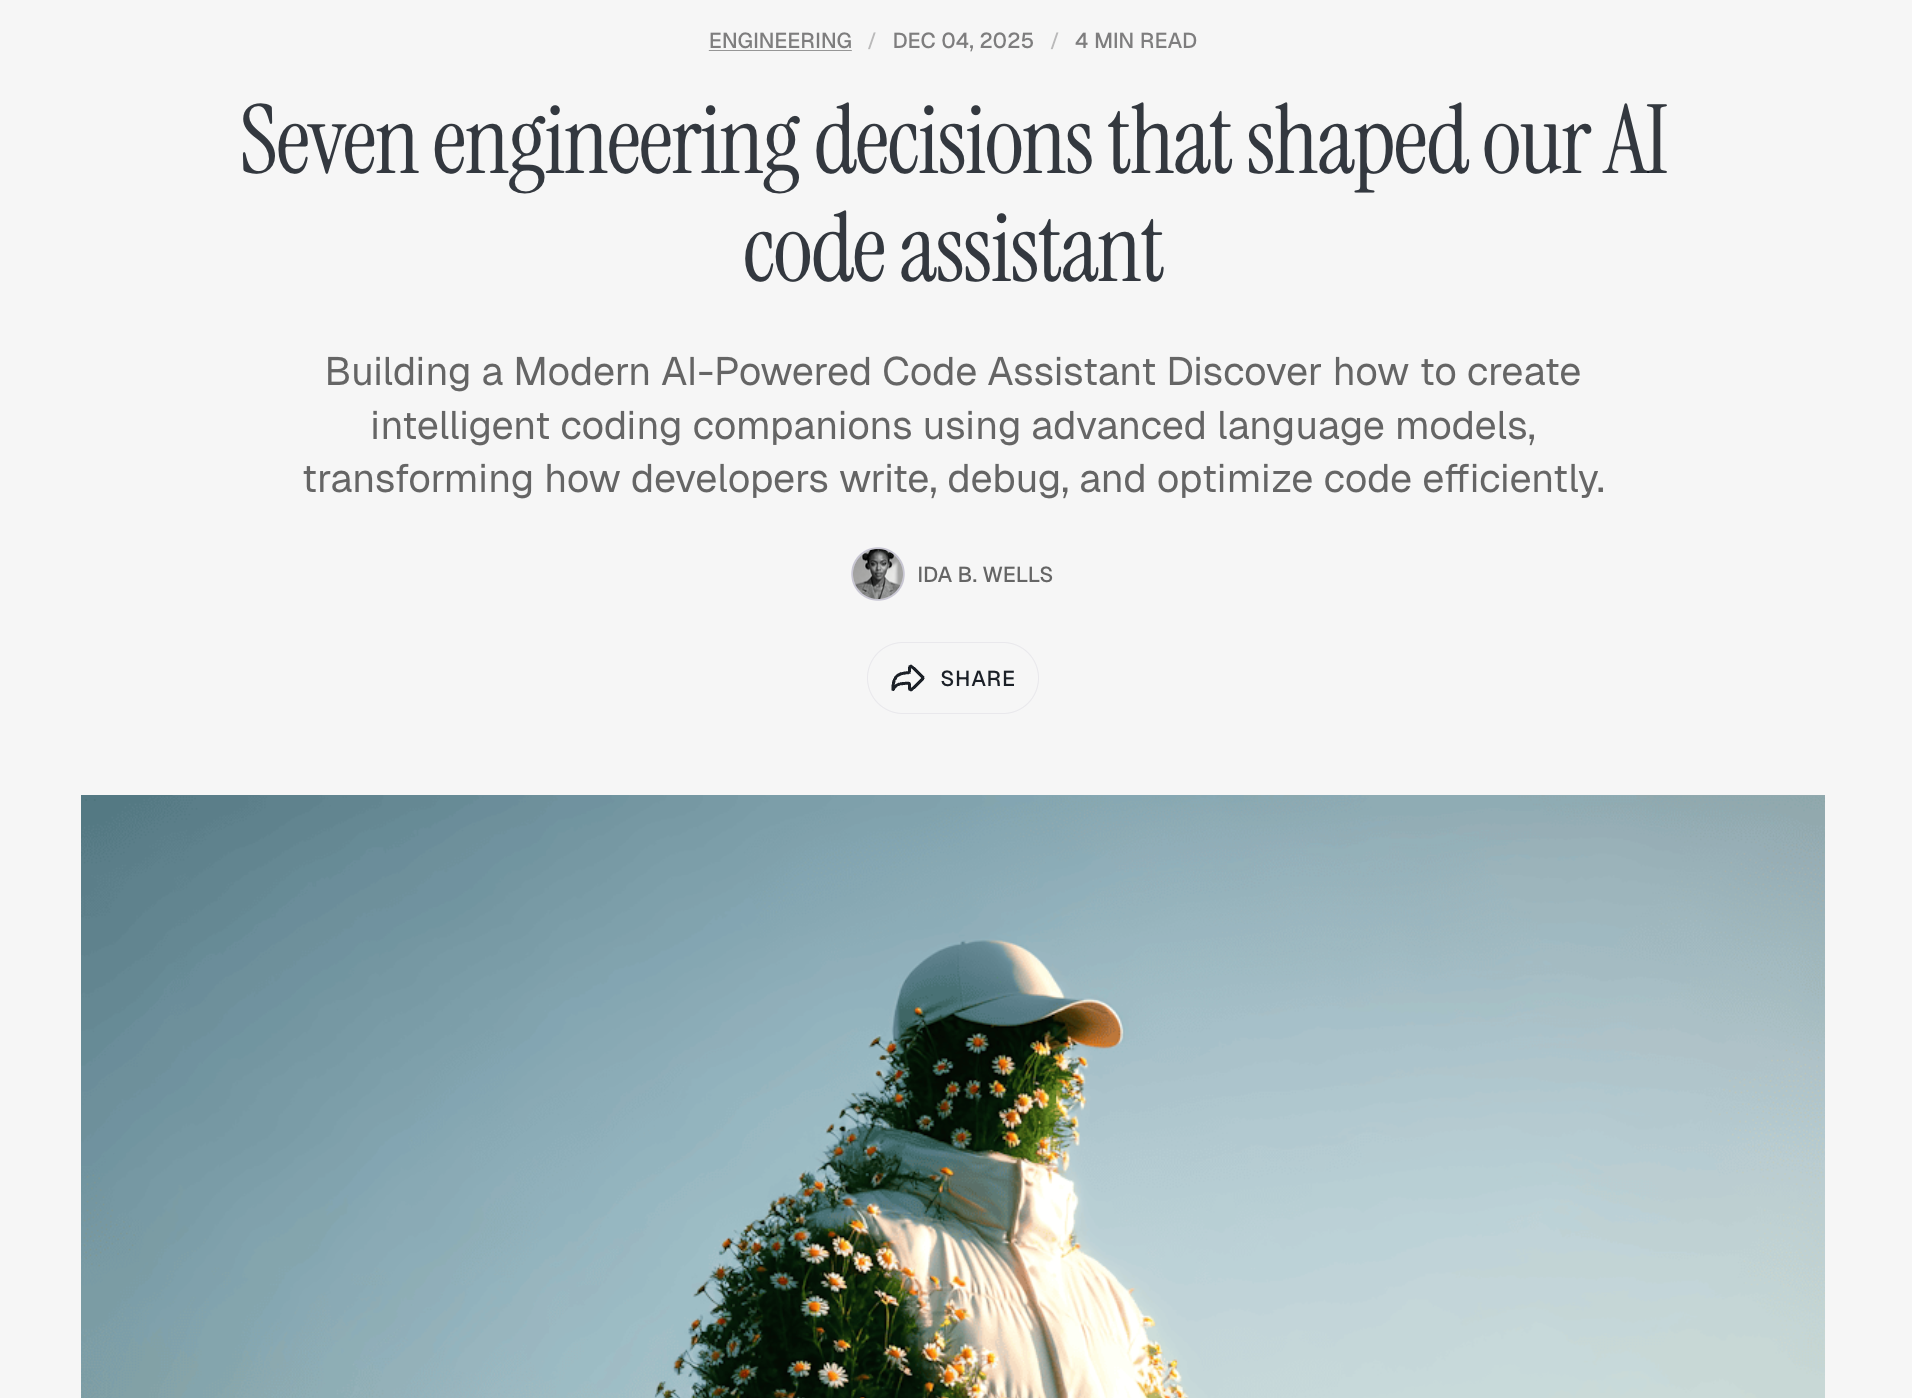
Wide feature image
The feature image displays at content width above the post. A balanced layout that works well for most content types.
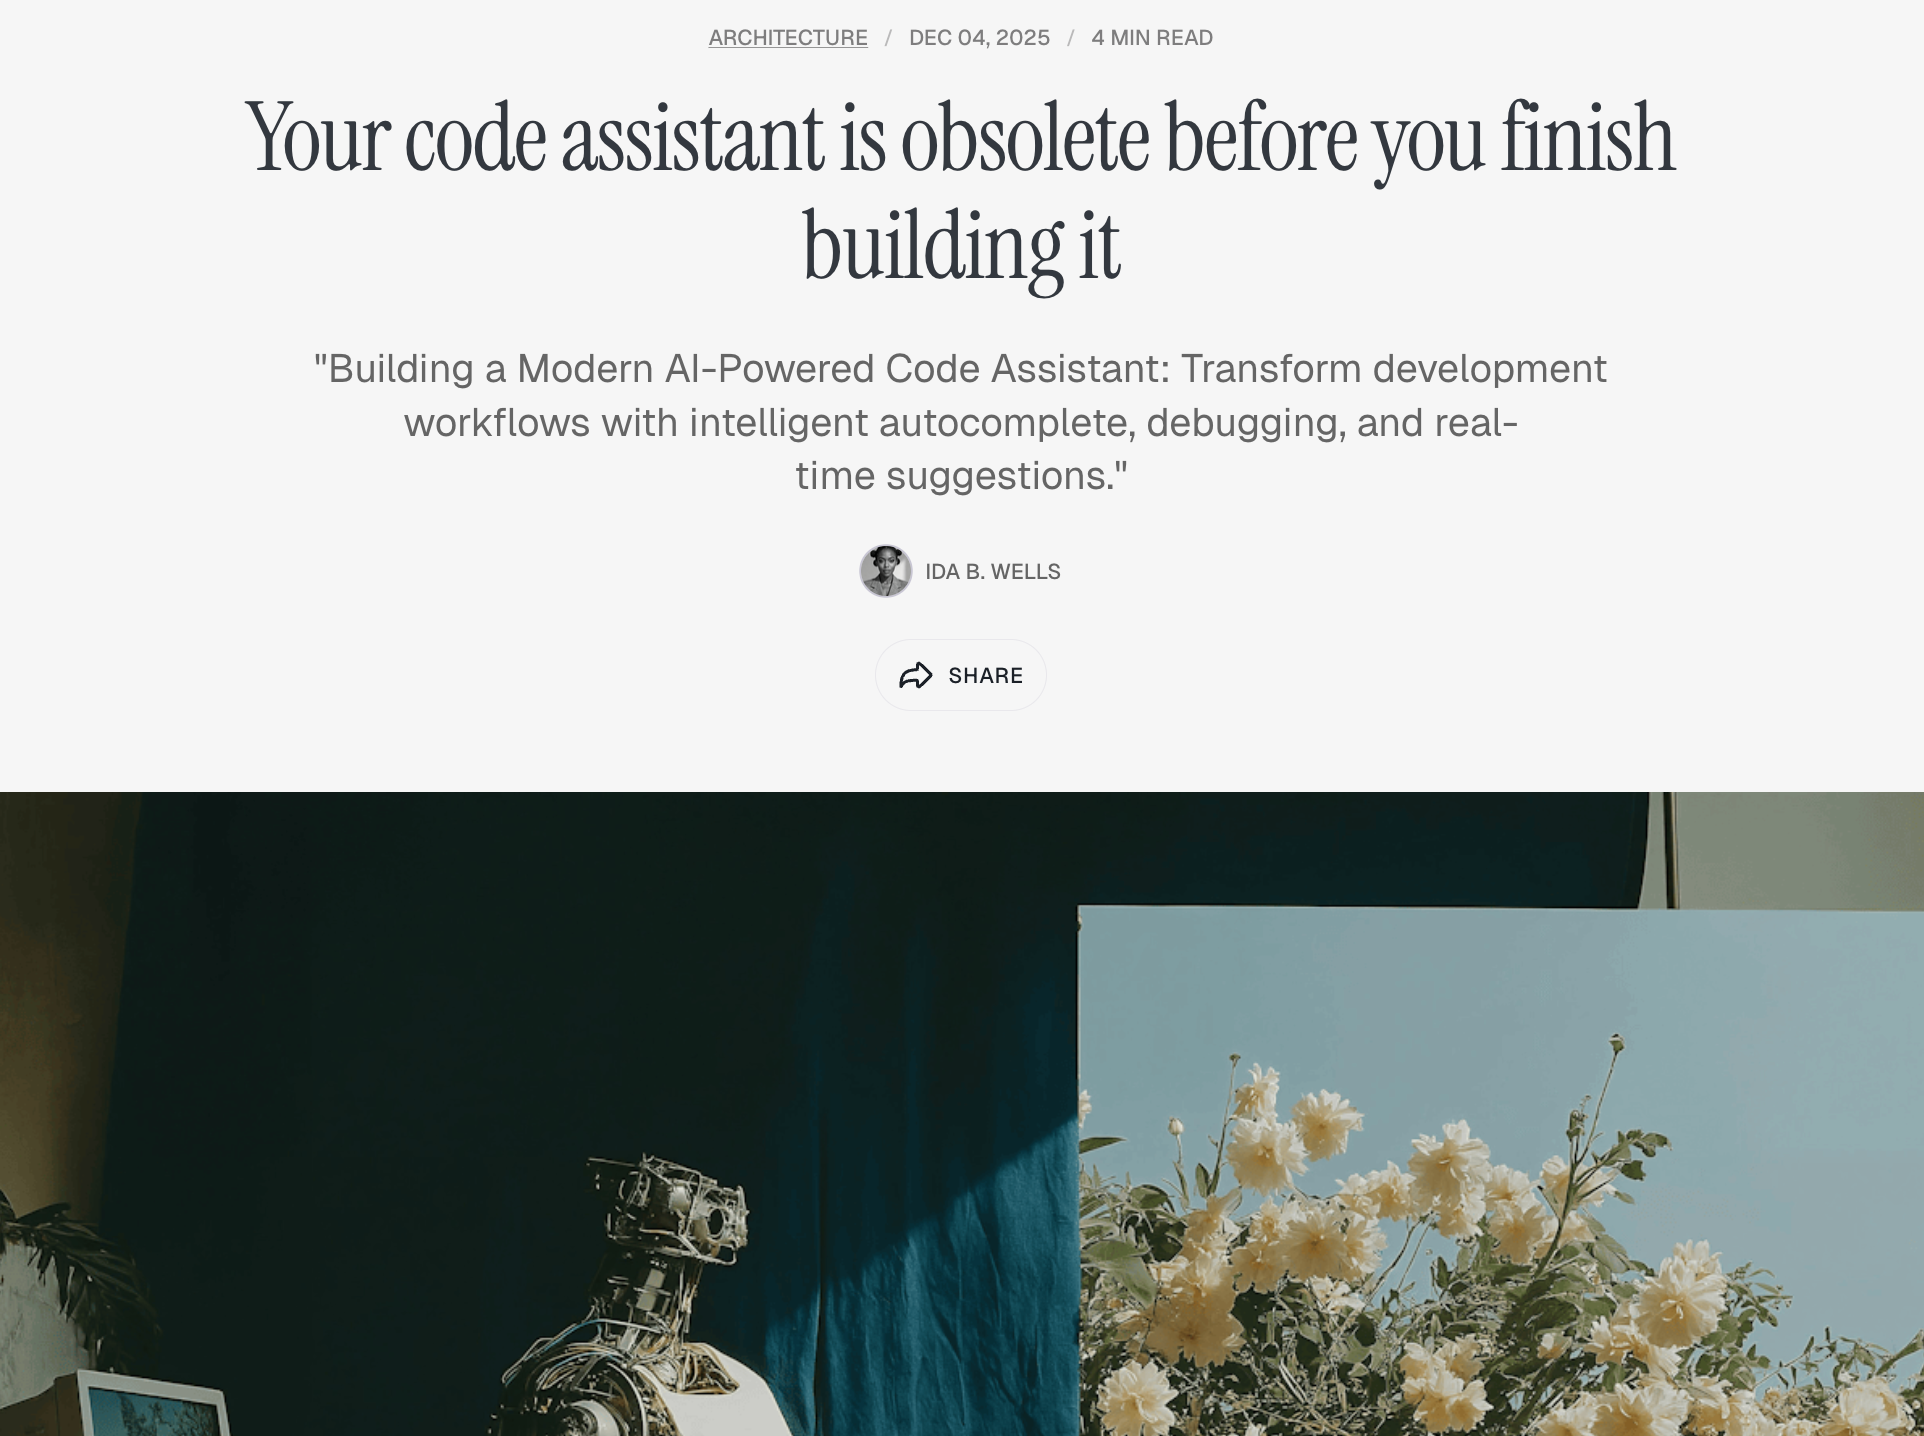
Full feature image
The feature image spans the full viewport width, creating a dramatic header. Best for high-quality, wide images.
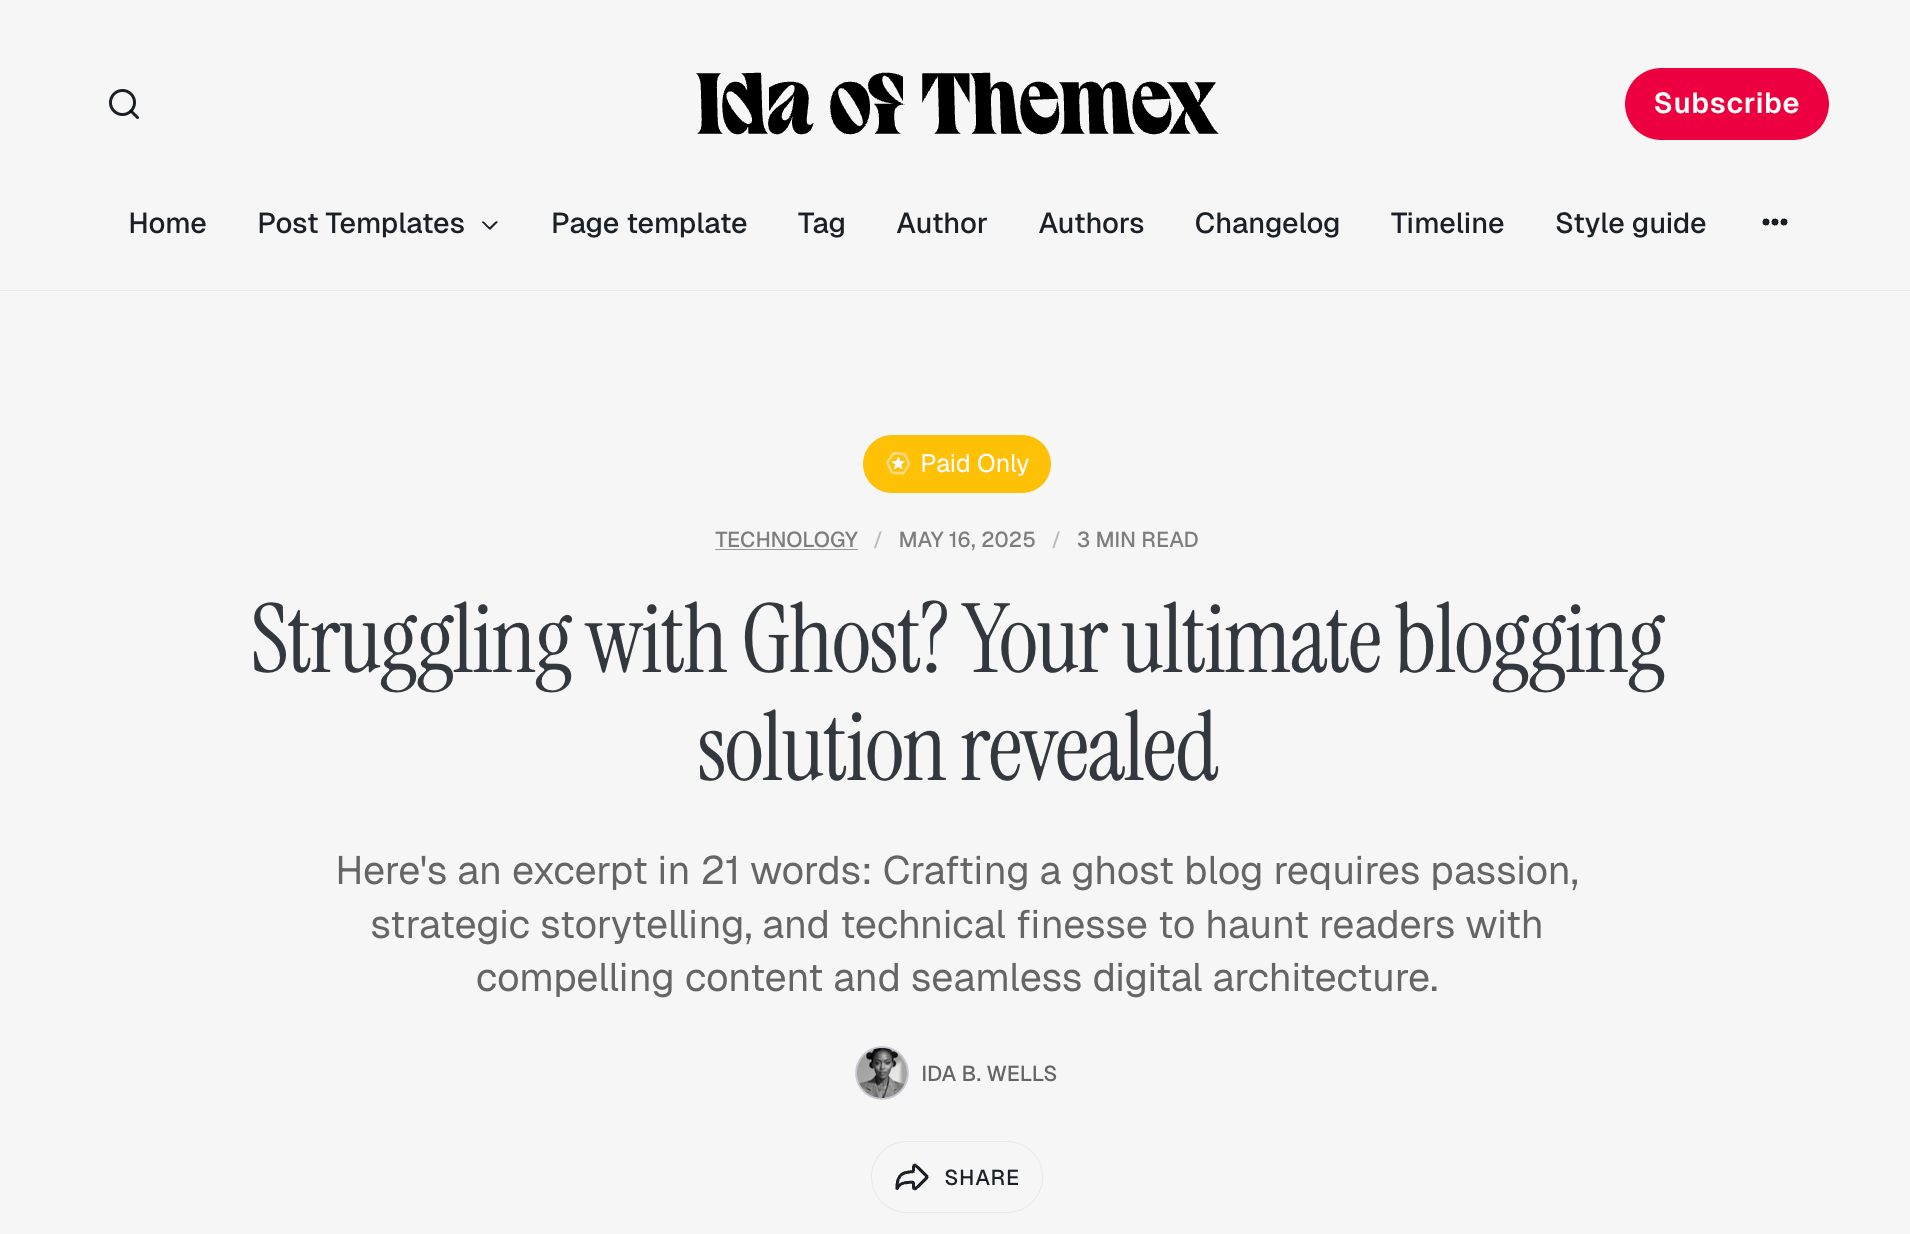
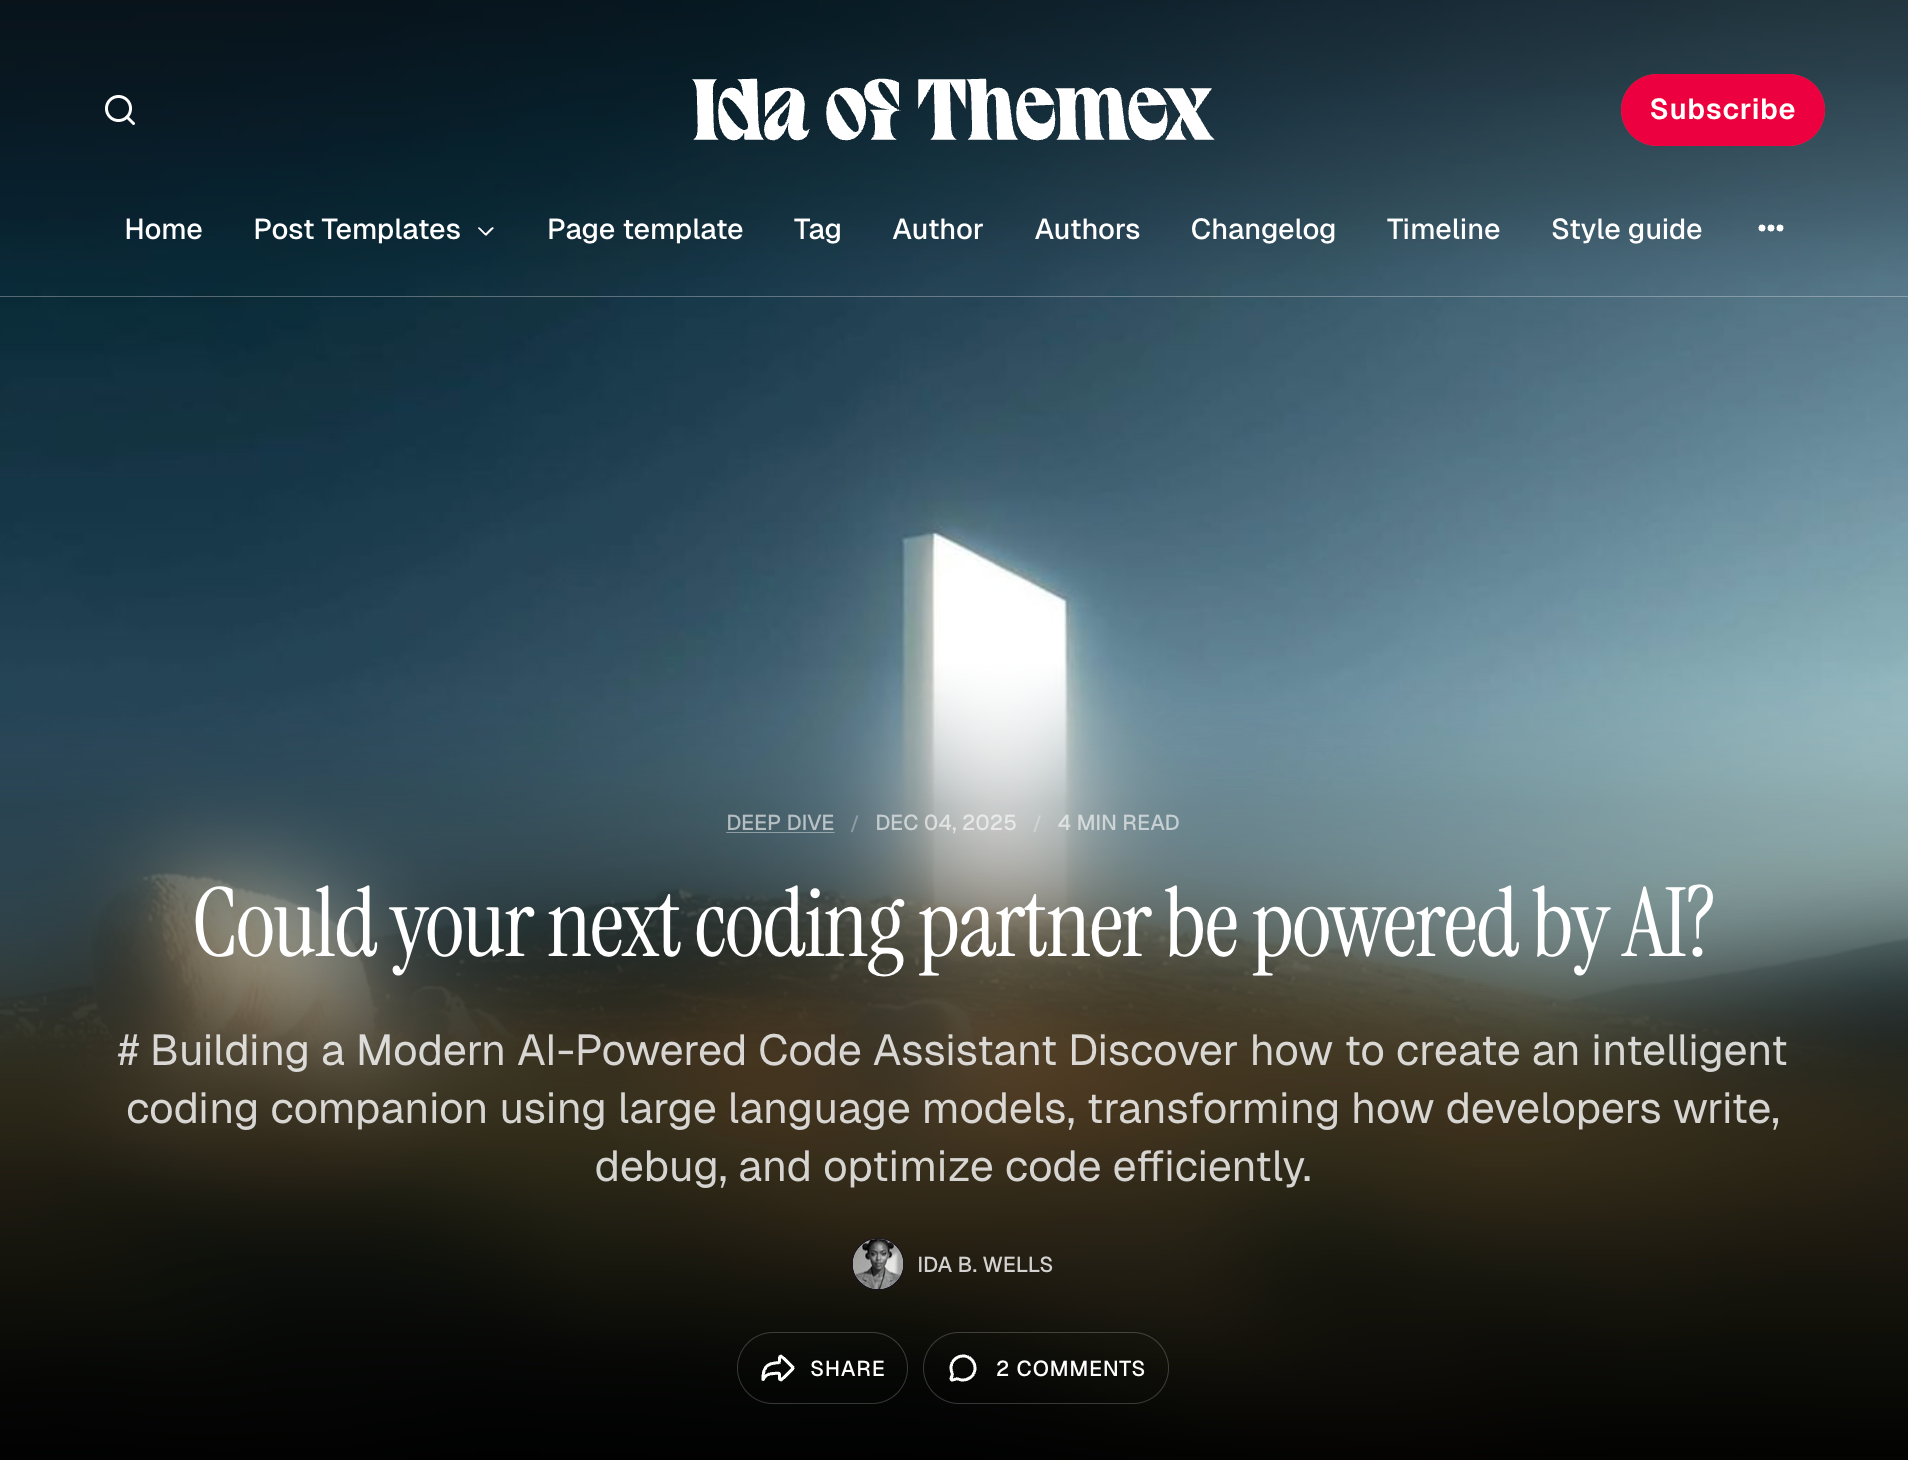
Overlay feature image
Post title and metadata overlay the feature image with a gradient veil effect. Creates an immersive, magazine-style header.
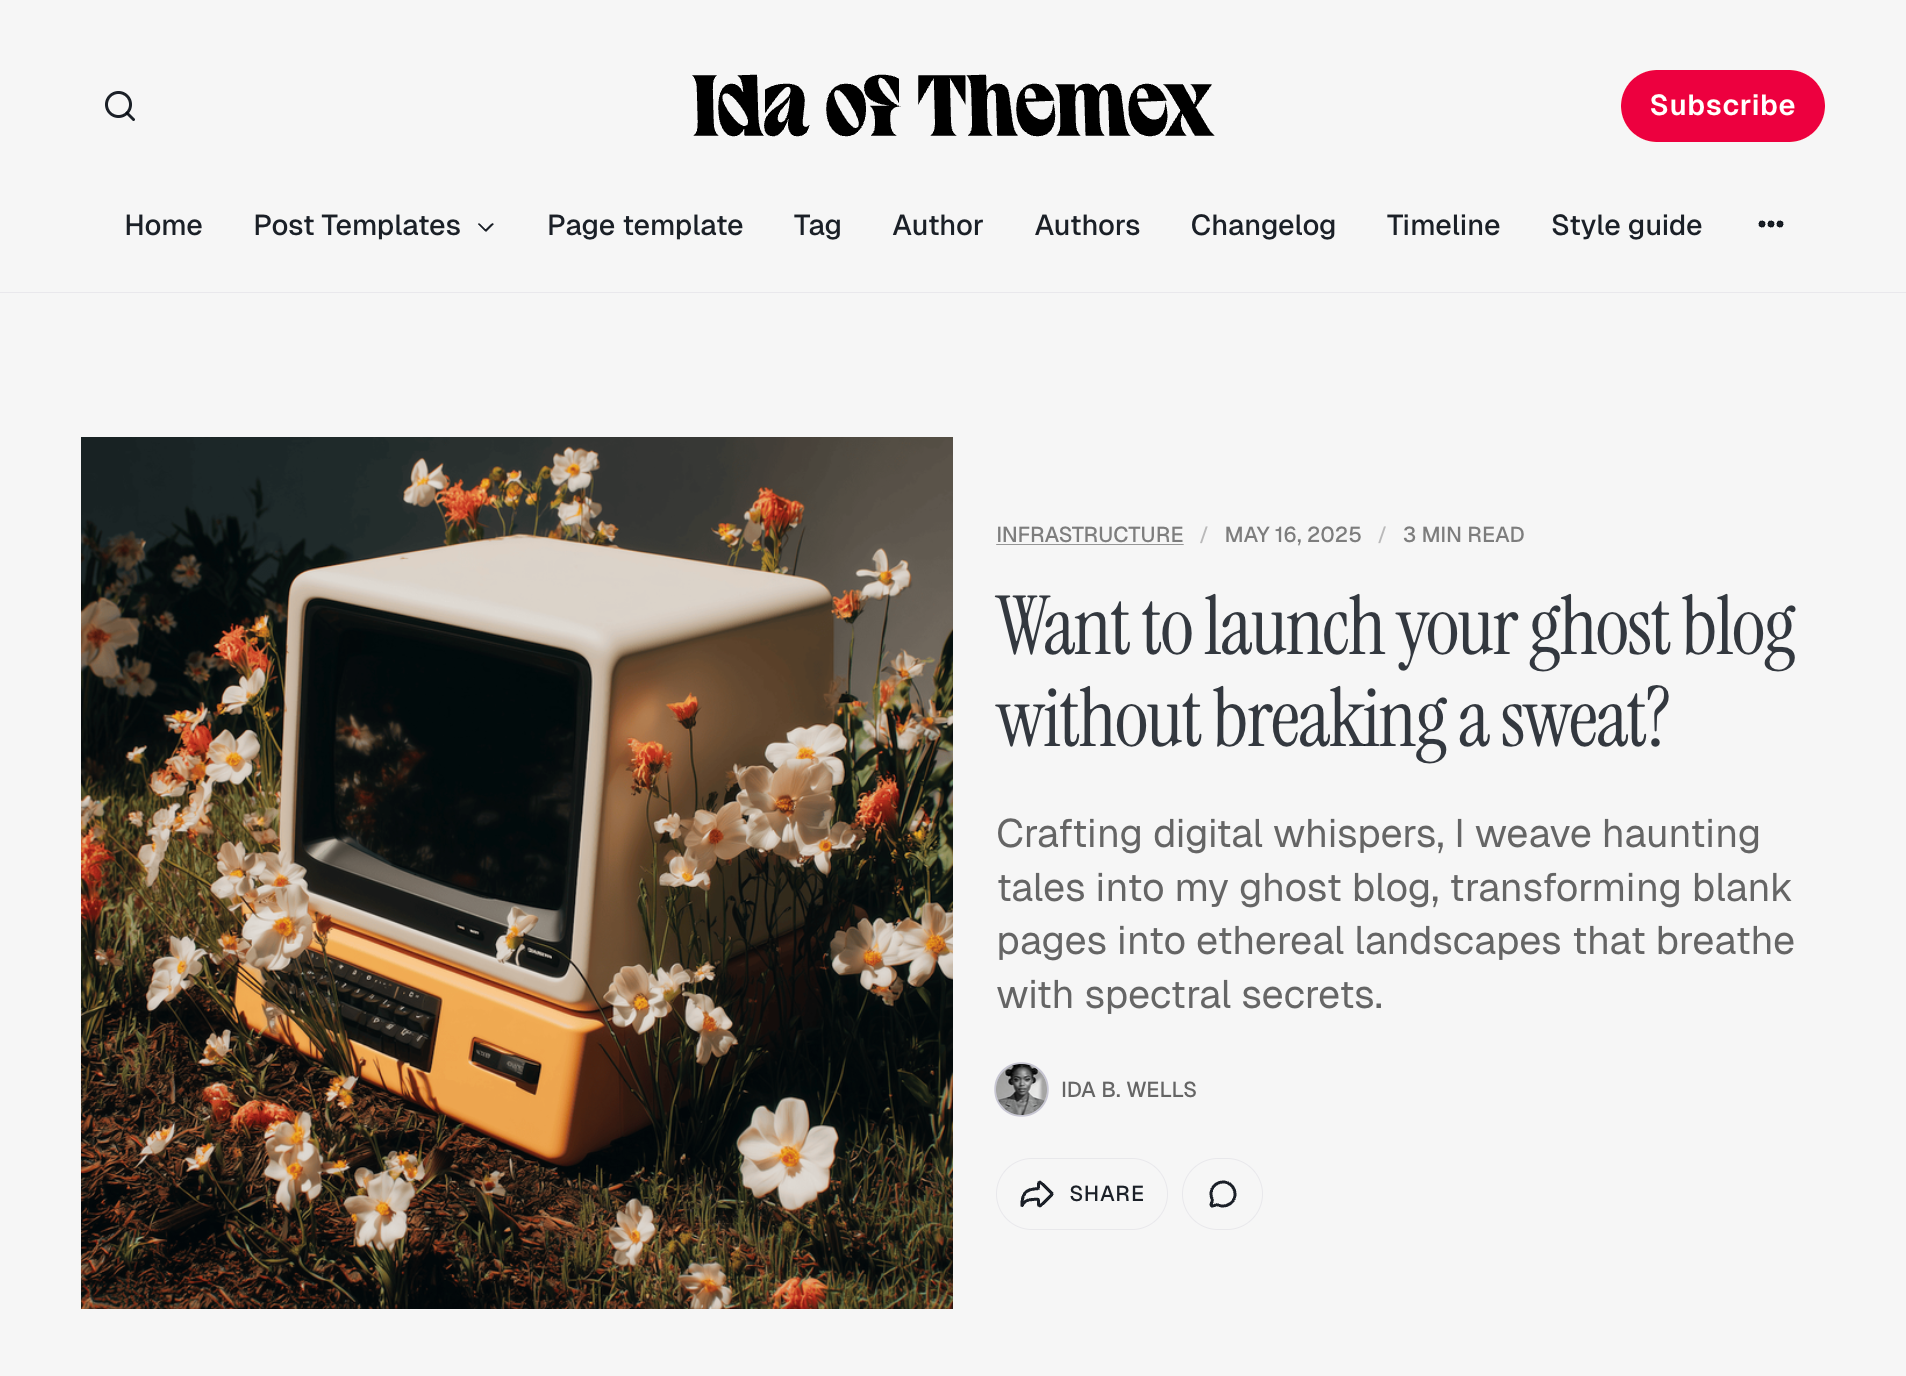
Split layout
A side-by-side layout with the feature image on one side and post title/metadata on the other. Modern and distinctive.
Split reverse
Same as split layout but with the image and content positions reversed.
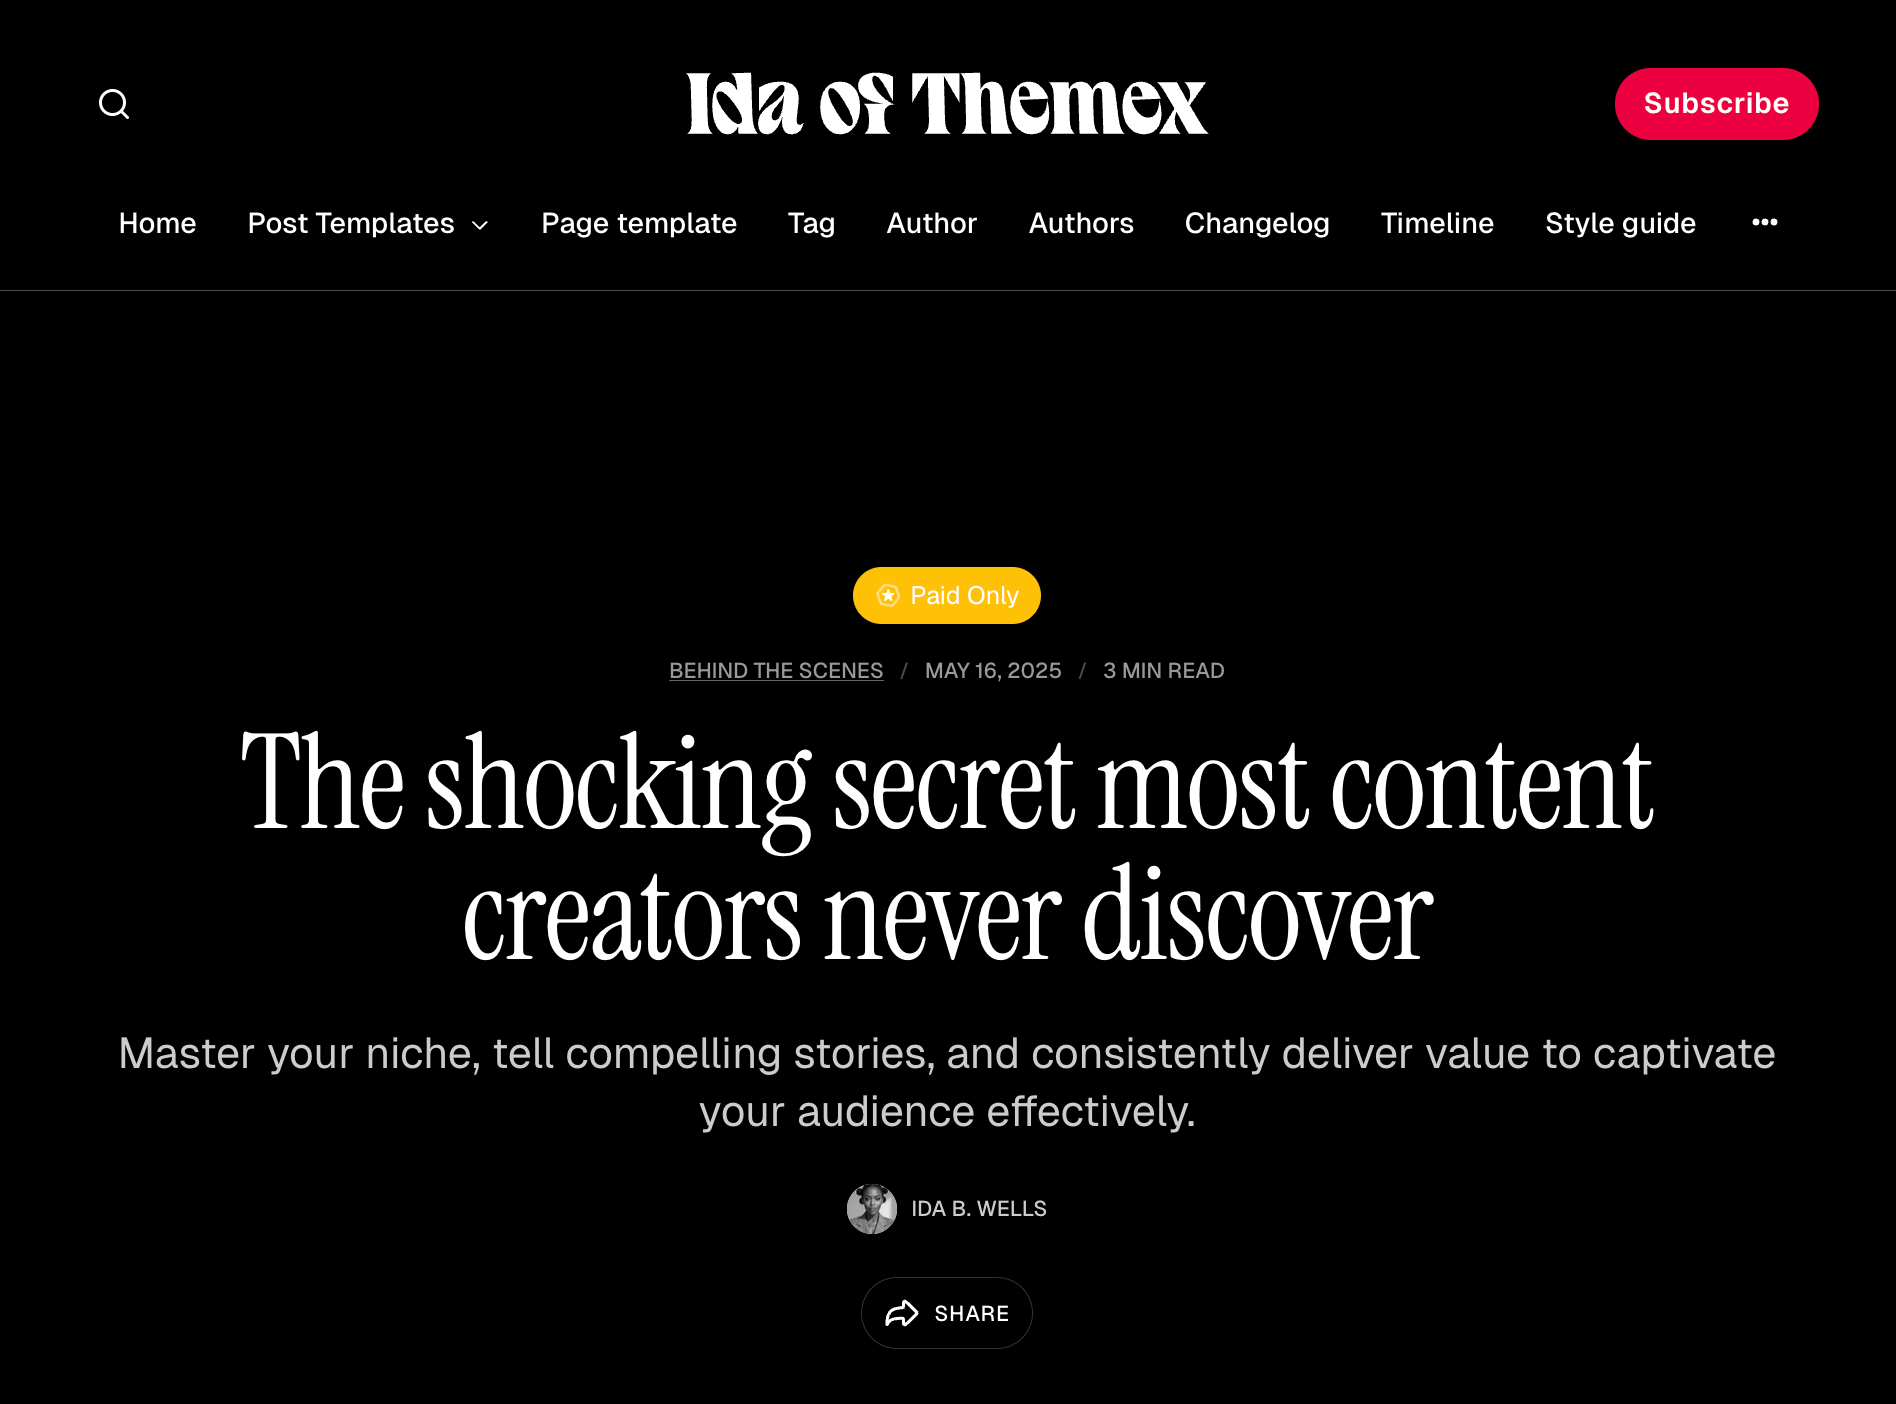
Solid hero
A full-width colored hero section using your accent color, without an image. Clean and bold.
Choosing a layout for a specific post
Step-by-step to select post template
- Open the post you want to customize.
- Click the settings icon ( ⚙️ ) in the top right.
- Scroll down to Template.
- Select your preferred layout from the dropdown.
- Update the post.
Common post features
All post templates include these features:
Visibility badges
Posts display badges indicating their access level:
- Public - Available to everyone
- Members - Available to free and paid members
- Paid - Available to paid members only
- Tier name - Available to specific membership tiers
Author byline
Display author information including profile image and name. You can toggle this off in theme settings.
Step-by-step to show/hide author byline
- Go to Settings > Design & branding > Customize.
- Find Show author in the post settings.
- Toggle on or off.
- Click Save.
Related posts
Each post automatically displays up to 6 related posts from the same primary tag in a 3-column grid.
Comments
If Ghost's native comments are enabled, a comments section appears at the bottom of each post.
Social sharing
Posts include social sharing buttons for visitors to share your content.
Email signup box
Public posts display an email signup box encouraging visitors to subscribe. You can customize the heading and description.
Step-by-step to customize email signup box
- Go to Settings > Design & branding > Customize.
- Find Email signup heading and Email signup description in the post settings.
- Enter your custom text.
- Click Save.
Table of contents
You can add a table of contents (TOC) to any post for better navigation through long-form content. The TOC automatically generates from h2 and h3 headings in your post.
Step-by-step to add table of contents
- Create a new post and write your post using h2 and h3 headings.
- Right under the title, add an HTML card.
- Insert the following code:
<aside class="toc-container">
    <div class="toc-sidebar">
        <h4>On this page</h4>
        <div class="toc"></div>
    </div>
</aside>
- Publish and review it.
Note: The TOC will automatically populate with links to all h2 headings in your post. You can change the title "On this page" to any text you prefer.
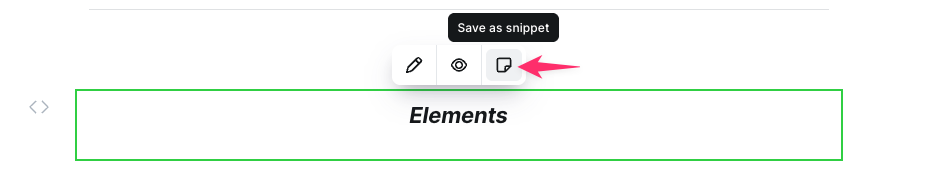
You can easily save the Table of Contents snippet and reuse it in other posts in Ghost. Simply give it a name (for example, TOC). Next time, you can simply type /TOC, and the snippet will appear, allowing you to insert it into the post to create a perfect Table of Contents.
Customizing TOC heading levels
By default, the table of contents displays only h2. If you want to show only specific heading levels (for example, show both h2 and h3 headings), you can customize this using Code Injection.
Step-by-step to customize TOC headings
- Go to Settings > Code injection in Ghost Admin
- Add the following code to the Site Header section:
<script>
window.tocbotConfig = {
    headingSelector: 'h2, h3'
};
</script>
- Modify the
headingSelectorvalue to match your needs:'h2'- Only h2 headings'h2, h3'- Both h2 and h3 headings (default)'h2, h3, h4'- h2, h3, and h4 headings
- Click Save
That's it! You only need to specify the setting you want to change. The theme will automatically merge your custom configuration with the default settings.
Note: This code must be added to the Site Header section (not Site Footer) so it loads before the theme's TOC initialization script.
Page templates
Standard page
The default page template uses the same hero layout options as posts. Configure the layout per-page using the template selector.
Authors listing page
Display all site authors in a grid layout.
Step-by-step to create authors page
- Create a new page.
- Give it a title (e.g., "Authors" or "Our team").
- Click the settings icon ( ⚙️ ).
- Under Template, select Zpage Authors.
- Publish the page.

The page displays:
- First 4 authors in a 3-column grid (larger cards)
- Remaining authors in a 4-column grid (smaller cards)
Each author card shows their profile image, name, bio, and post count.
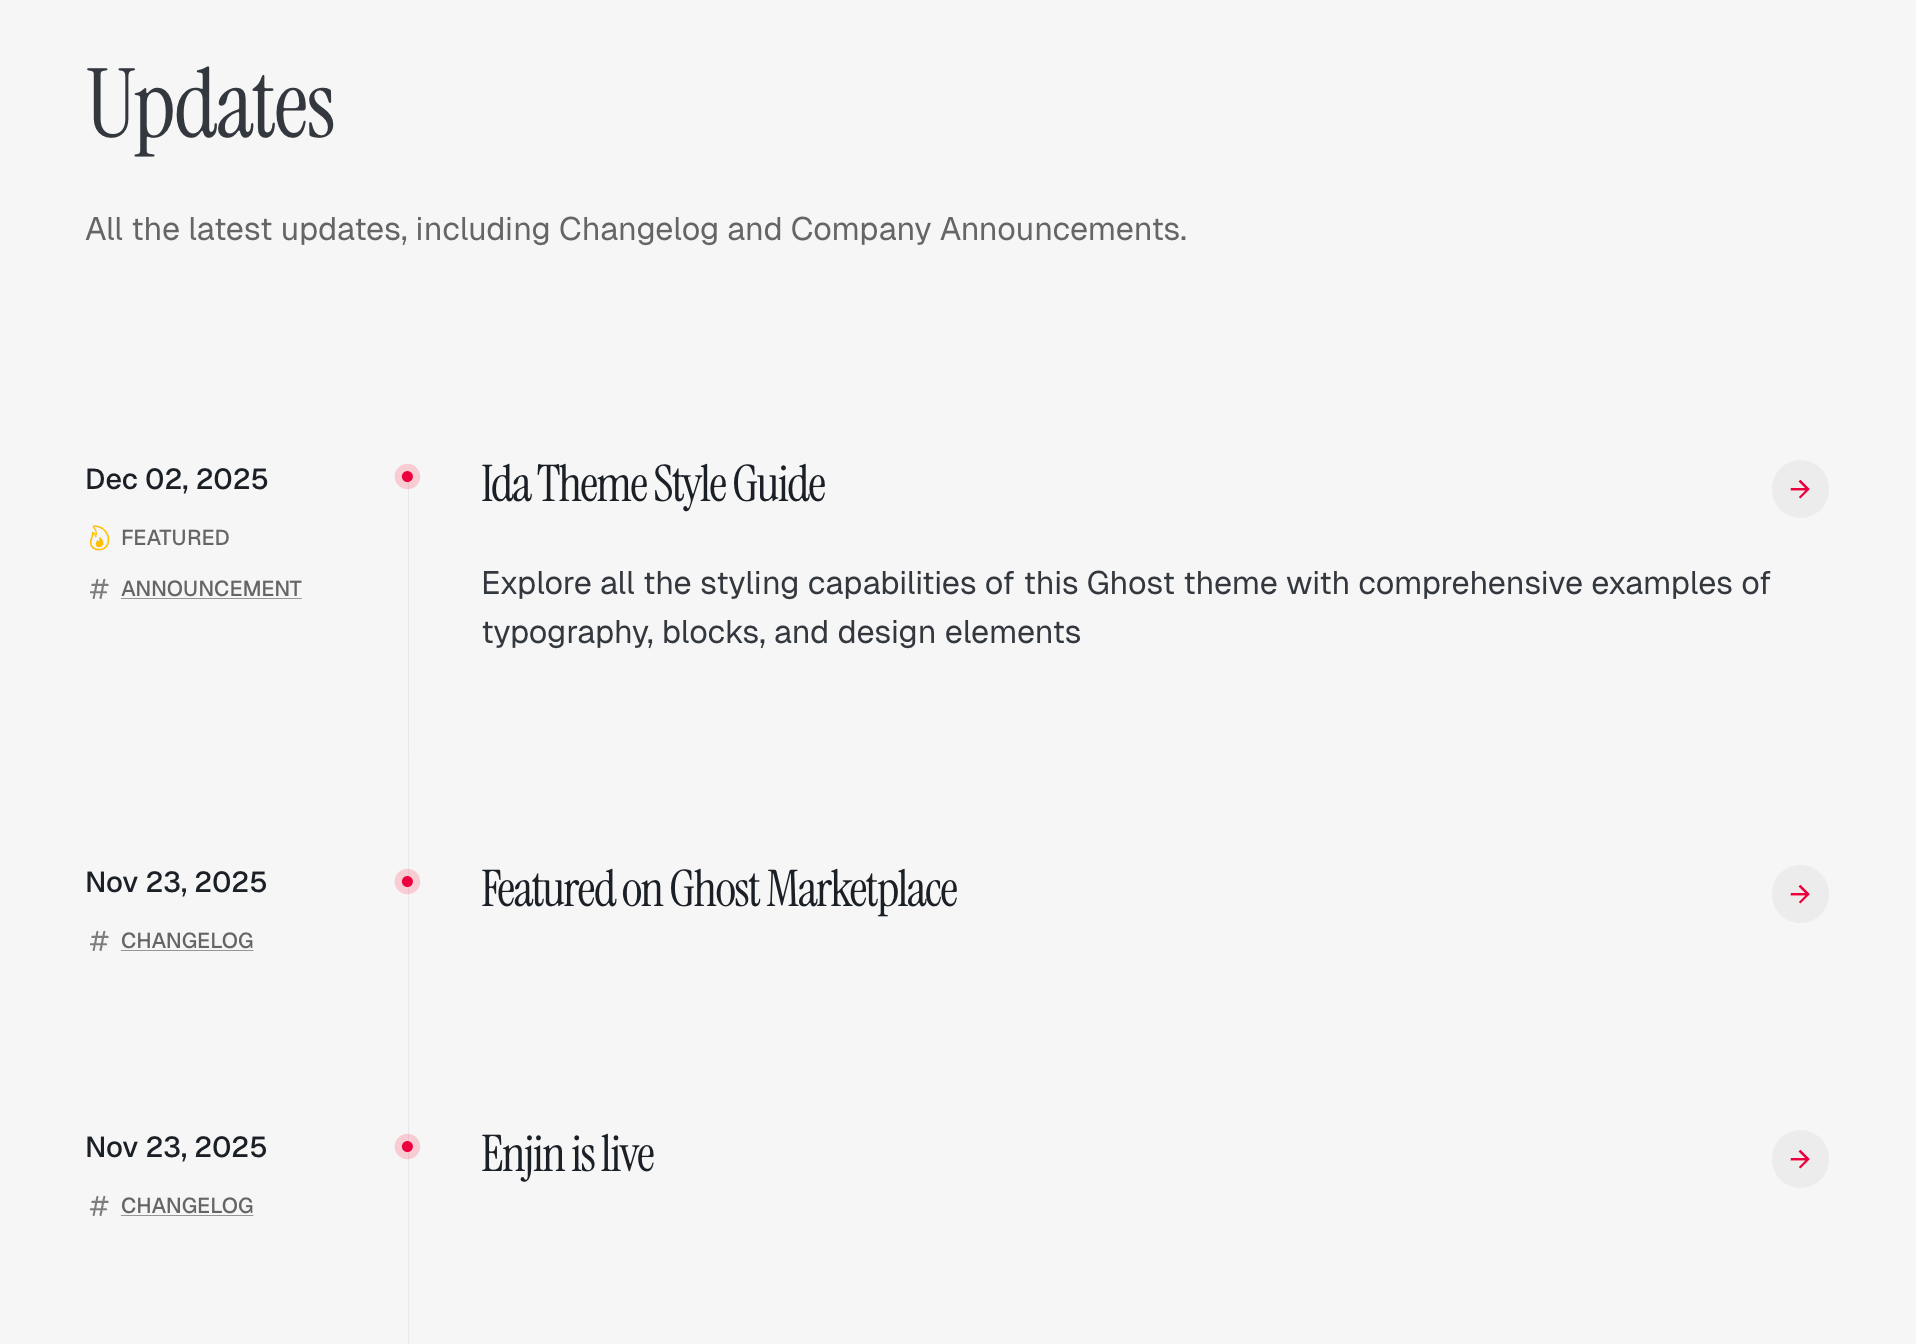
Timeline page
Display posts in a vertical timeline format, perfect for portfolios, project showcases, or chronological content.
Step-by-Step to Create Full Content Timeline Page:
- Go to Pages in Ghost admin
- Click New page
- Add a title for your timeline (e.g., "Project Journey" or "Development Log")
- (Optional) Add introductory content in the page editor—this appears above the timeline
- (Optional) Add a feature image
- In the Page settings sidebar (click the settings icon), find the Template dropdown
- Select Zpage Timeline from the template options
- In the Twitter description field, enter the tag slug for content you want to display (e.g.,
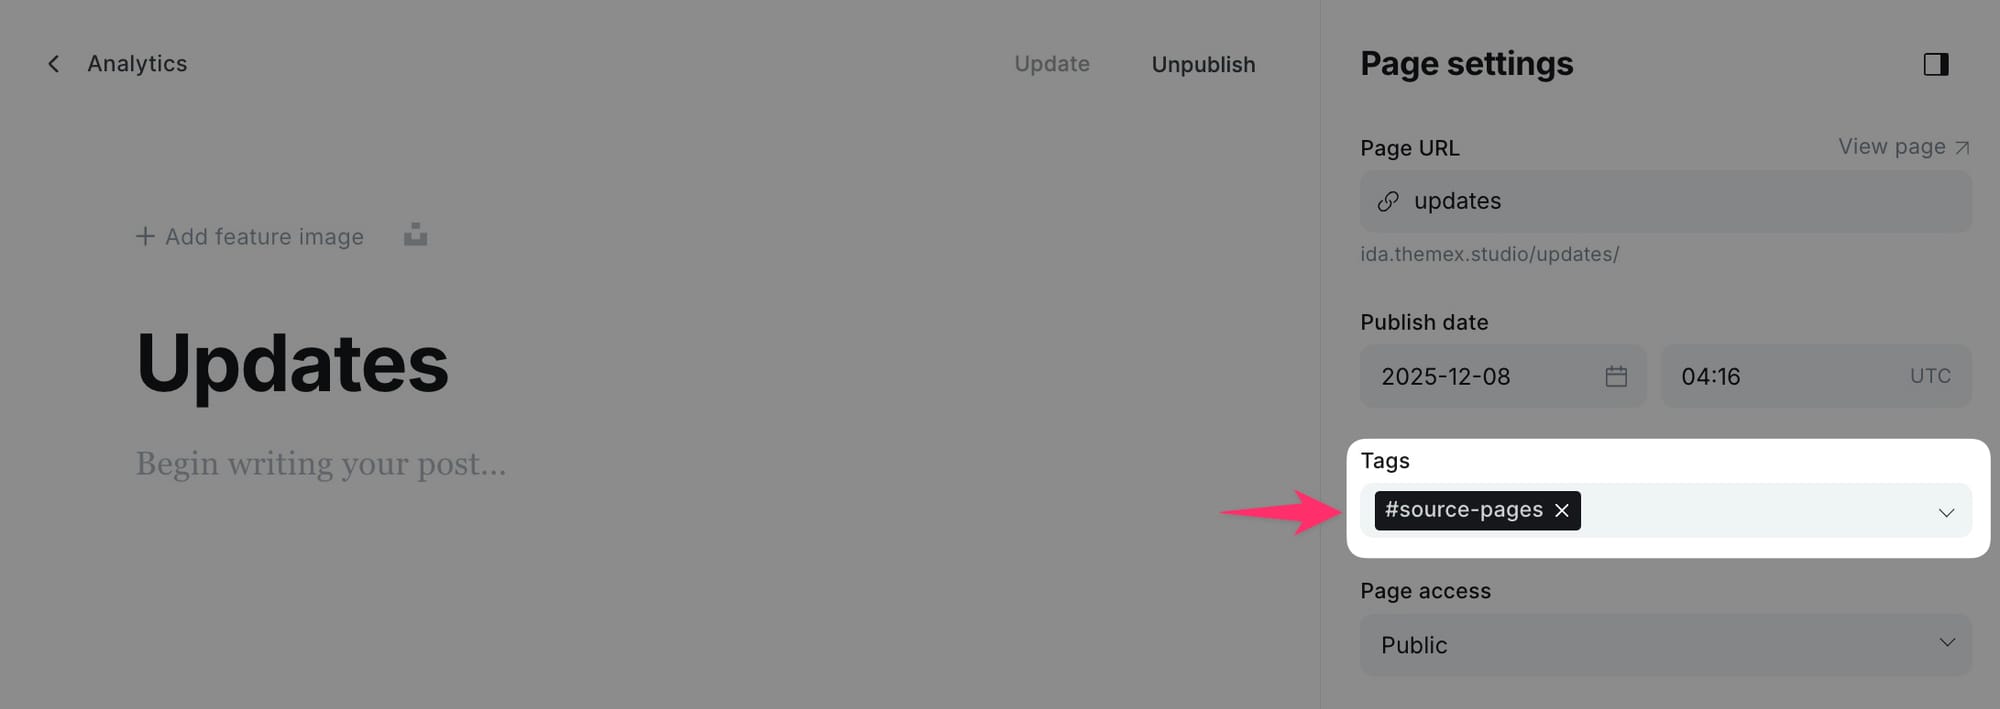
project-alpha) - (Optional) To show pages instead of posts as content, add the
#source-pagestag to your page - Publish
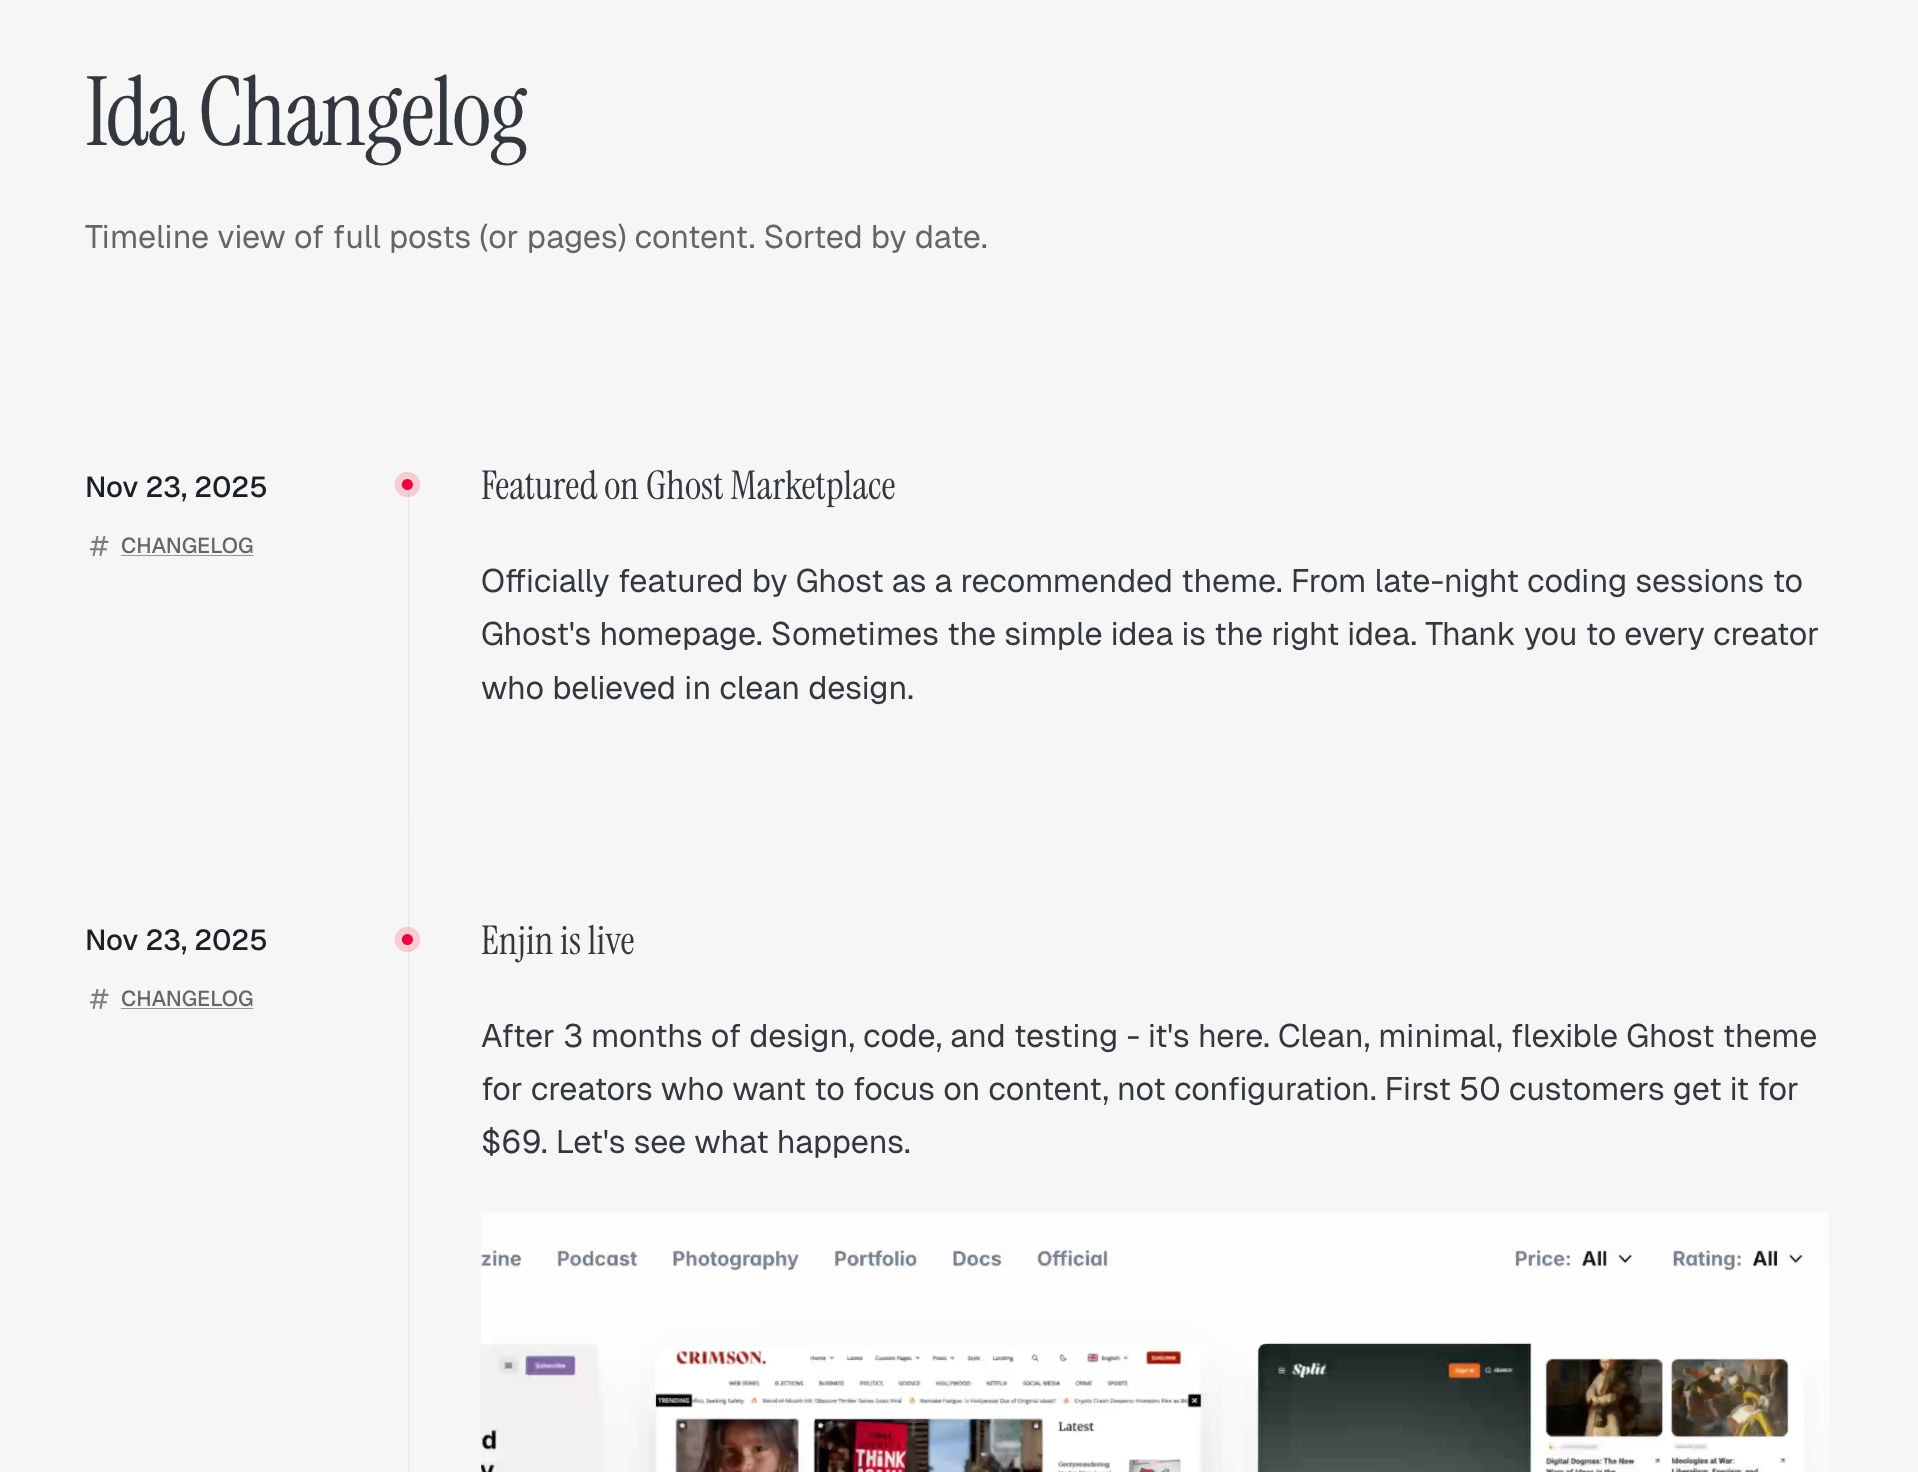
Timeline minimal page
A cleaner version of the timeline without feature images. Ideal for text-focused content.
Step-by-Step to Create Full Content Timeline Page:
- Go to Pages in Ghost admin
- Click New page
- Add a title for your timeline (e.g., "Project Journey" or "Development Log")
- (Optional) Add introductory content in the page editor—this appears above the timeline
- (Optional) Add a feature image
- In the Page settings sidebar (click the settings icon), find the Template dropdown
- Select Zpage Timeline Minimal from the template options
- In the Twitter description field, enter the tag slug for content you want to display (e.g.,
project-alpha) - (Optional) To show pages instead of posts as content, add the
#source-pagestag to your page - Publish
Tag pages
When visitors click a tag, they see a dedicated tag page with:
- Tag name as the heading
- Tag description (if configured)
- Optional feature image with hero overlay
- 3-column grid of posts with that tag
- "Load more" pagination
Author pages
Individual author pages display:
- Author name and location
- Bio and social links
- Profile image
- 3-column grid of their posts
Error page
A styled 404 error page displays when visitors reach a page that doesn't exist.
Media proxy setup
Display YouTube videos and podcast episodes on your site using a Cloudflare Worker proxy.
Why a proxy is needed
Browsers block direct requests to YouTube and podcast feeds from other websites (called CORS restrictions). The Cloudflare Worker fetches the content on your behalf, allowing it to display on your Ghost site.
Prerequisites
Before starting, you'll need:
- A Cloudflare account (free tier works)
- A YouTube API key from Google Cloud Console (for YouTube content)
- Your YouTube channel ID (starts with
UC) - Your podcast RSS feed URL (for podcast episodes)
Setting up the Cloudflare Worker
Create a new worker
Step-by-step
- Log in to your Cloudflare dashboard.
- Click Compute > Workers & Pages in the left sidebar.
- Click Create application.
- Select Start with Hello World.
- Give your worker a name (e.g.,
media-proxy). - Click Deploy to create the worker.
Add the worker code
Step-by-step
- After deploying, click Edit code.
- Delete all the default code in the editor.
- Copy the contents of the
cloudflare-media-proxy-worker.jsfile from the theme'sscriptsfolder. - Paste it into the Cloudflare editor.
- Click Deploy.
Add your YouTube API key
Step-by-step
- Go to your Worker's Settings tab.
- Click Variables and Secrets.
- Under Environment Variables, click Add.
- Set the variable name to:
YOUTUBE_API_KEY - Paste your YouTube API key as the value.
- Click Save.
Note your worker URL
Your Worker URL looks like:
https://media-proxy.your-account.workers.dev
You'll need this URL when configuring Ghost.
Getting a YouTube API key
Create a Google Cloud project
Step-by-step
- Go to the Google Cloud Console.
- Click the project dropdown at the top of the page.
- Click New Project.
- Enter a project name (e.g., "My Ghost Site").
- Click Create.
Enable the YouTube Data API
Step-by-step
- In your new project, go to APIs & Services > Library.
- Search for "YouTube Data API v3".
- Click on it, then click Enable.
Create an API key
Step-by-step
- Go to APIs & Services > Credentials.
- Click Create Credentials > API Key.
- Copy the generated API key.
- Click Close.
[!note] For better security, restrict your API key to only the YouTube Data API v3 in the key's settings.
Finding your YouTube channel ID
Your YouTube channel ID is a unique identifier that starts with UC and is 24 characters long.
Step-by-step to find your channel ID
- Go to your YouTube channel page.
- Look at the URL in your browser's address bar.
- If your URL looks like
youtube.com/channel/UCxxxxxxxxxxxxxxxxxx, theUCxxxxxxxxxxxxxxxxxxpart is your channel ID. - If your URL uses a custom handle (like
youtube.com/@username), click on any of your videos, then click your channel name to get the/channel/UC...URL.
Example valid channel ID: UCBcRF18a7Qf58cCRy5xuWwQ
[!note] Common mistakes: Using your channel handle (@username), using a playlist ID (starts with PL), or using an incomplete ID.
Finding your podcast RSS feed URL
Your podcast RSS feed URL is needed to display episodes on your site.
Step-by-step
- Log in to your podcast hosting platform (e.g., RSS.com, Anchor, Buzzsprout, Libsyn).
- Go to your podcast's Settings or Distribution section.
- Look for RSS Feed, RSS Feed URL, or Podcast Feed.
- Copy the full URL.
The RSS feed URL typically looks like:
https://media.rss.com/yourpodcast/feed.xmlhttps://anchor.fm/s/xxxxxxxx/podcast/rsshttps://feeds.buzzsprout.com/xxxxxxx.rss
[!note] If you can't find your RSS feed URL, search your podcast host's help documentation for "RSS feed" or contact their support.
Configuring Ghost
Add the following code to your Ghost site's code injection.
Step-by-step
- Go to Settings > Code injection.
- In the Site Header section, paste your configuration code.
- Click Save.
For YouTube videos only
<script>
  window.MEDIA_WORKER_URL = 'https://media-proxy.your-account.workers.dev';
  window.YOUTUBE_CHANNEL_ID = 'UCxxxxxxxxxxxxxxxxxx';
  window.YOUTUBE_CONTENT_TYPE = 'videos';
</script>
For YouTube Shorts
<script>
  window.MEDIA_WORKER_URL = 'https://media-proxy.your-account.workers.dev';
  window.YOUTUBE_CHANNEL_ID = 'UCxxxxxxxxxxxxxxxxxx';
  window.YOUTUBE_CONTENT_TYPE = 'shorts';
</script>
For podcast episodes only
<script>
  window.MEDIA_WORKER_URL = 'https://media-proxy.your-account.workers.dev';
  window.PODCAST_FEED_SOURCE = 'https://anchor.fm/s/xxxxxxxx/podcast/rss';
</script>
For both YouTube and podcast
<script>
  window.MEDIA_WORKER_URL = 'https://media-proxy.your-account.workers.dev';
  window.YOUTUBE_CHANNEL_ID = 'UCxxxxxxxxxxxxxxxxxx';
  window.YOUTUBE_CONTENT_TYPE = 'videos';
  window.PODCAST_FEED_SOURCE = 'https://anchor.fm/s/xxxxxxxx/podcast/rss';
</script>
Configuration reference
| Variable | Required | Description |
|---|---|---|
MEDIA_WORKER_URL |
Yes | Your Cloudflare Worker URL |
YOUTUBE_CHANNEL_ID |
For YouTube | Your channel ID (starts with UC) |
YOUTUBE_CONTENT_TYPE |
No | 'shorts' (default) or 'videos' |
PODCAST_FEED_SOURCE |
For podcasts | Your podcast RSS feed URL |
Troubleshooting
YouTube videos not appearing
"YOUTUBE_API_KEY environment variable not configured"
- Add the API key to your Cloudflare Worker under Settings > Variables and Secrets.
"Invalid YouTube channel ID"
- Your channel ID must start with
UCand be 24 characters long.
"YouTube API returned 403"
- Check that YouTube Data API v3 is enabled in Google Cloud Console.
- If you restricted the key, ensure YouTube Data API v3 is allowed.
No videos appearing but no error
- Your channel may not have public videos.
- Try switching
YOUTUBE_CONTENT_TYPEbetween'videos'and'shorts'.
Podcast episodes not appearing
"Feed returned 404"
- Double-check your podcast RSS feed URL is correct.
- Test the feed URL directly in your browser.
Missing episode artwork
- Some podcast feeds don't include episode artwork.
- The theme uses channel artwork as a fallback.
Testing your worker directly
Test your Worker by visiting these URLs in your browser:
Test YouTube:
https://your-worker.workers.dev/?youtube=UCxxxxxxxxxxxxxxxxxx&type=videos
Test podcast:
https://your-worker.workers.dev/?feed=https://your-podcast-feed-url
If working correctly, you should see content. If there's an error, you'll see a JSON error message.
Still having issues?
- Open your browser's Developer Tools (F12).
- Go to the Console tab.
- Reload your page.
- Look for error messages starting with "YouTube" or "Podcast".
Advanced settings
Code injection
Add custom code to your site without editing theme files.
Step-by-step to add code injection
- Go to Settings > Code injection.
- Add code to Site Header (for CSS/JS that loads on every page).
- Add code to Site Footer (for JS that runs after page load).
- Click Save.
Custom fonts
Replace the default fonts with your own choice.
Step-by-step to add custom fonts
- Go to Settings > Code injection.
- In Site Header, add your font import and CSS:
<link rel="preconnect" href="https://fonts.googleapis.com">
<link href="https://fonts.googleapis.com/css2?family=Your+Font:wght@400;500;700&display=swap" rel="stylesheet">
<style>
  :root {
    --font-primary: 'Your Font', sans-serif;
  }
</style>
- Click Save.
Hiding sections
Remove sections from the homepage without deleting the content.
Step-by-step to hide a section
- Open the page for your section.
- Add
#hash-homepage-excludeto the Tags field. - Update the page.
The section page still exists and can be accessed directly, but it won't appear on the homepage.
Translation and localization
Ida supports Ghost's translation system for multilingual sites.
Step-by-step to translate theme text
- In your theme files, locate the
localesfolder. - Copy
en.jsonand rename it to your language code (e.g.,es.jsonfor Spanish). - Translate the text strings in the new file.
- Upload the modified theme to Ghost.
For more information on translations, see Ghost's localization documentation.
Image sizes
Ida uses responsive images with these breakpoints:
| Size | Width |
|---|---|
| xs | 50px (blur placeholder) |
| s | 400px |
| m | 750px |
| l | 960px |
| xl | 1140px |
| xxl | 1920px |
Ghost automatically generates these sizes when you upload images. The theme serves the appropriate size based on the visitor's screen.
Need help?
If you have questions about your Ida theme:
- Check this documentation for your answer
- Visit the Ghost Help Center for general Ghost questions
- Contact theme support for Ida-specific issues
Become a subscriber receive the latest updates in your inbox.